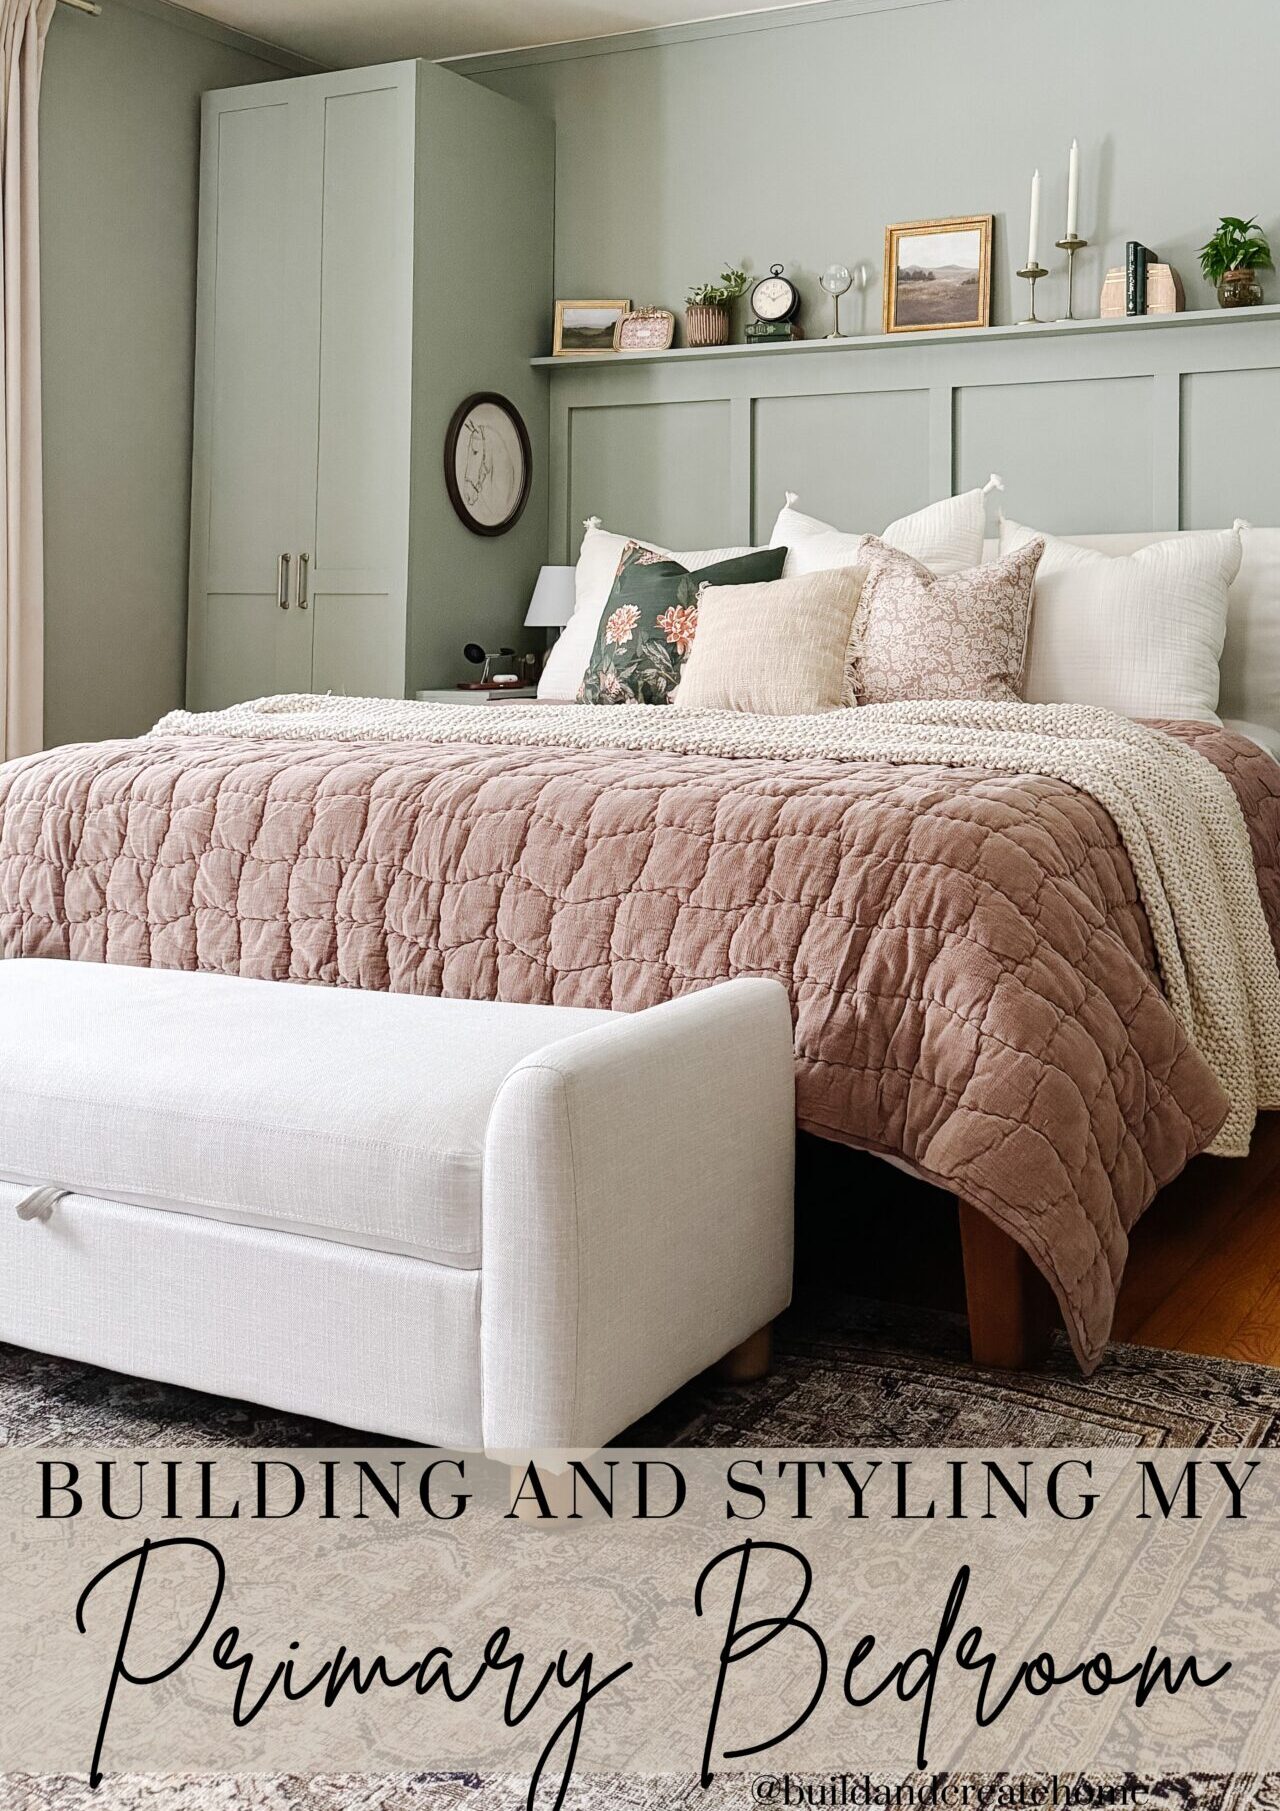
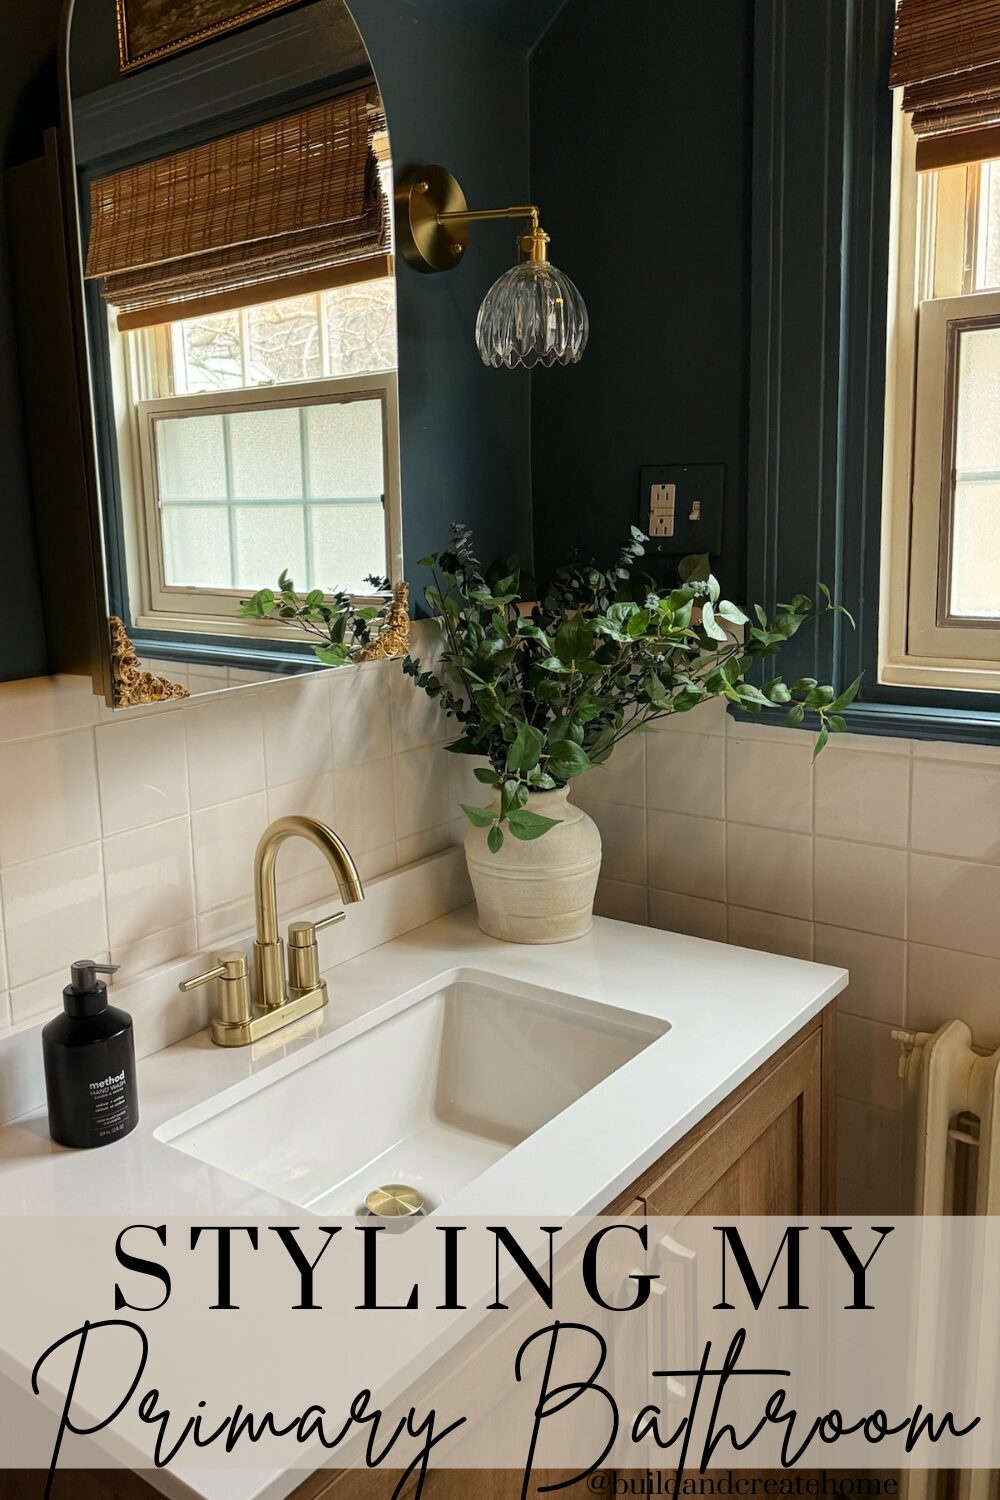
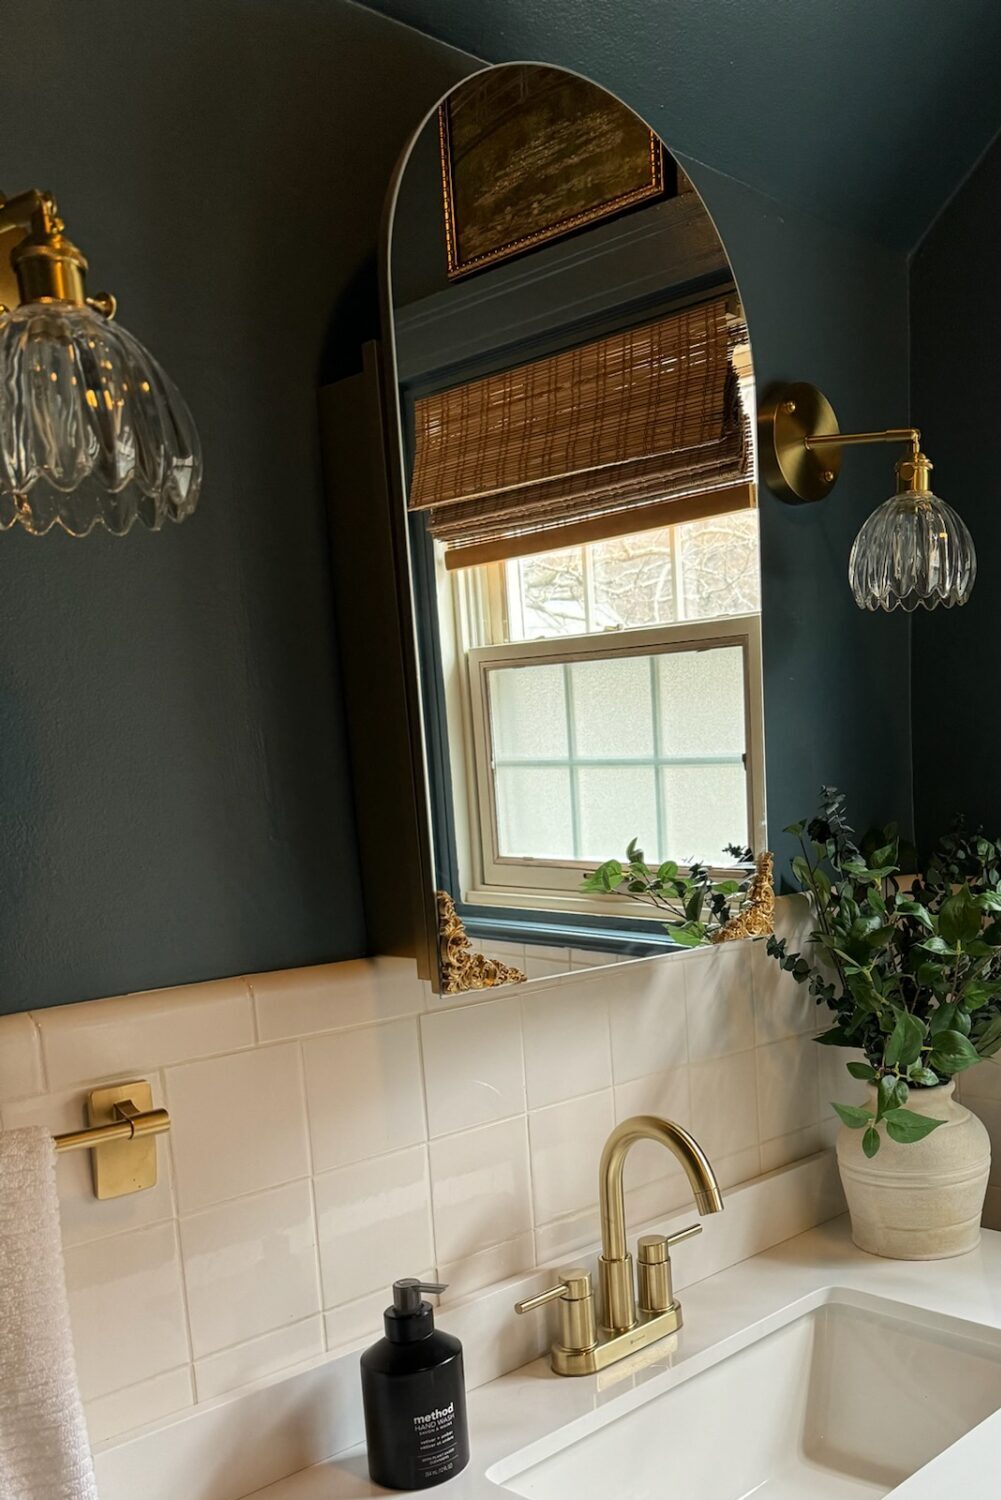
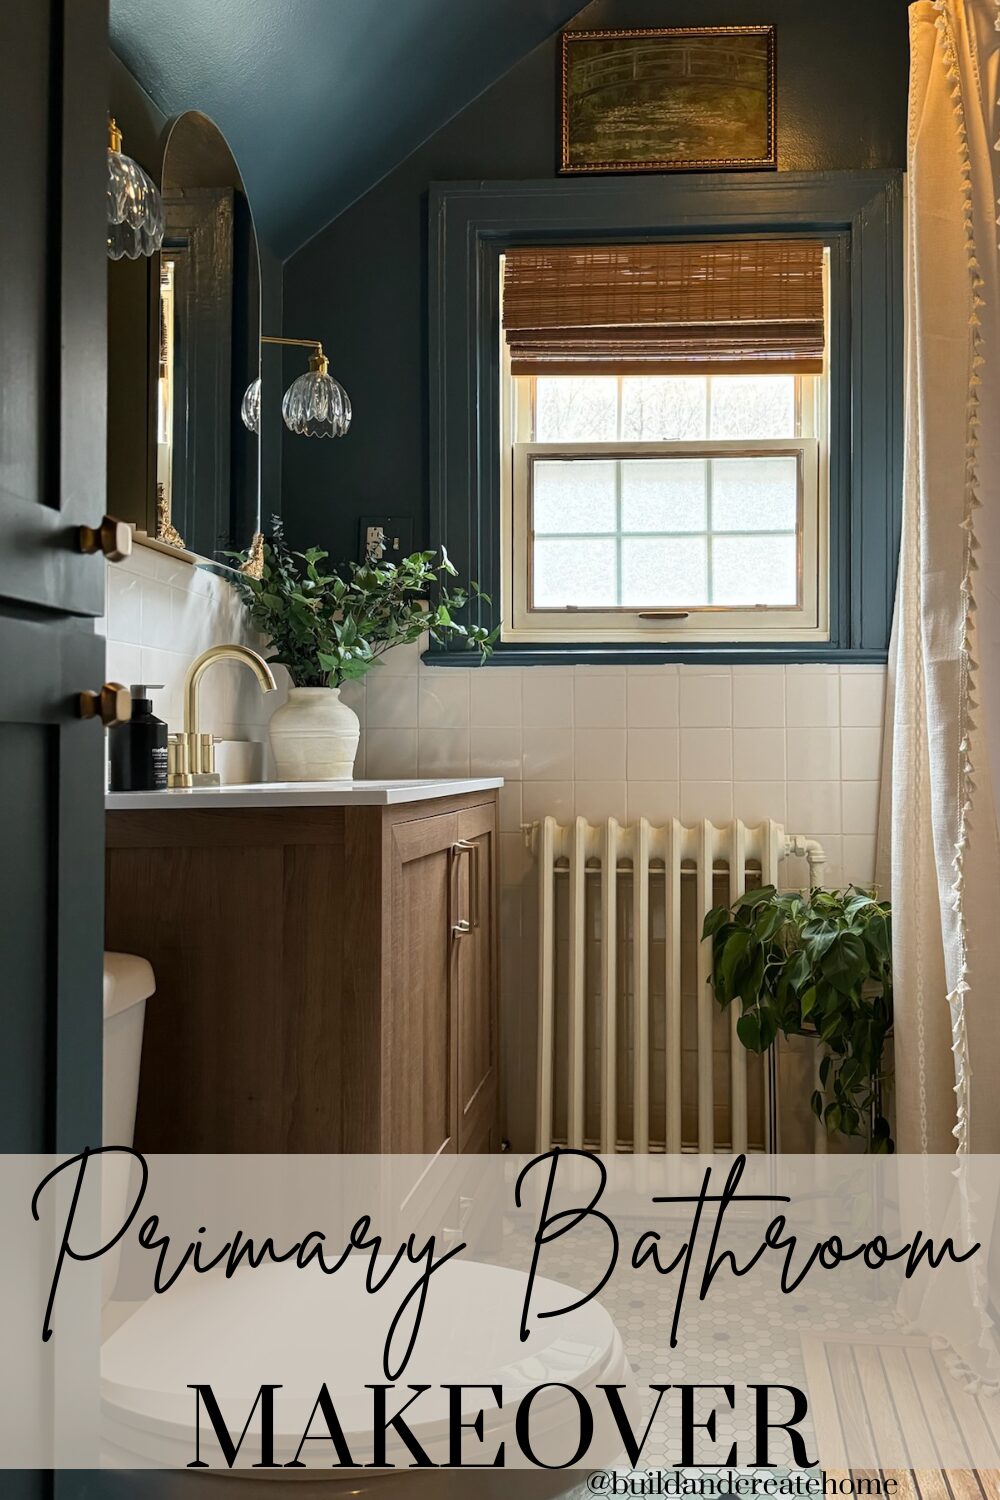
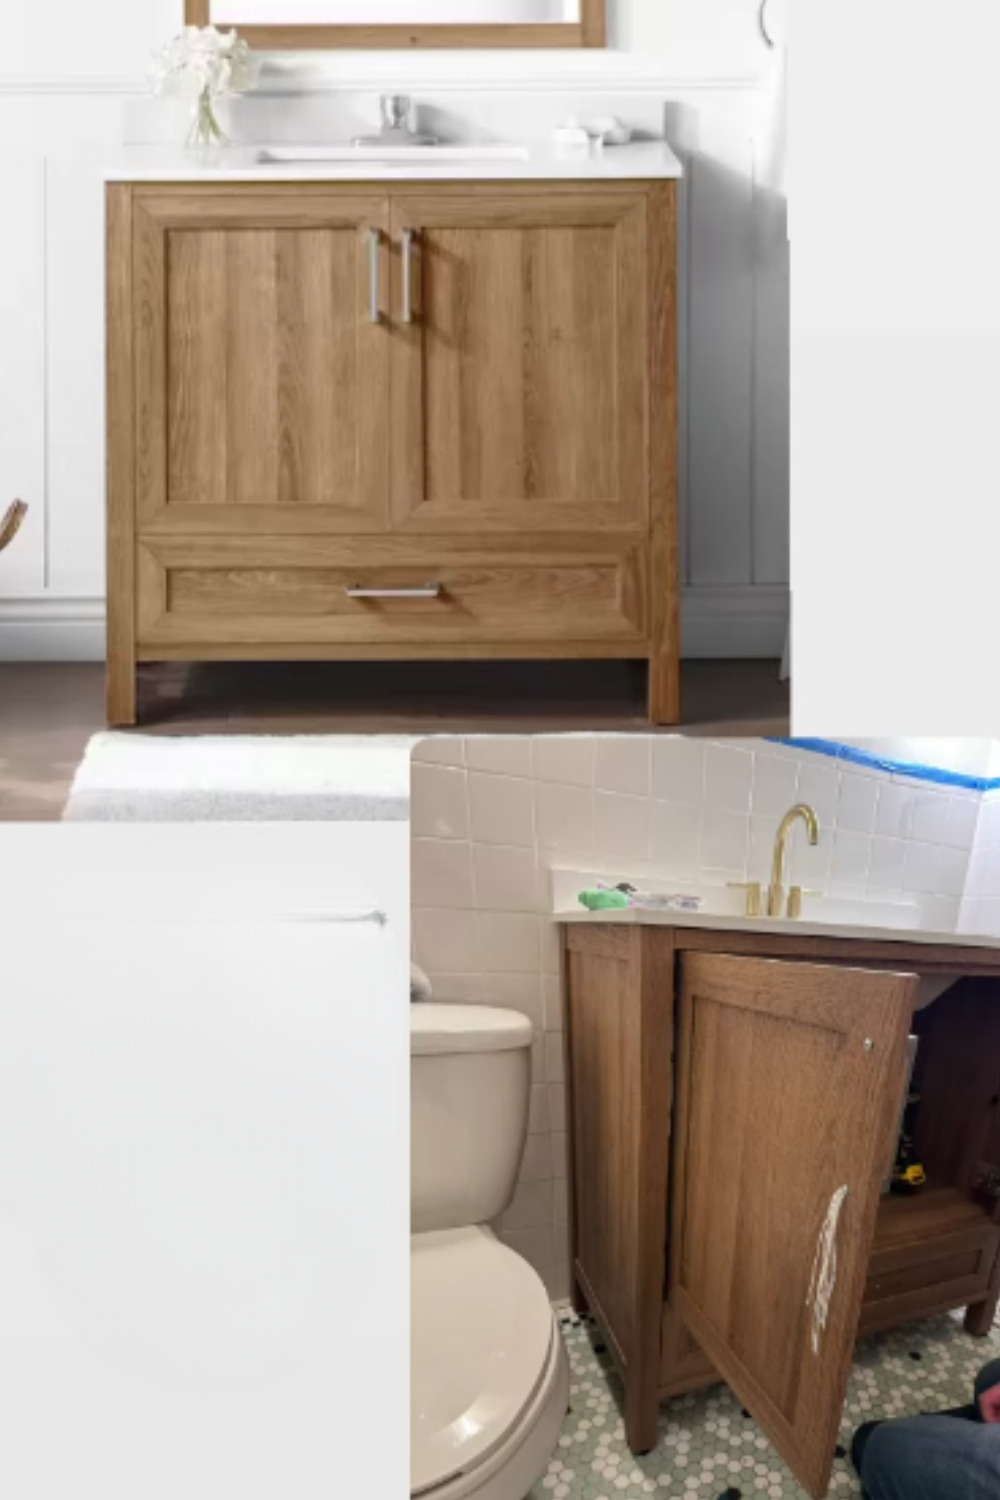
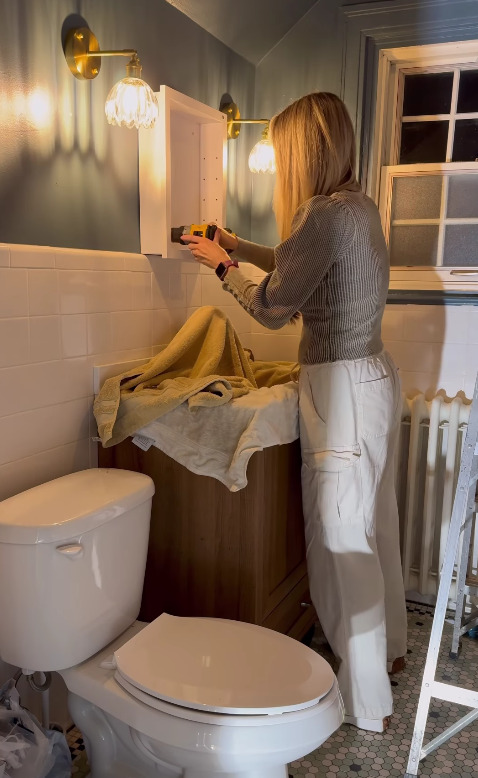
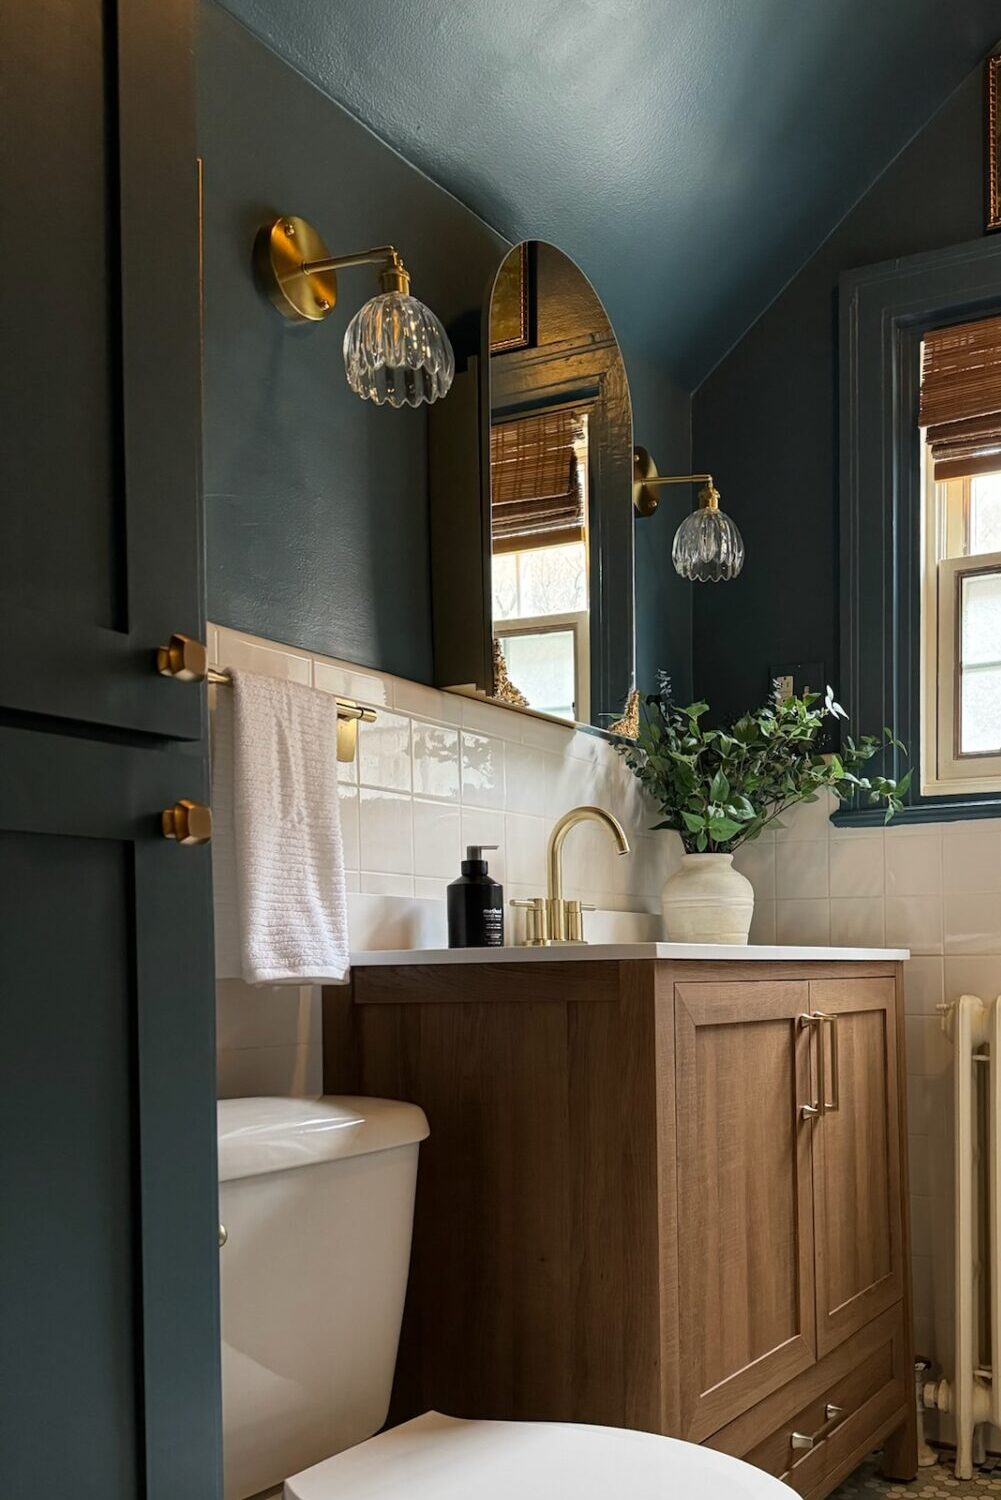
I just did a Primary Bathroom Makeover where I painted first, then added new lighting, a vanity, and a gorgeous arched medicine cabinet. Then I styled and decorated my Primary Bathroom. Both of these things motivated me to finally finish the remodel of my primary bedroom! They say good things come to those who wait, and I feel very good about how Building and Styling my Primary Bedroom turned out!
(Check out the remodeling process on my Instagram stories, where you can watch it from beginning to end!)
*This post contains affiliate links. I may receive a commission on any products you purchase using some of these links. Please see the disclosures page for more information.
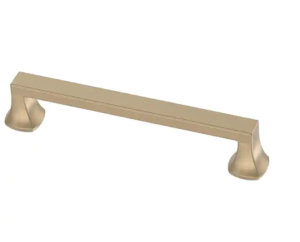
Primary Bedroom Makeover Hardware:
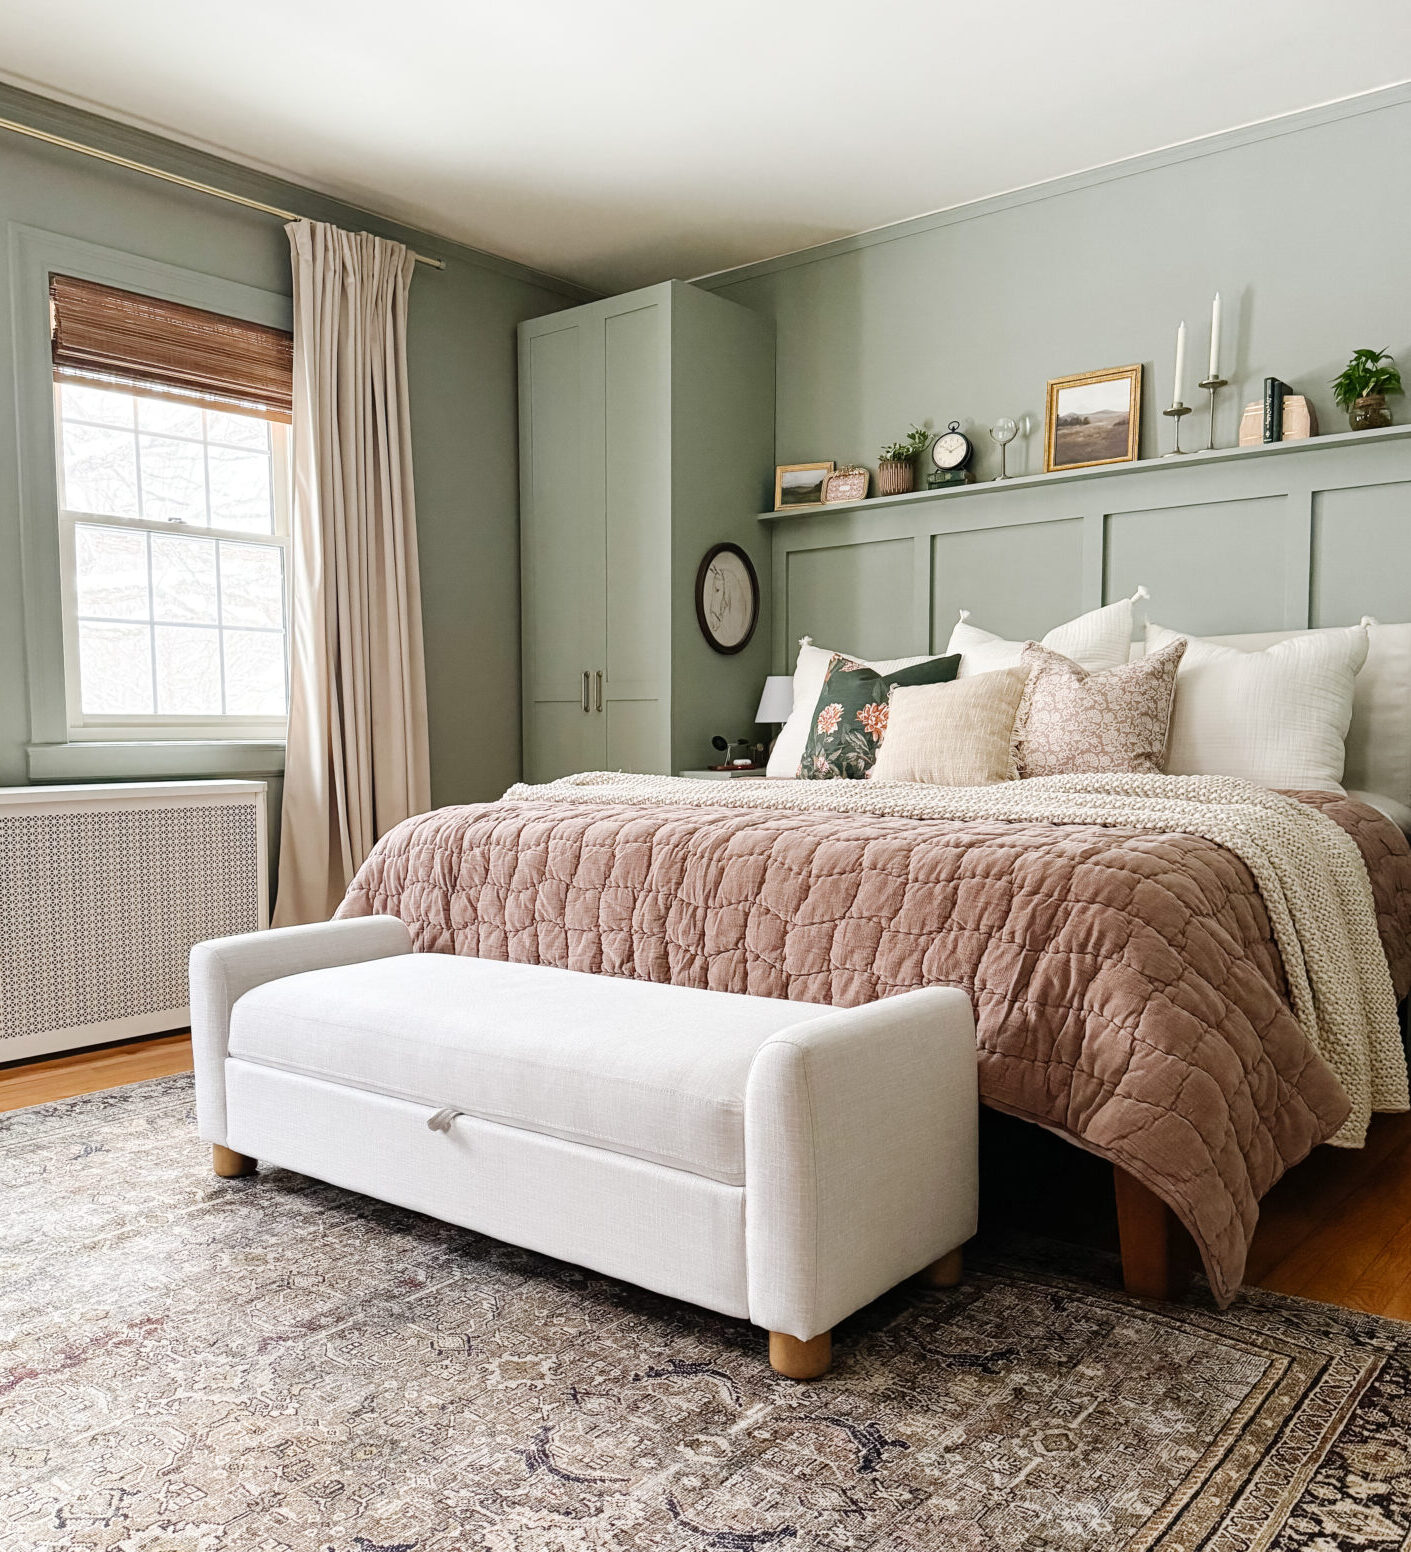
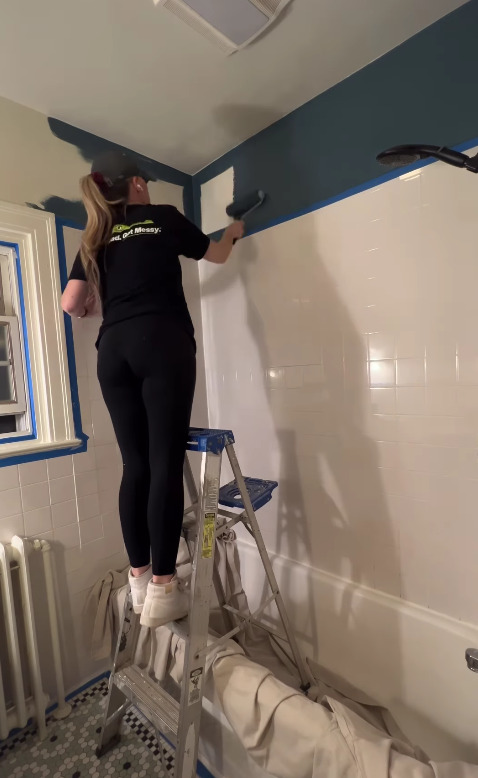
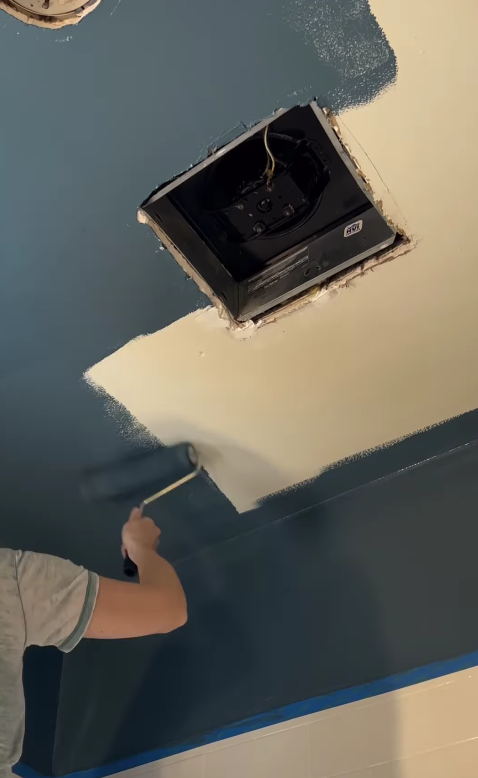
Our bedroom is a bit of a weird layout and definitely lacks organization. (and for me, that’s a big deal. If you know, you know!) So knowing I wanted to fully make it over, I decided to start with paint, replacing the blinds, and hanging the curtains. (After I folded all the clean laundry on the bed. How is there ALWAYS laundry to fold?!) I chose to paint the room a Sherwin-Williams color called Evergreen Fog.
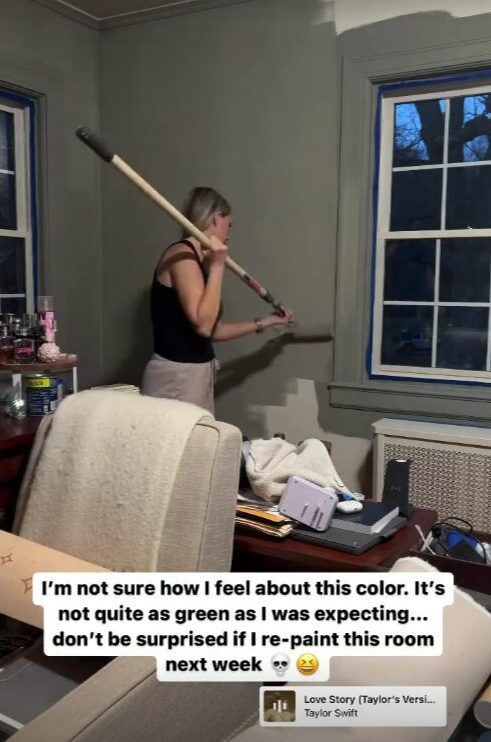
I wasn’t totally sure how I was going to feel about the color– I had green paint in my mind, and this just wasn’t originally as green as I was expecting. but the more I sat with it, the more I ended up loving the calming color. Once the paint was dry and my mind was made up, I decided to move on to the windows.
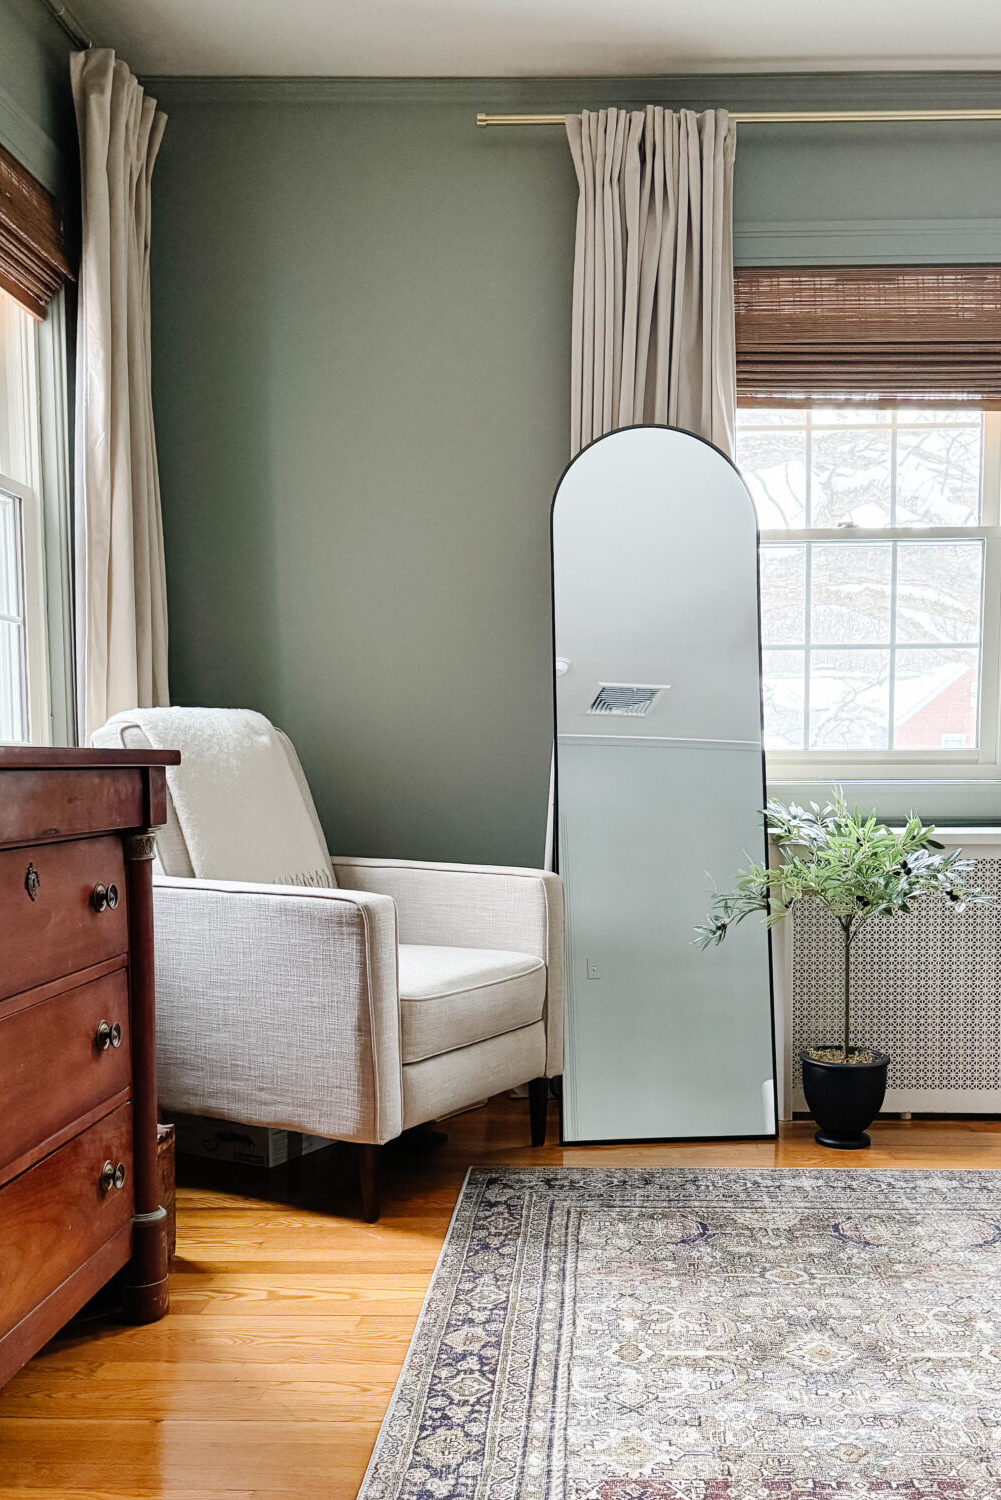
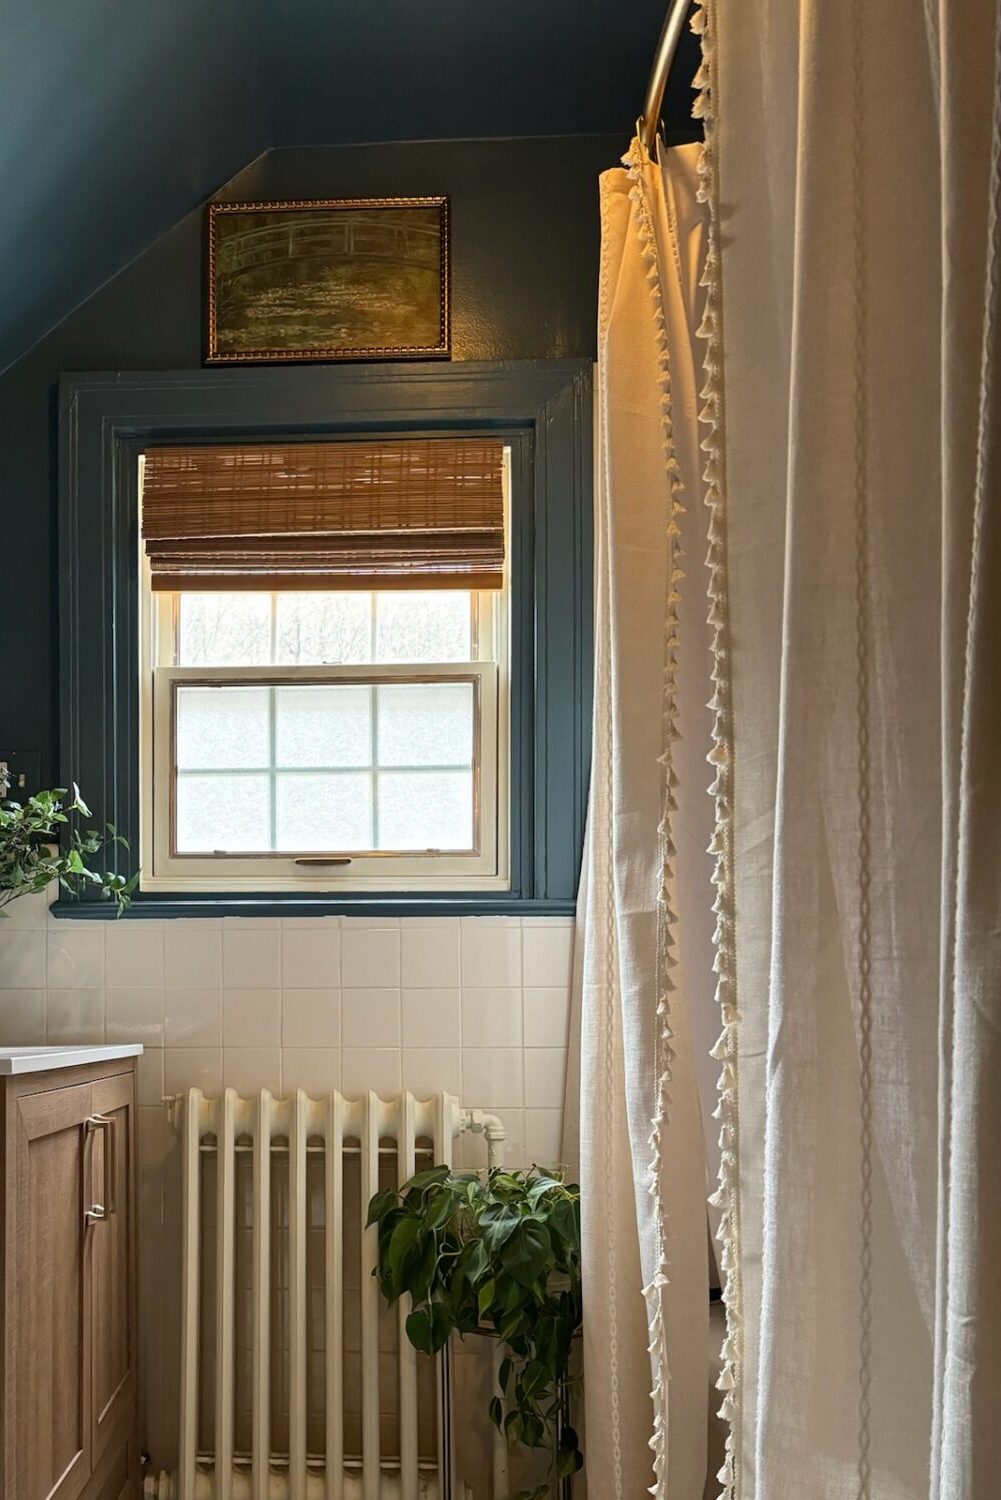
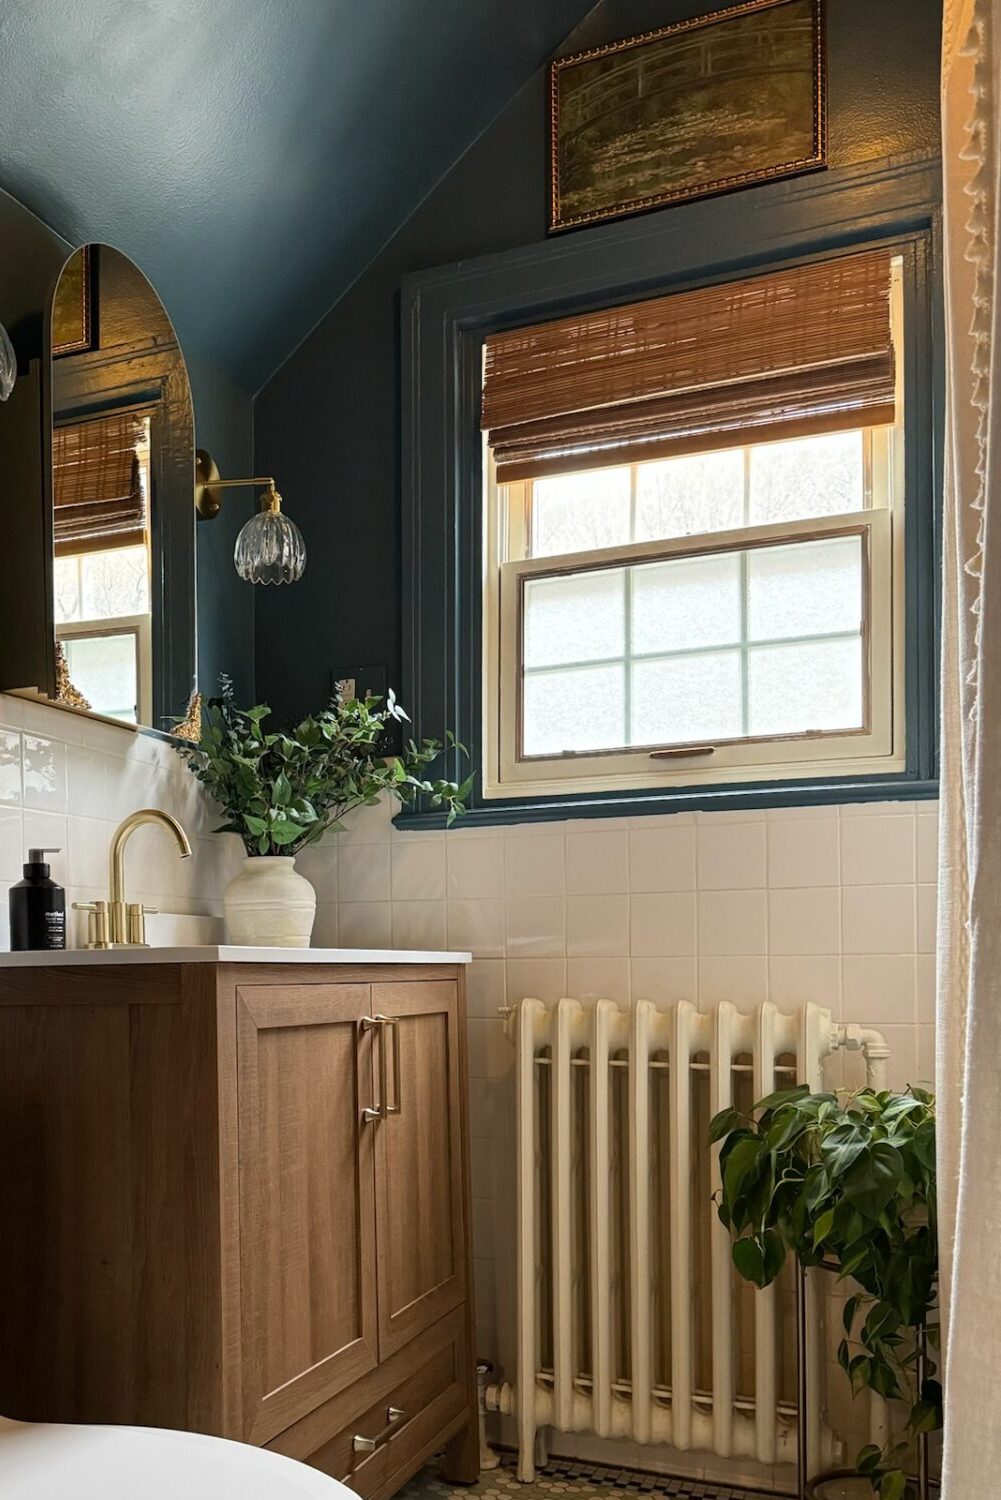
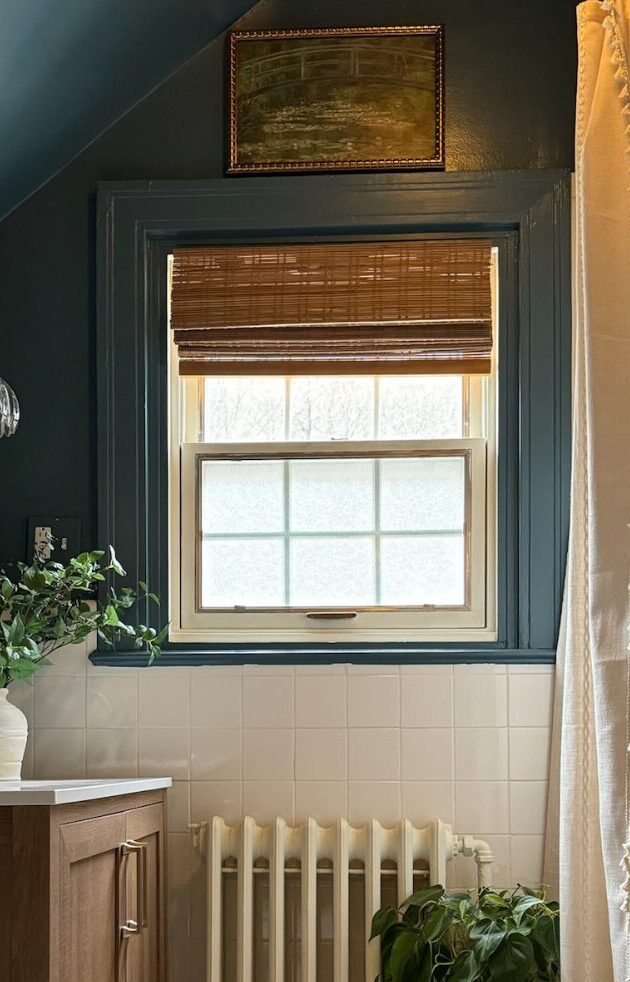
I added the Bamboo Shades because I used similar ones in my Bathroom Styling, and I loved the way they looked. So moody and romantic, and just really warm in the space. I finished this aspect by adding the curtains. (Warning: these aren’t really black-out curtains. So if you want to keep the light all the way out, this won’t really be the way to do it.)
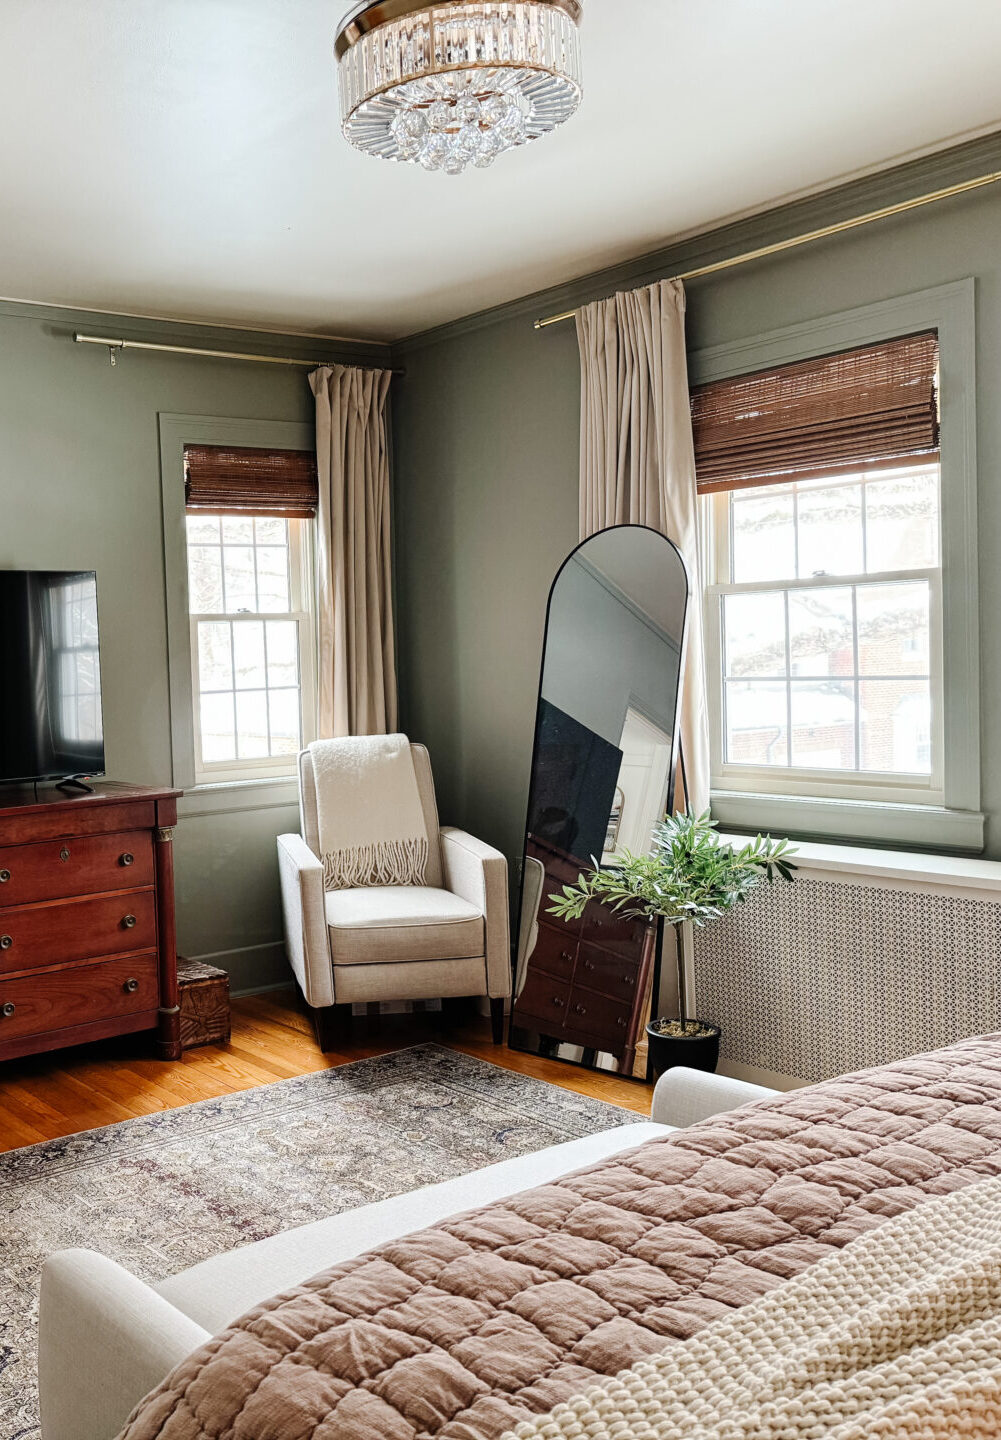
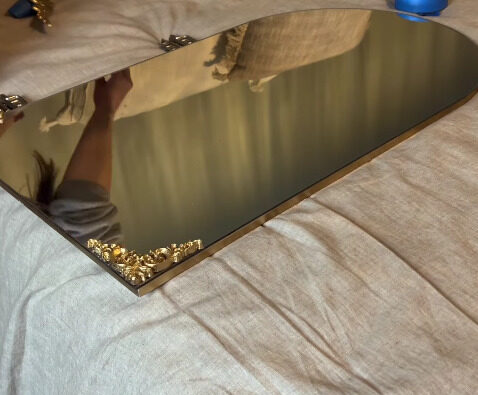
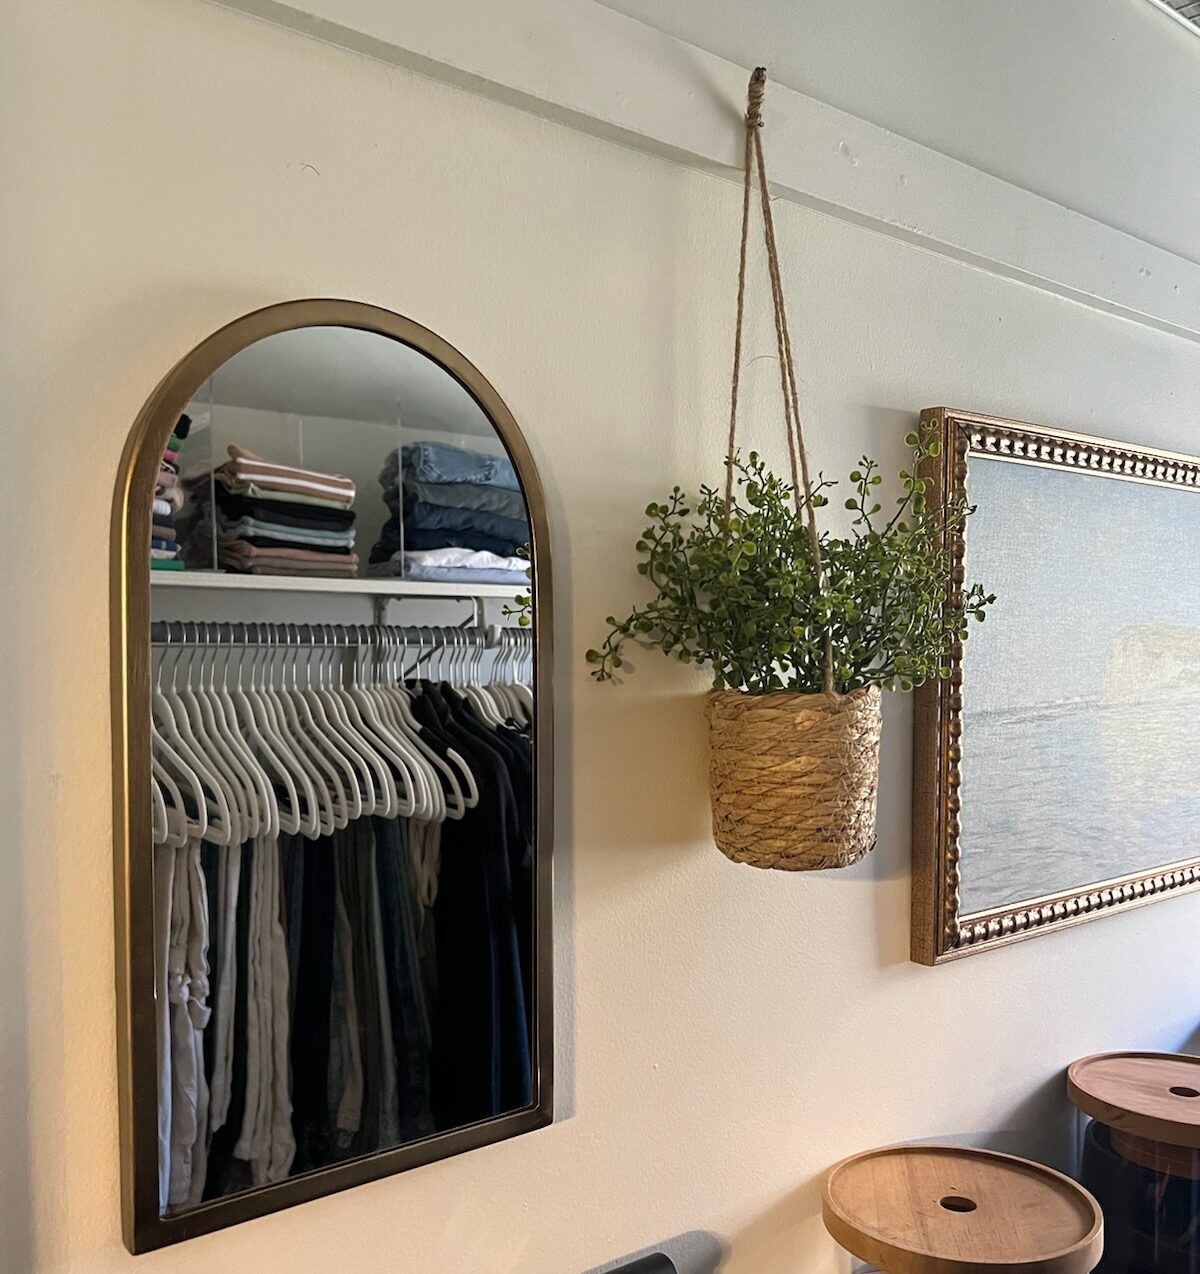
I decided to add a seating moment and cozy blanket on the back and added an arched mirror right in front of these windows to create such a peaceful sitting space and the perfect reading area. (The olive plant is the icing on the cake, because don’t we love a plant you don’t have to water?!)
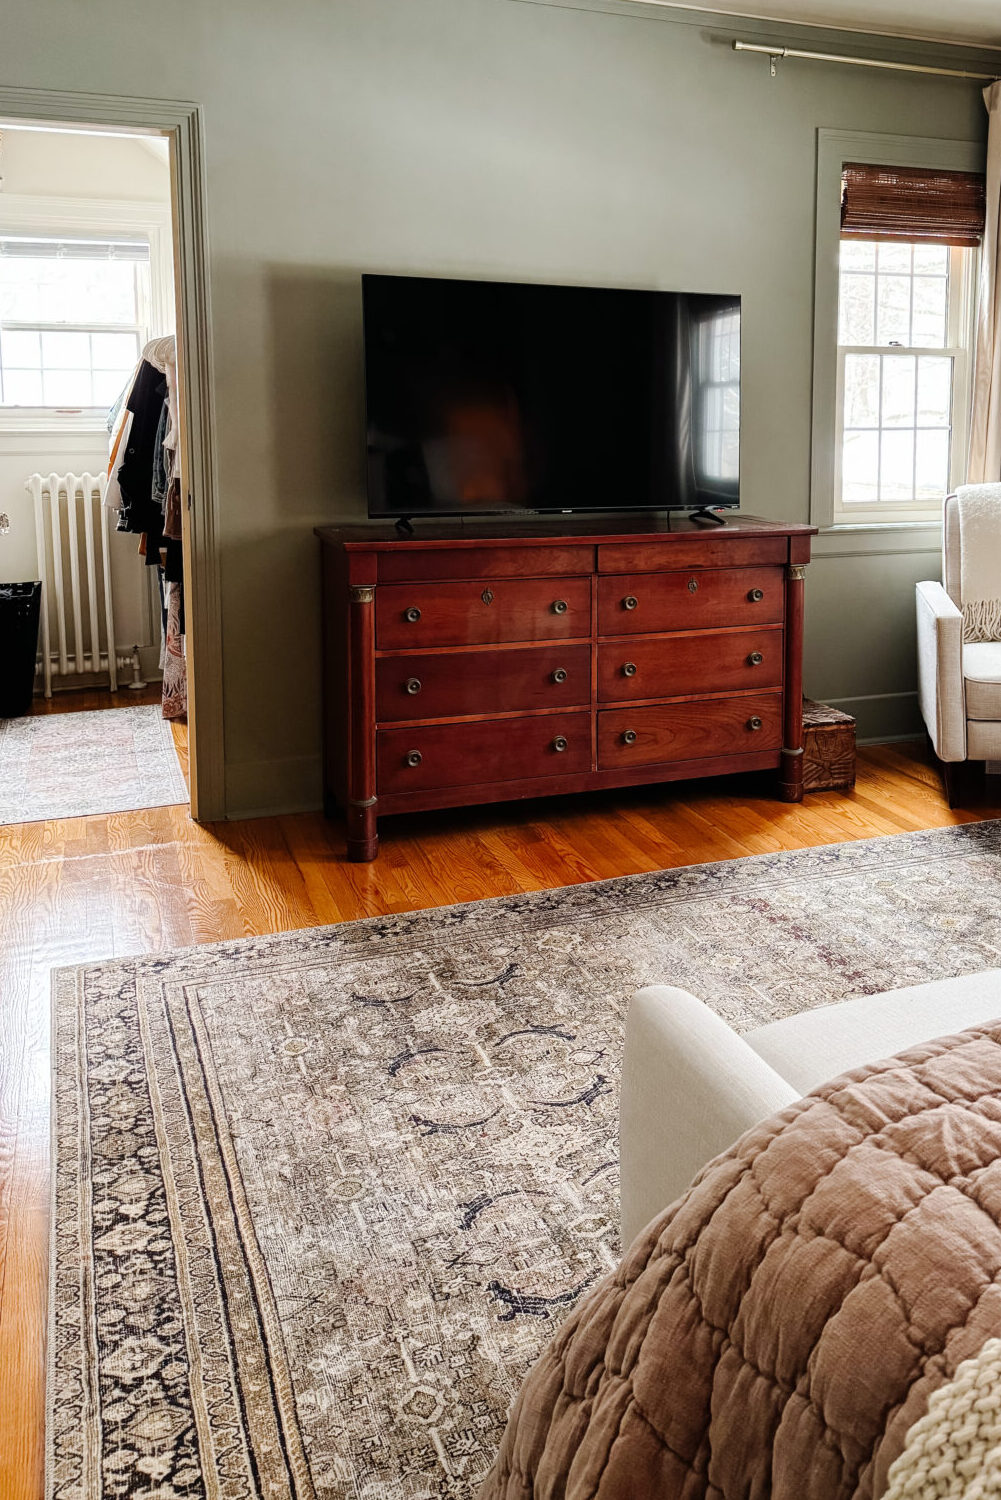
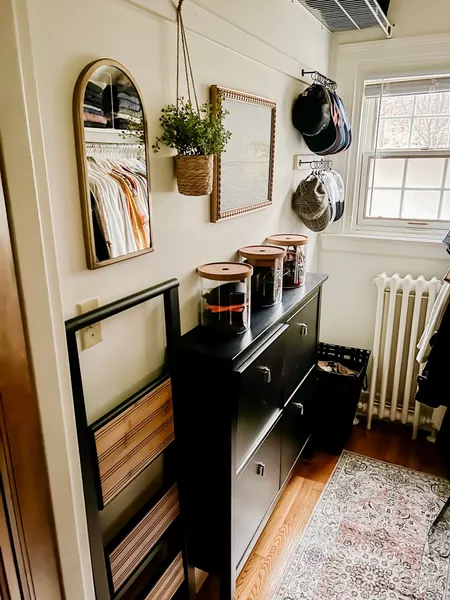
In the remodeling process, I also decided to add as tv to the room— I know, I know. A controversial decision. But I LOVE true crime, and my cozy space and new tv make for the best place to catch up on my stories. I didn’t want to lost storage with a tv stand, so I decided to put the tv on this Pottery Barn dresser.
Primary Bedroom Furniture Styling:
- 6-Drawer Pottery Barn Dresser
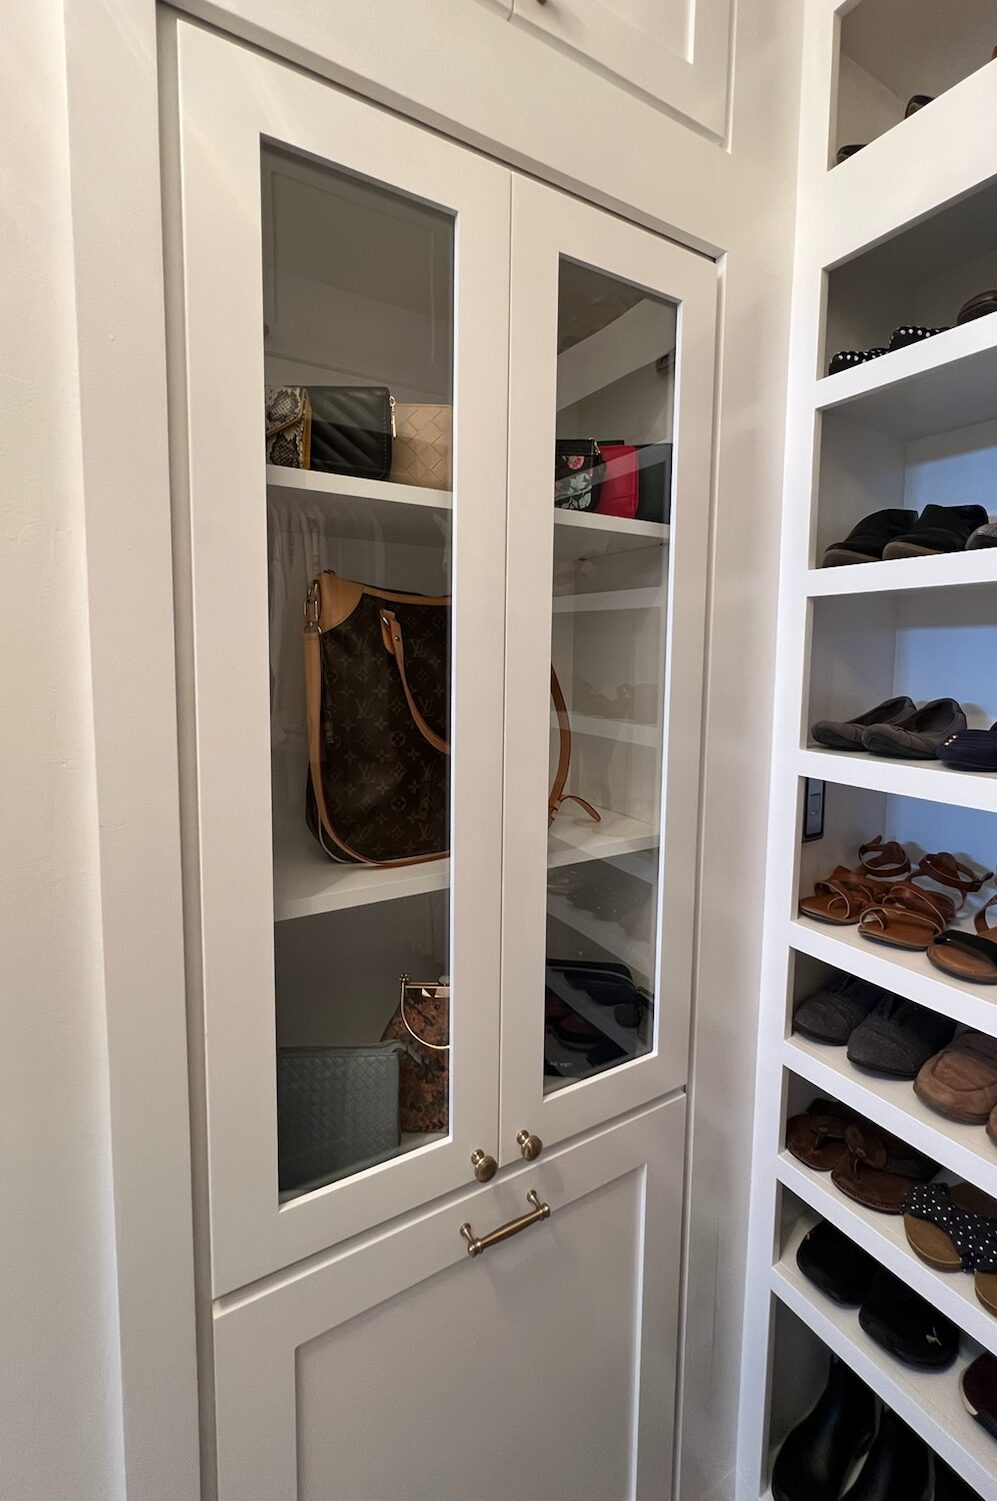
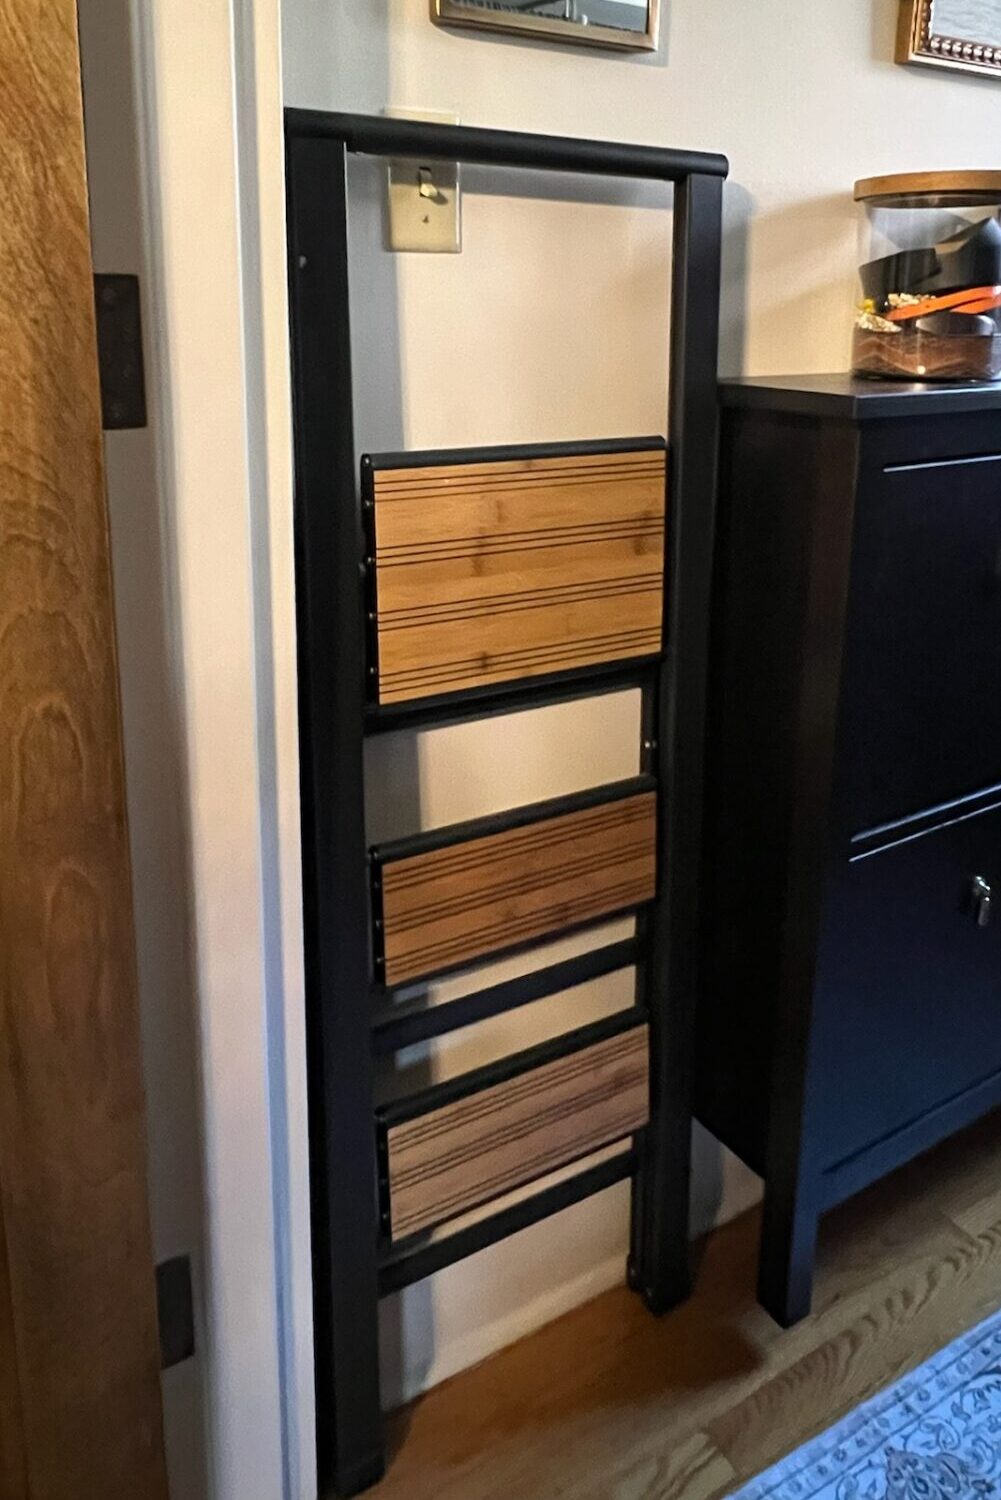
- Ikea PAX Wardrobe Frame
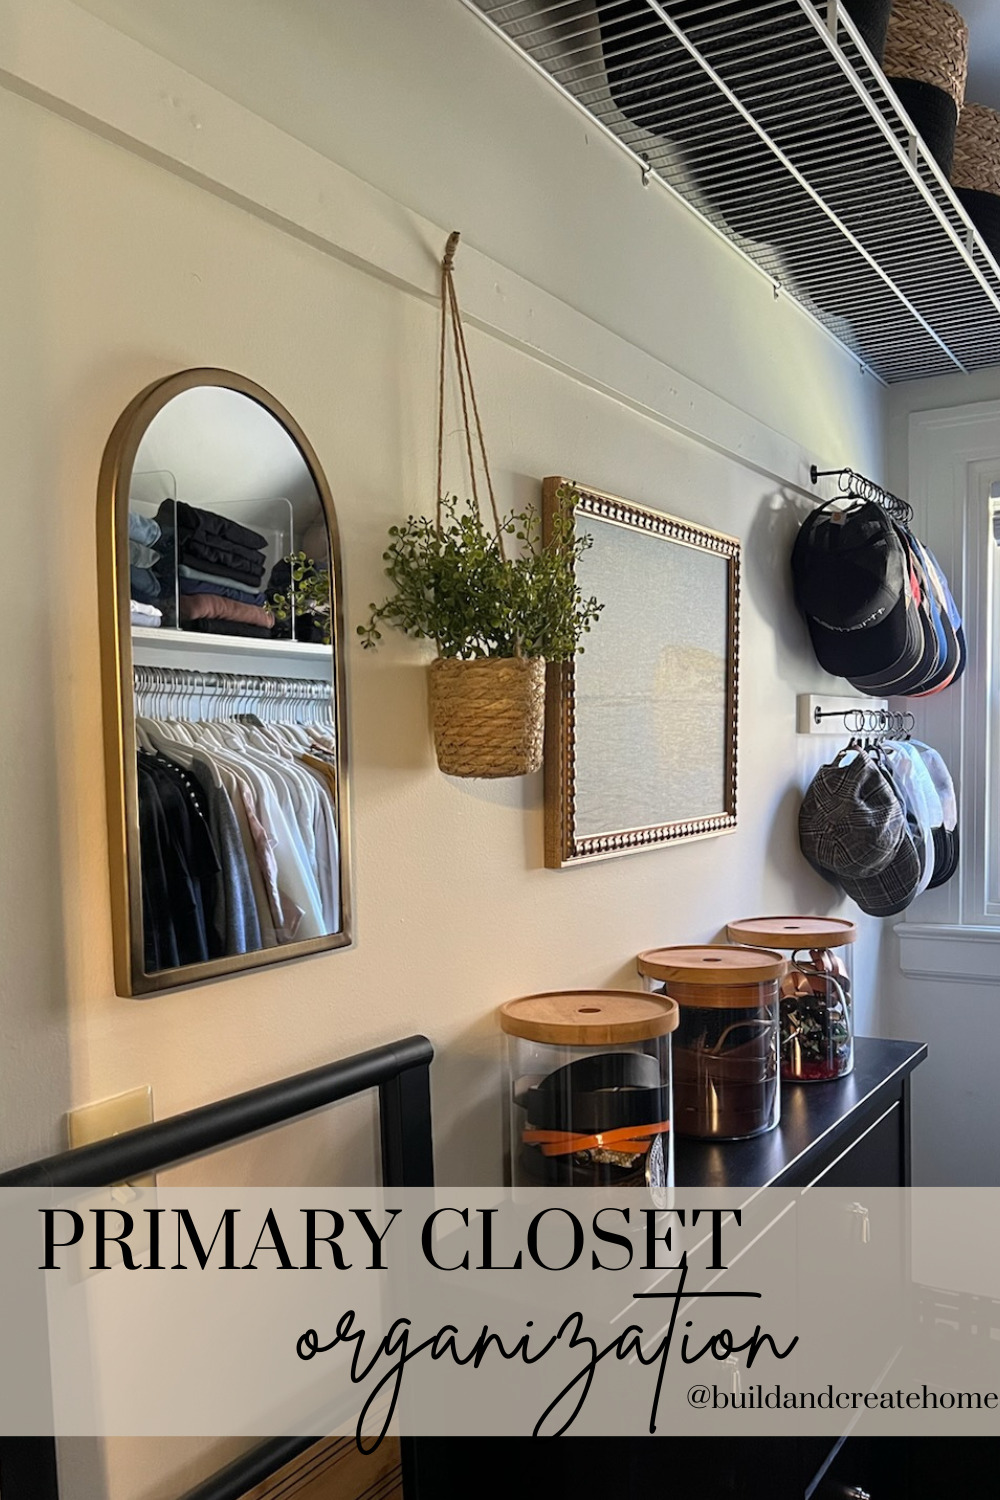
- Arched Mirror
- Reclining Armchair
- Oriental Rug
- Artificial Olive Plant
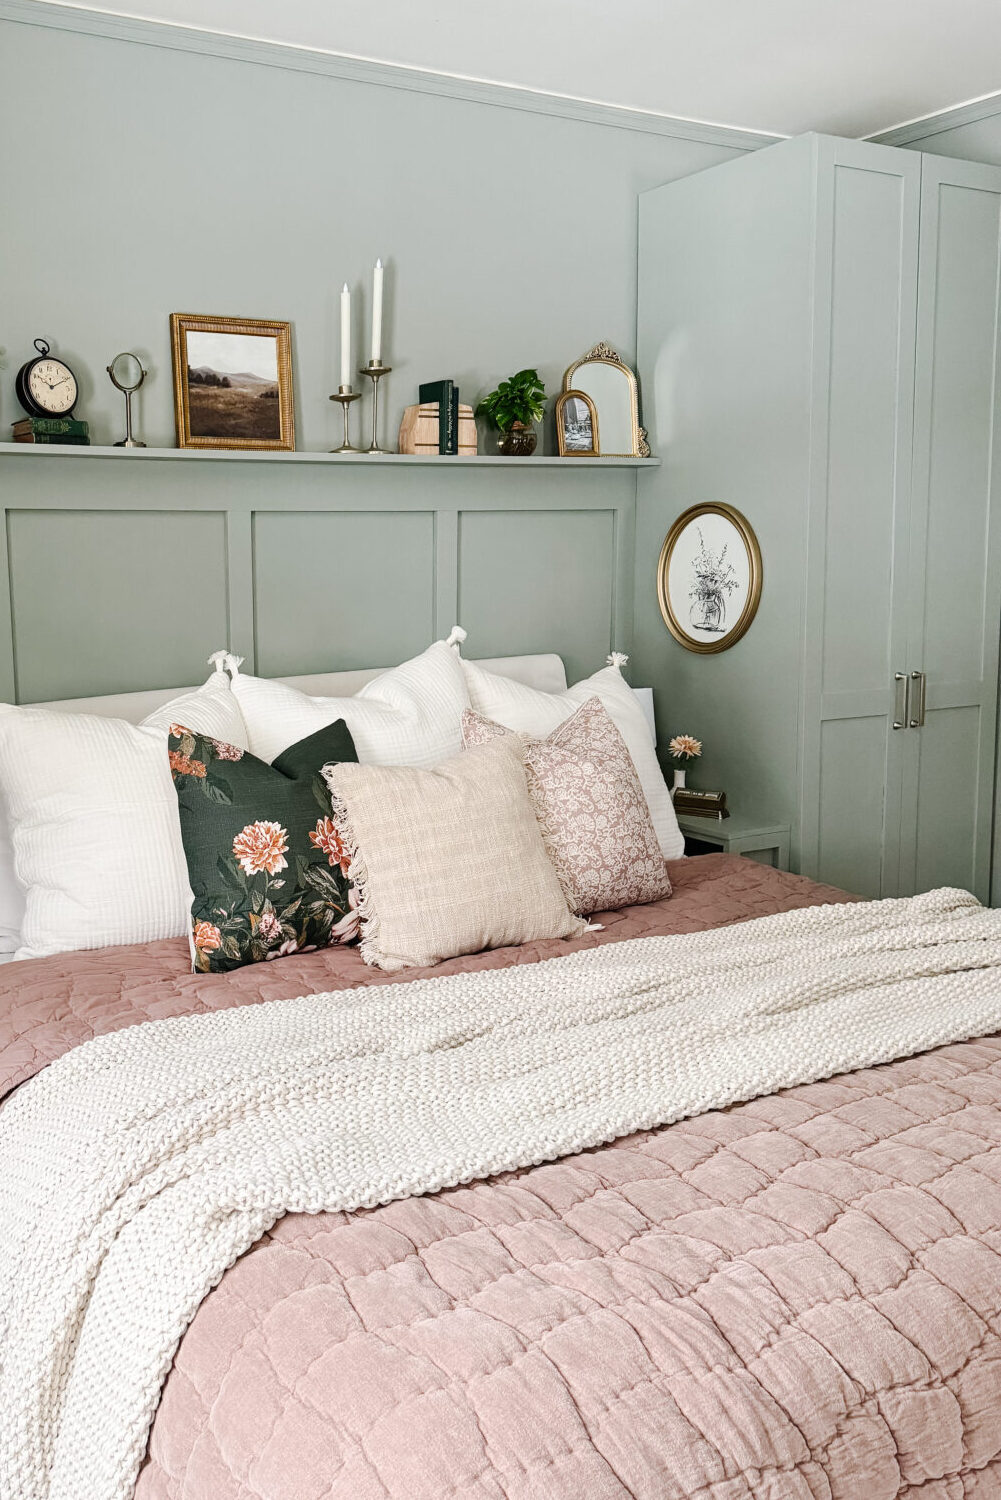
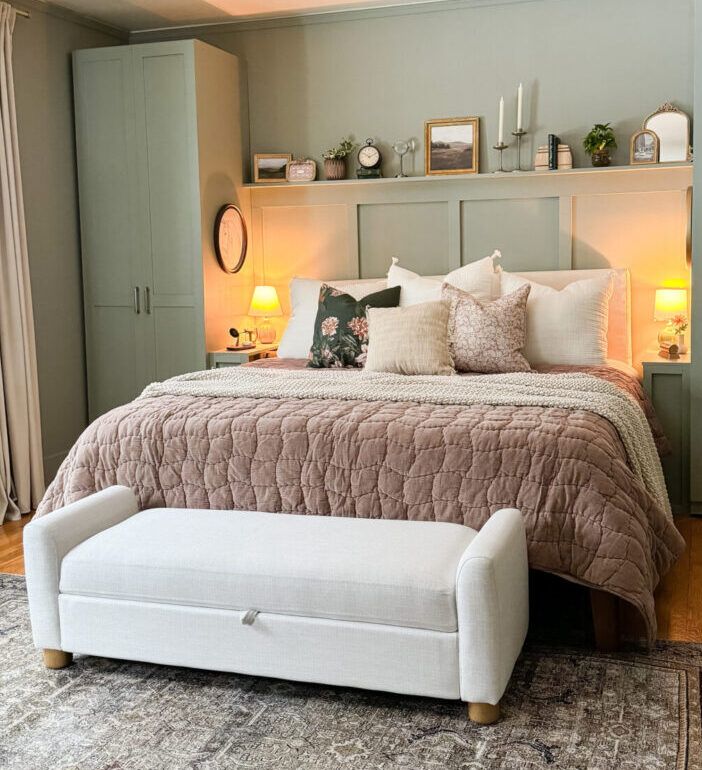
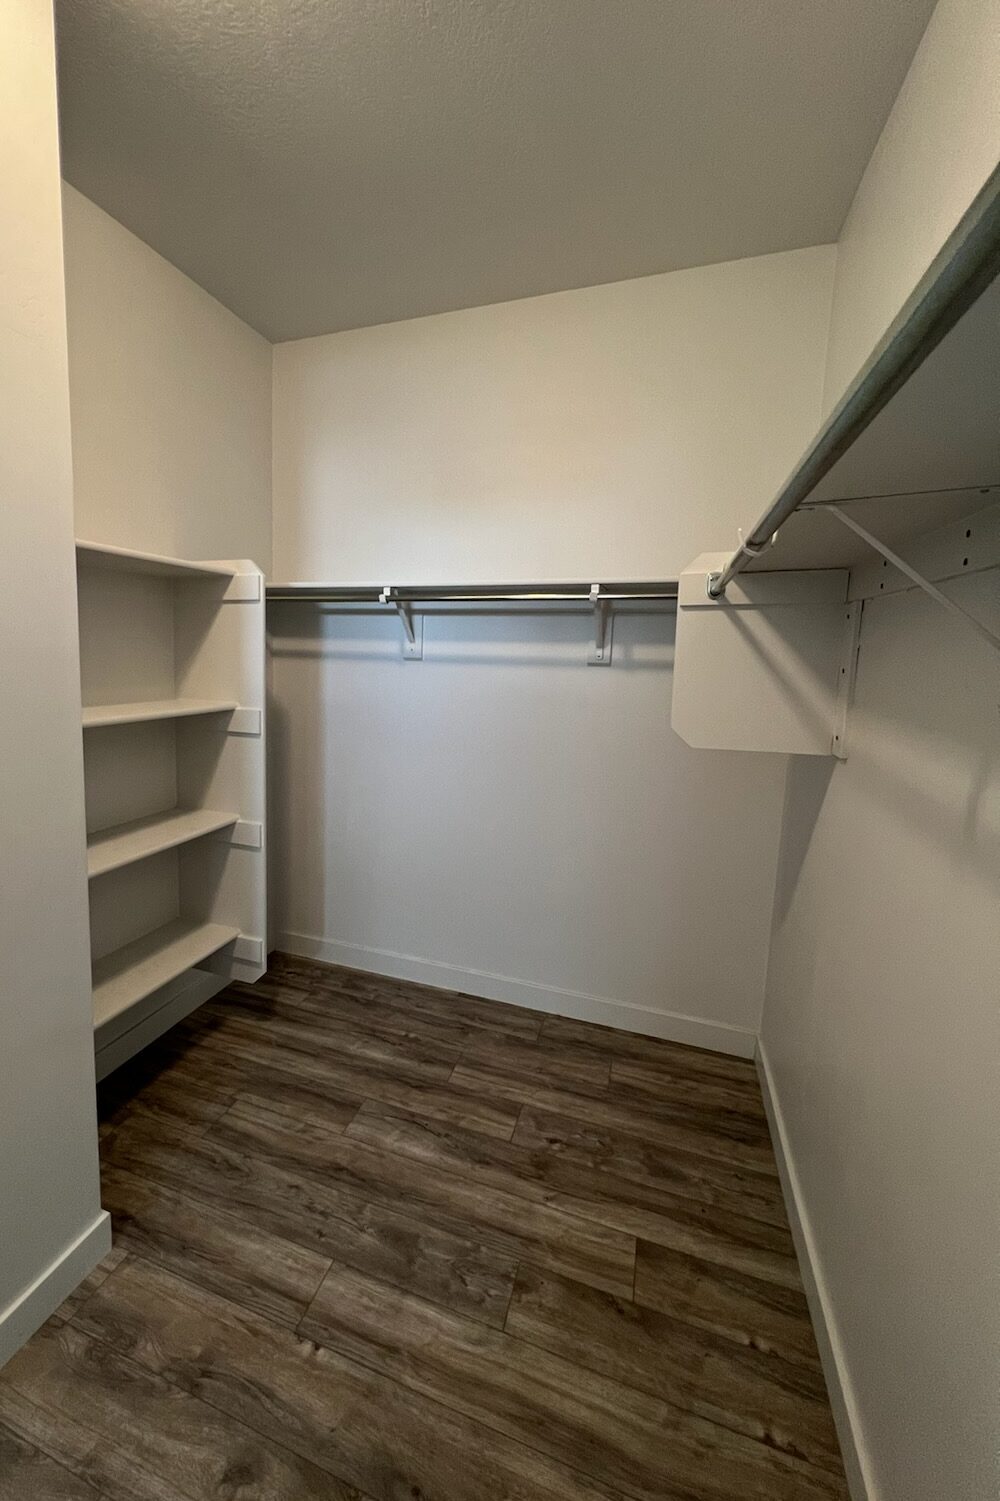
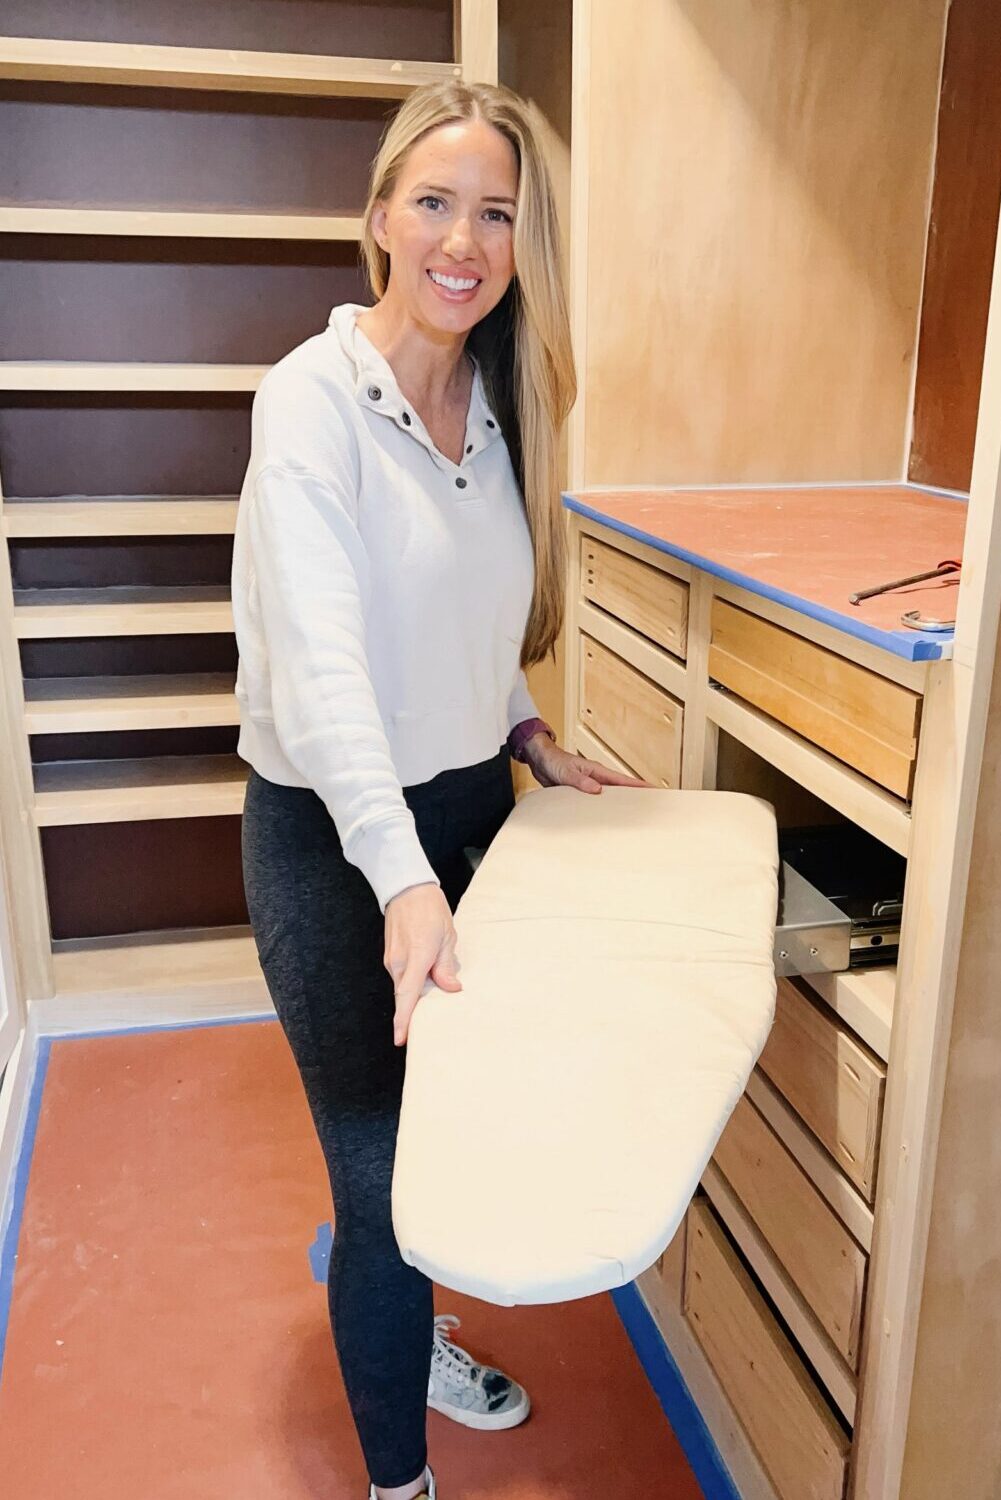
I wanted to add a Wardrobe frame to either side of my bed, and I love the Ikea PAX wardrobe. It didn’t have doors- so I had to handle that on my own! They come white, but I love a built-in neutral look, so I painted them the same Sherwin-Williams Evergreen Fog, and then got to work making doors! (I also made a board and batten wall with a slim shelf to go behind my bed, and two small side tables to fit in the places between the wardrobe and the bed.) I attached the small nightstands next to the beds and secured them to the shelves with command strips and double-sided mounting tape.
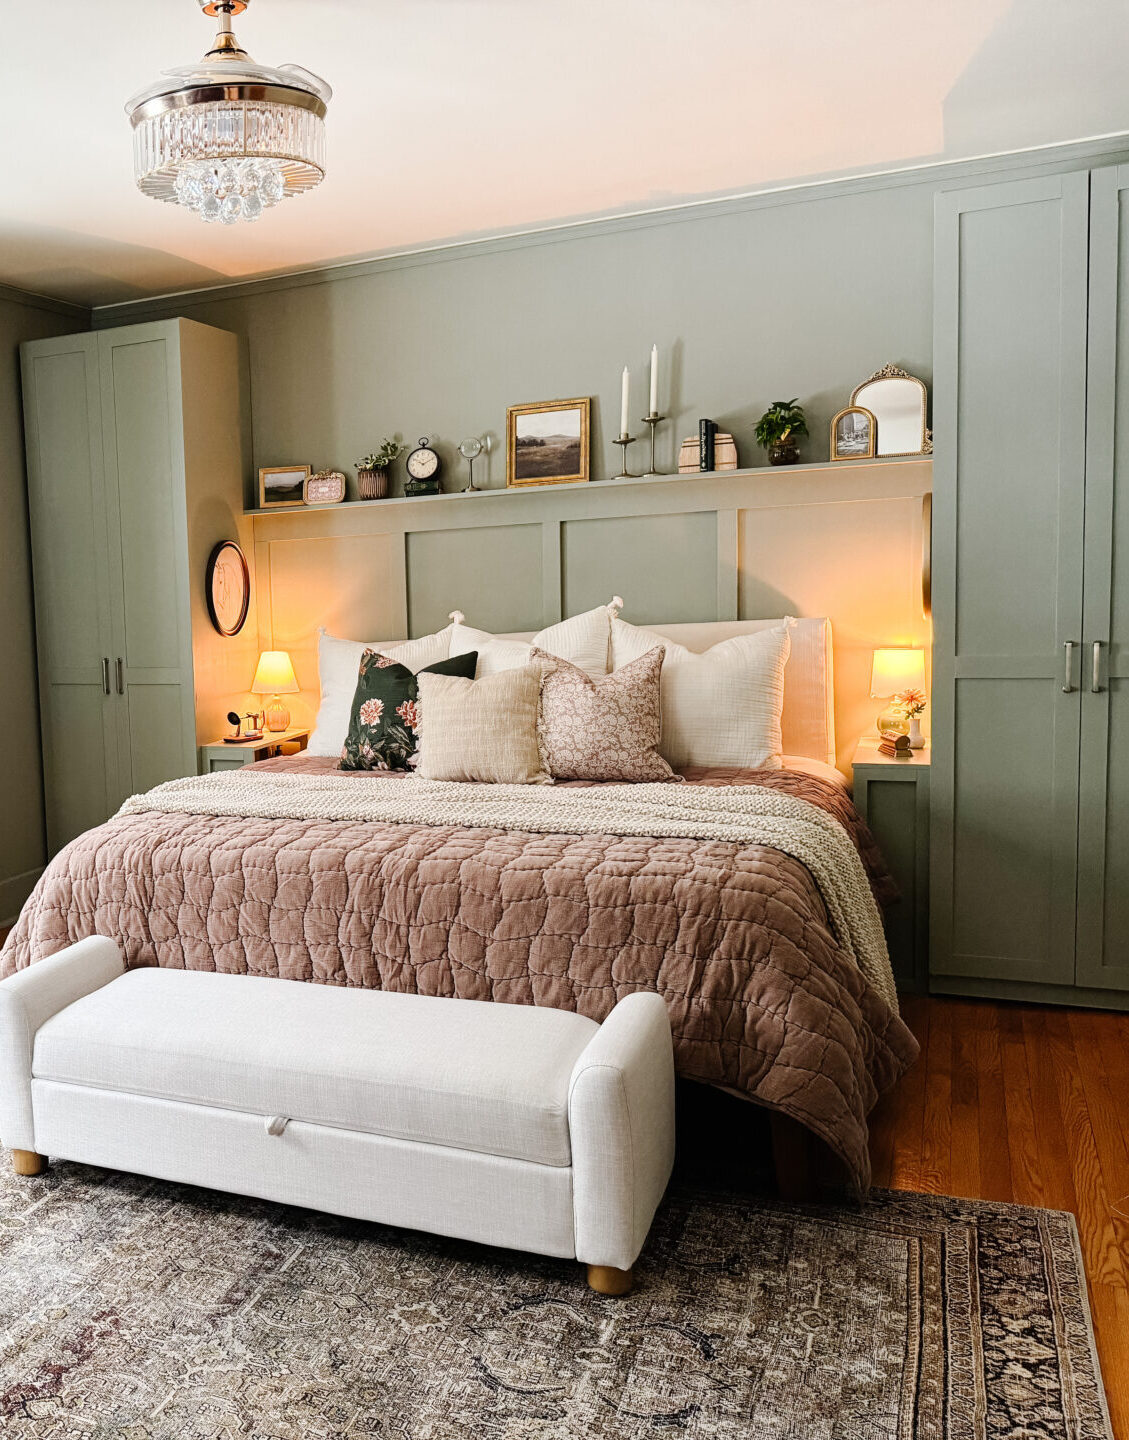
Tell me you don’t want to curl up in those pillows that fluffy duvet, and nap under that knit blanket! Are you kidding? And after I got the wardrobes installed and painted, I wanted to warm the space up with a nice rug. I think the Oriental Rug I chose was the perfect thing to tie the Evergreen Fog paint. If you want to see all the things I put on that bed to make it extra cozy- check out the links below.
Primary Bedroom Bedding Styling:
- Cotton Weave Blanket
- Cloth Throw Pillow
- Pottery Barn Duvet
- 250 Threadcount Sheets
- Chunky Knit Bed Blanket
After I got the wardrobes painted, and installed and the bed all made up, I got to do my favorite part of the project- add the decor! I wanted my room to feel romantic, cozy, and inviting. And I feel like a minimal amount of decor can make such a big difference!
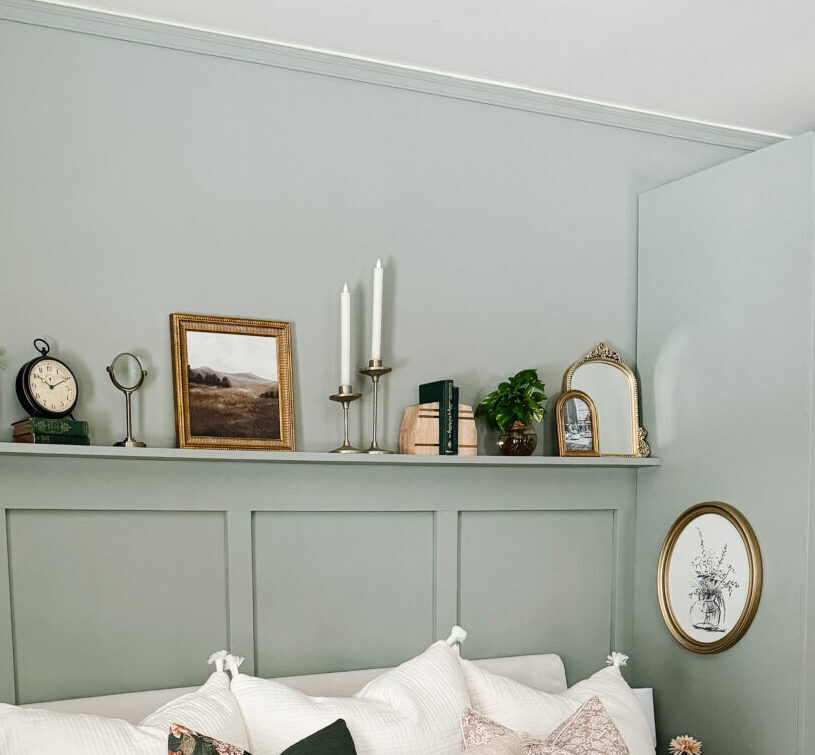
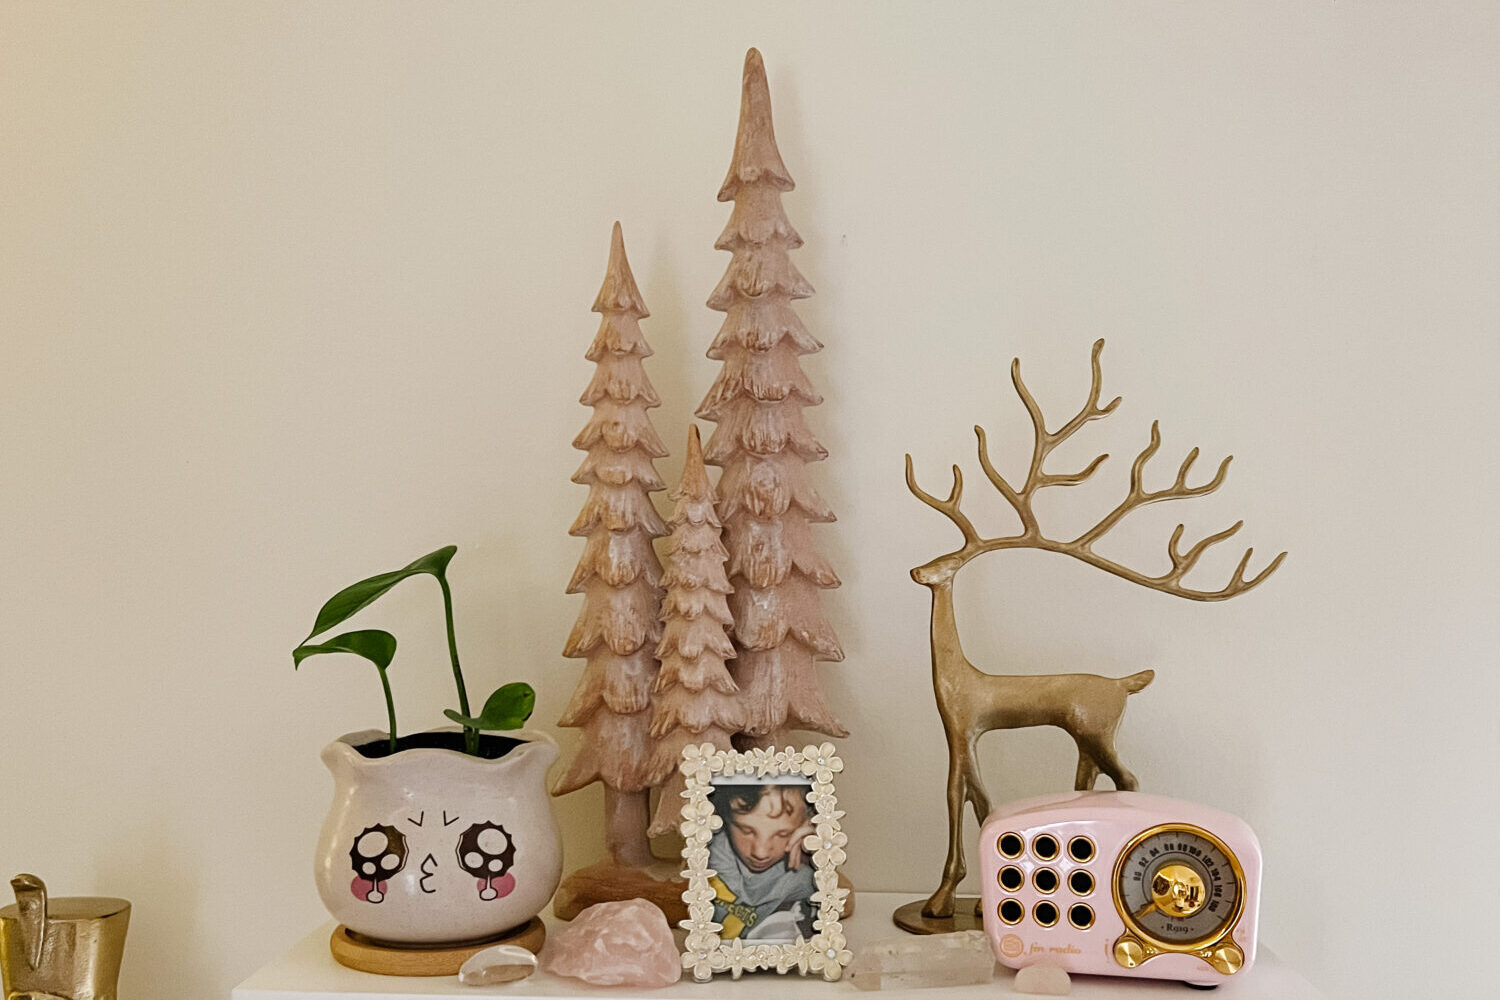
Add the Finishing Touches to the shelf in your Primary Bedroom!
If you’re looking for more makeovers and renovations, look here!


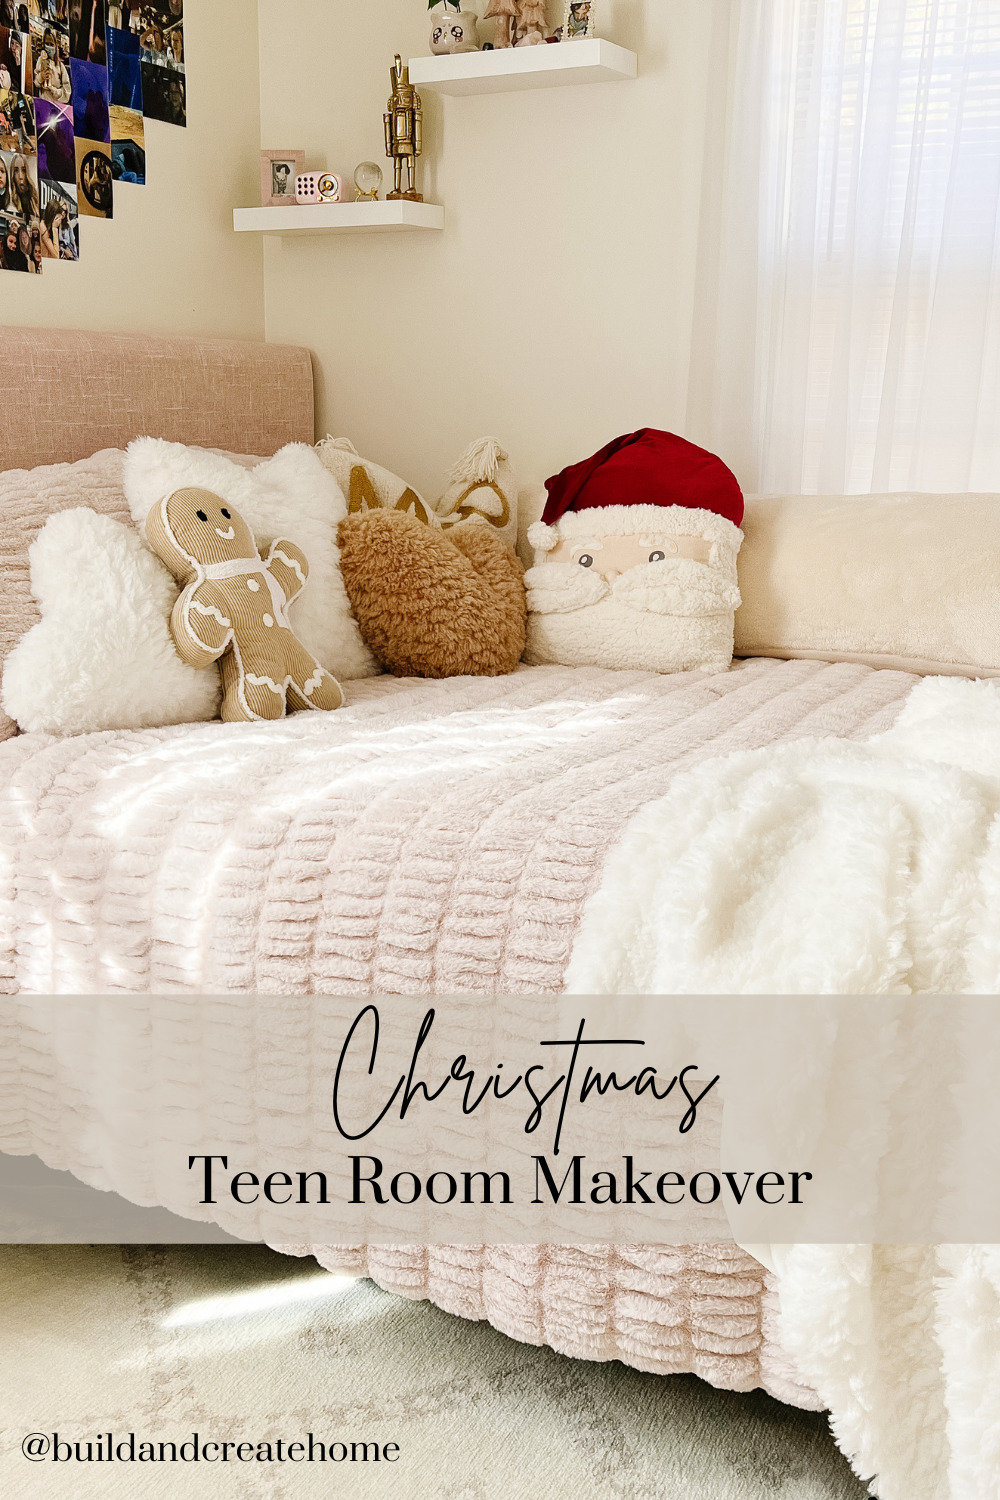

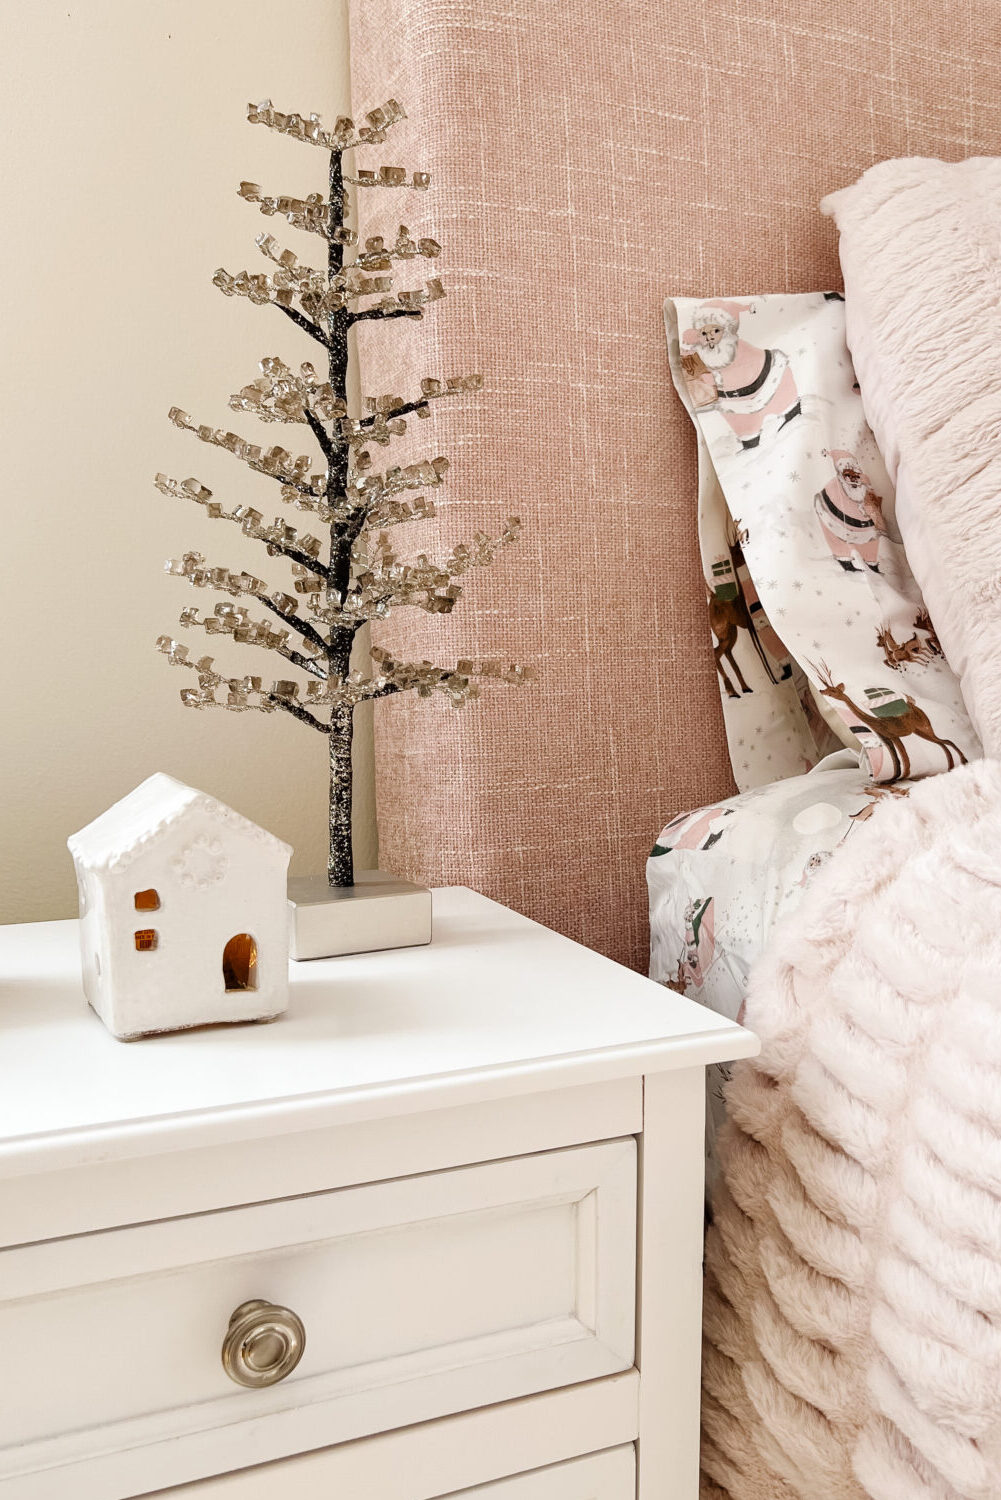
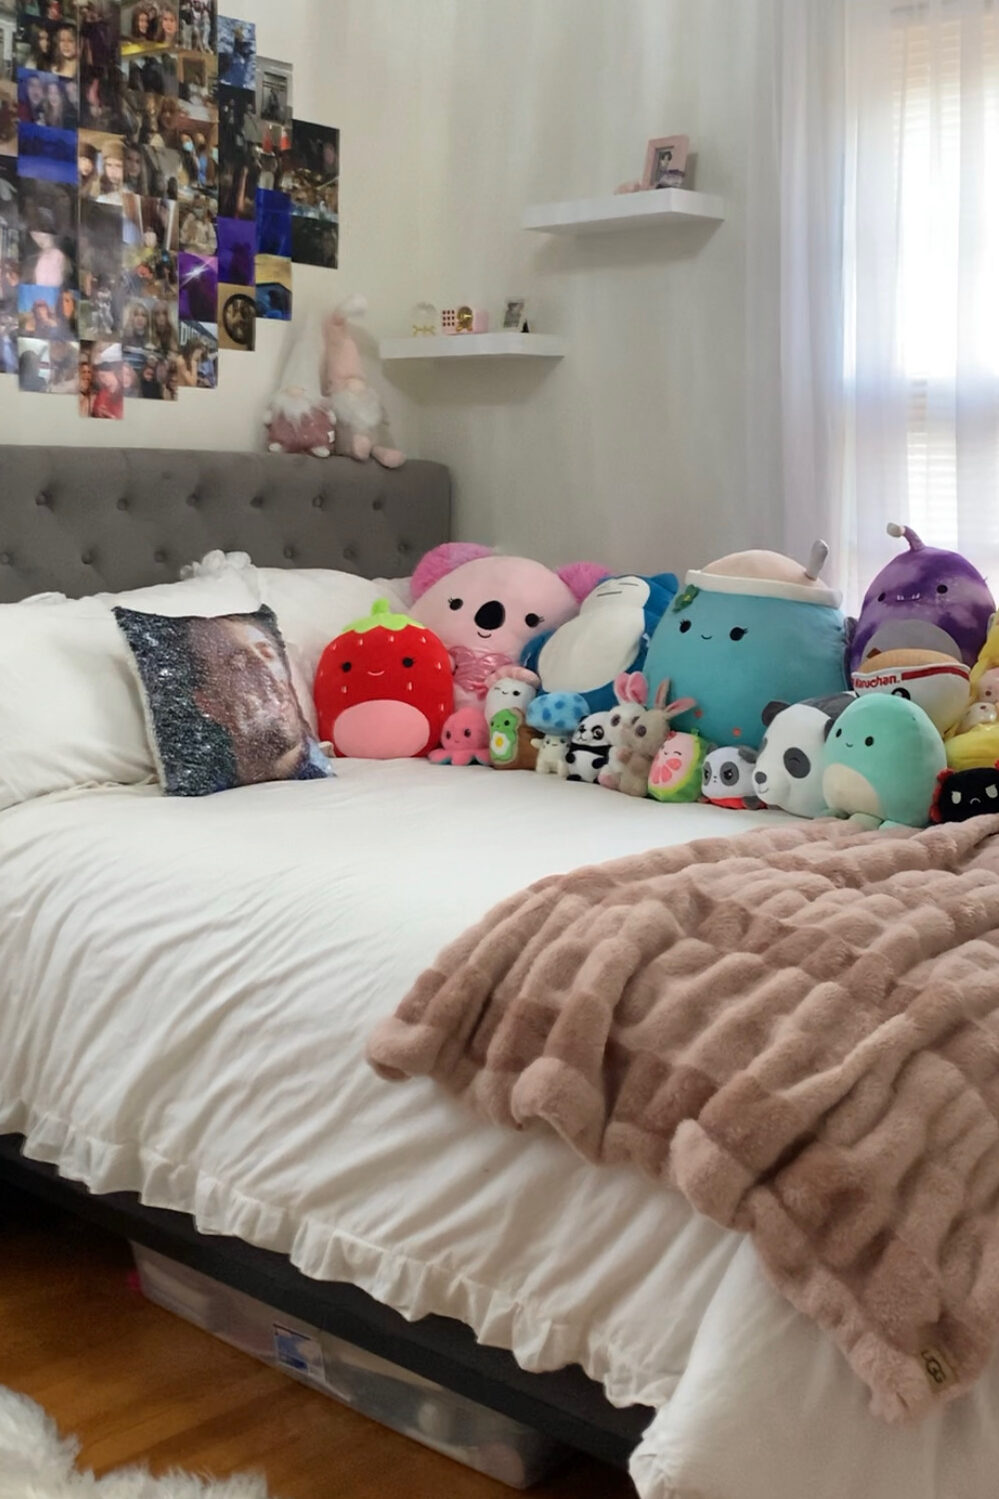
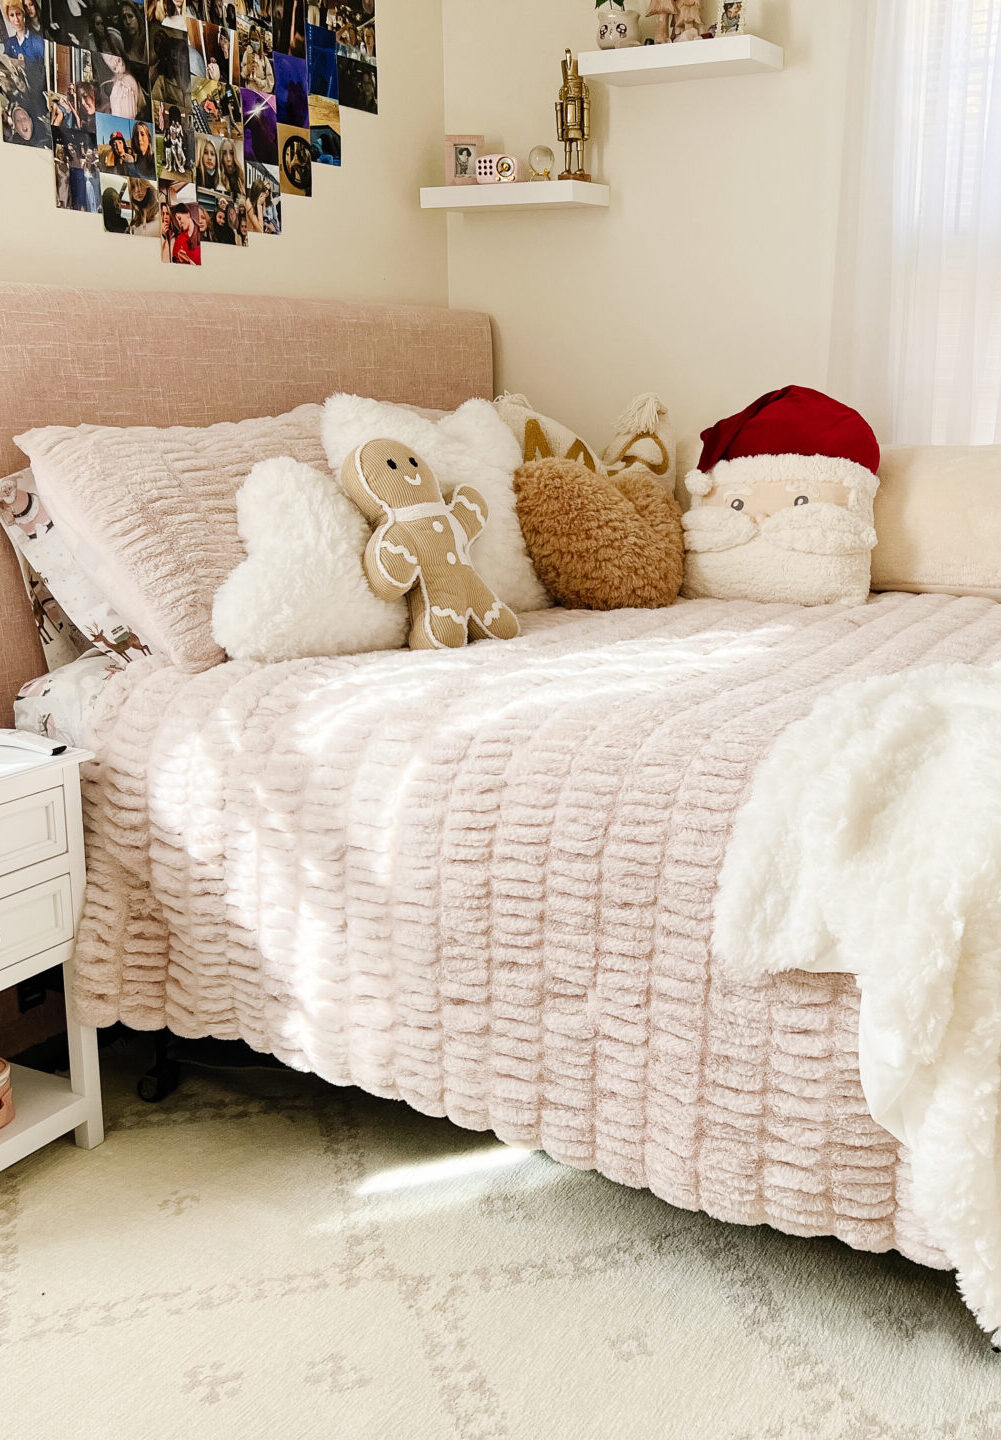
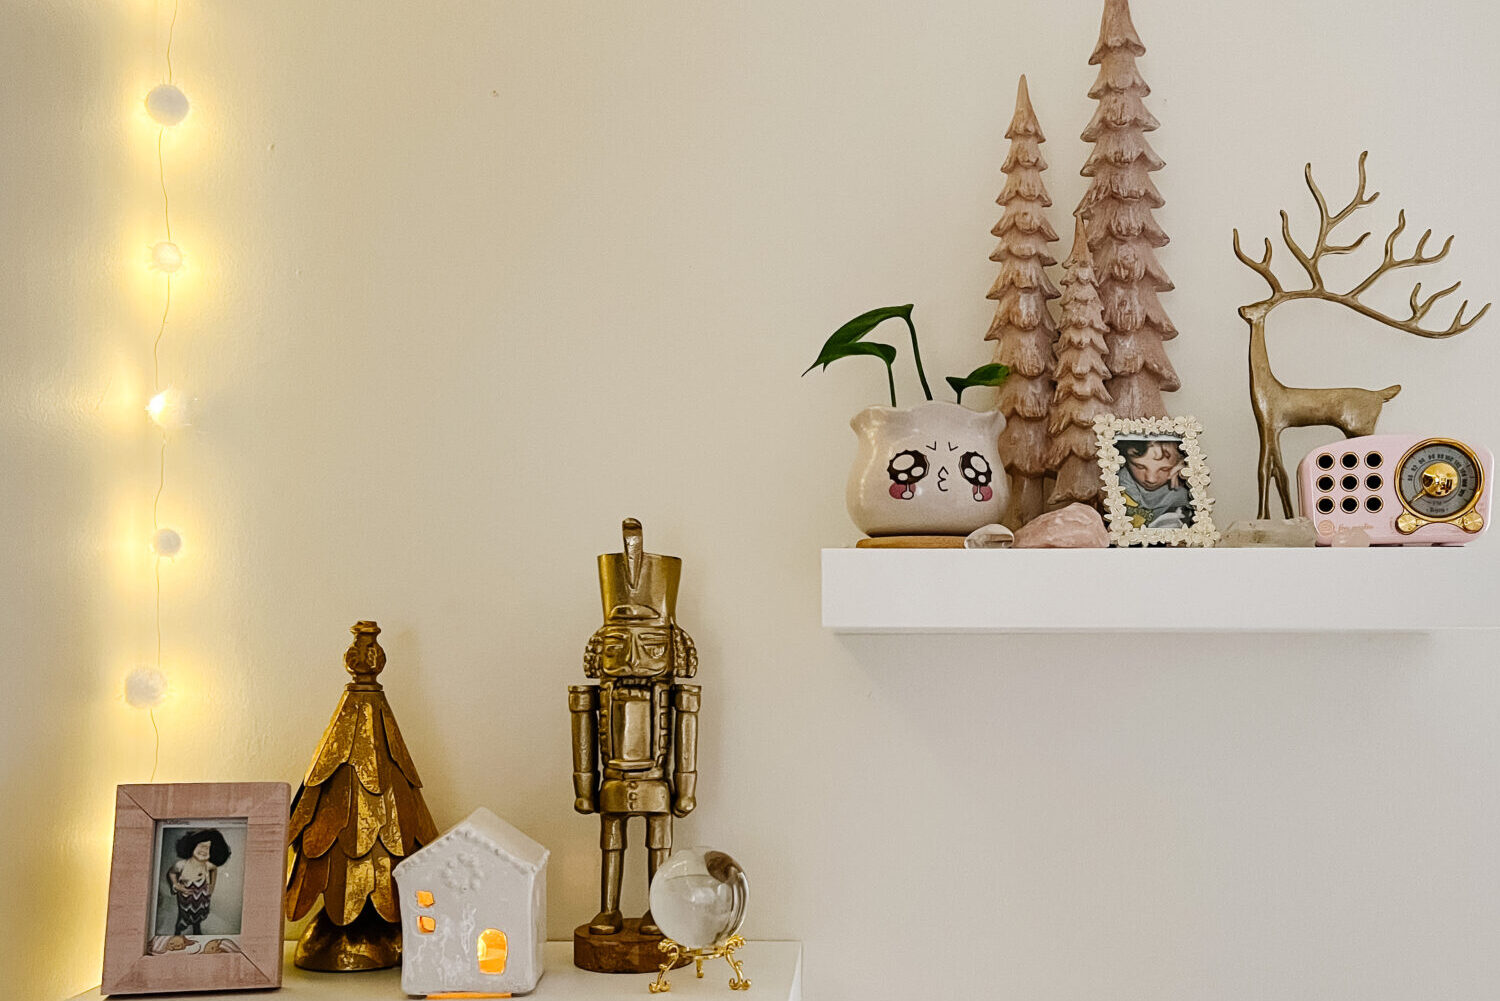 I love the shelves in my daughter’s room. They are so easy to switch out different decor pieces with, and they let her showcase that phenomenal personality and sense of self. We knew we wanted to clear off these trinkets that are all seasoned and make them divinely feminine and Christmas-y.