
I built my lollipop stand almost 3 years ago and have used it more times than I can count. It’s always a huge hit and gives some great height, dimension, and colors to the party table.
This post contains affiliate links.
I was inspired by Jaime, the DIY genius at That’s My Letter.

I loved the idea of a lollipop stand, but I knew I wanted it to be a bit taller to give more height on my table. And since I was living in Italy at the time, it was more difficult (and EXPENSIVE) to buy round wooden dowels. I had some 2×2’s on hand that I had moved from the States with me, so I decided to use that instead. It also made it a little easier to drill the holes since the 2×2 won’t roll away. 😉
This post contains affiliate links to items used in this tutorial. All opinions are my own.
Supplies needed:
– 2×2 – cut to 24″
– 1×6 scrap – cut to 6.5″
– Wood finial![]()
– Paint
– 1.25″ screws (2)
– Decorative contact paper (optional)
Step 1 – Cut pieces:
- First, cut your 2×2 to 24″ in length
- Then prime and paint to avoid paint dripping in all the holes later

Step 2 – Drill holes for suckers:
- After you’re done painting, drill holes at an angle ( Jaime’s tutorial has some great tips on drilling the holes)
I didn’t bother measuring and marking mine…just kind of eyeballed it since I’m lazy like that. I ended up with 22-24 holes per side, so it would be slightly less than 100 suckers/lollipops in all.

Step 3 – Attach the base:
- Next, attach a base or stand
Jaime attached hers with wood glue, but I thought I might want to change the stand out later. I also wanted to be able to break it down smaller to fit in my storage box more easily. So…I decided to skip the glue and did two screws to keep it from twisting. I’ve taken it down and up numerous times in the last few years, and it still works like a charm. I have also changed out the contact paper a couple times to match different events. Red for our Christmas party, pink for an American Girls’ Doll party, etc. I just wrap it similar to a present and cut off the excess, so it stays flat.

Step 4 – Attach the finial:
- Attach the finial for a decorative touch
The finial was something I happened to have on hand and liked that it gave a finished look to the top. You can find them at home improvement stores, craft stores, and even on Amazon![]() . They range in price from $3 – close to $25 for some nicer ones!
. They range in price from $3 – close to $25 for some nicer ones!

And you’re done! It’s as easy as that! Cut, paint, drill, attach.
Here’s mine at a few of our favorite parties.
This pic isn’t great quality, but I wanted to show you the height comparison with my daughter. This was also with the pink contact paper.

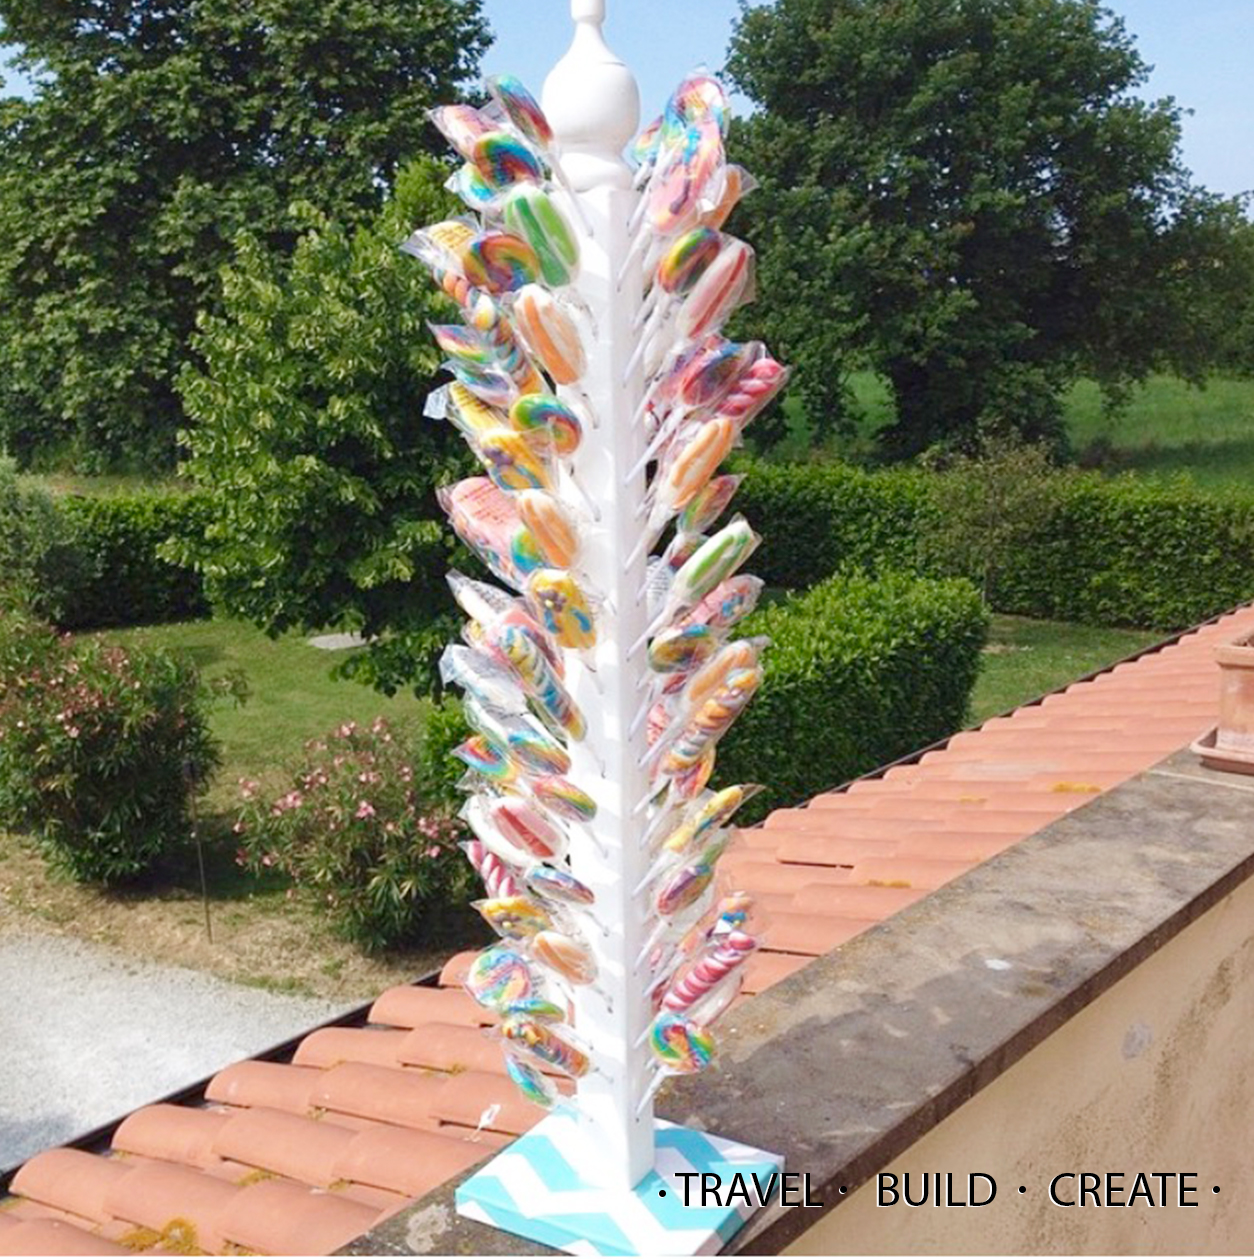
And this was a luau-themed birthday party. We used these surfboard suckers![]() and these twist lollipops
and these twist lollipops![]() . They’re super cute, but honestly they don’t taste that great. The kids didn’t seem to mind, though. Ha!
. They’re super cute, but honestly they don’t taste that great. The kids didn’t seem to mind, though. Ha!


And that’s it. Quite possibly the easiest beginner build you can think of! The drilling is a little tedious, but it’s nothing tricky or difficult.
Happy building and creating,
Charlee
Great idea, looks really cute!
Thanks for the visit and nice comment dear! xoxo
Vesna – Home Chic Club
Thank you so much. 🙂
Aloha,
Charlee
Thanks for including my baby version 🙂 I'm absolutely in love with your tall stand and genius on wrapping the base! So pretty and fun for the kids.
You're honestly so creative. I think I ran out and made this the DAY you posted it on IG, I loved it so much. 😉
Aloha,
Charlee