Today we’re going to do another great beginner woodworking project! If you need the most simple Christmas DIY, please read the bench makeover article. If you’re ready to move on to a bit more complex, but still simple project… this is it! A DIY stocking shelf that makes a great stocking shelf for Christmas or can be easily used in an entryway year-round!

This post was sponsored by my friends at Worx and may contain affiliate links. Opinions, tutorials, and plans are my own.

This is truly a beginner DIY project since all you need is a drill if you are able to have lumber cut at your local home improvement store! If not, you’ll need a saw.
Supplies needed to make a DIY stocking shelf:
– 1×6 (cut to 30″ for this 5 stocking shelf)
– 1×4 (also cut to 30″)
– Hooks
– 1.25″ drywall screws
– D-ring hooks or sawtooth hooks
– Stain of your choice
Tools needed to make a DIY stocking shelf:
-drill
Step 1- Cut your lumber:
Cut your lumber. Some home improvement stores will cut dimensional lumber for you. If yours doesn’t, you can use a hand saw or any power saw of your choice to cut your pieces. I recommend a miter saw for this type of cut.
For 5 stockings, I did 30″. You need to cut both your 1×6 and 1×4 to the same size. I recommend going to up 35″ or 36″ for 6 stockings, but I don’t think I would go smaller for fewer stockings. Just space them out more on the 30″ size.
Step 2 – Lay out your pieces:
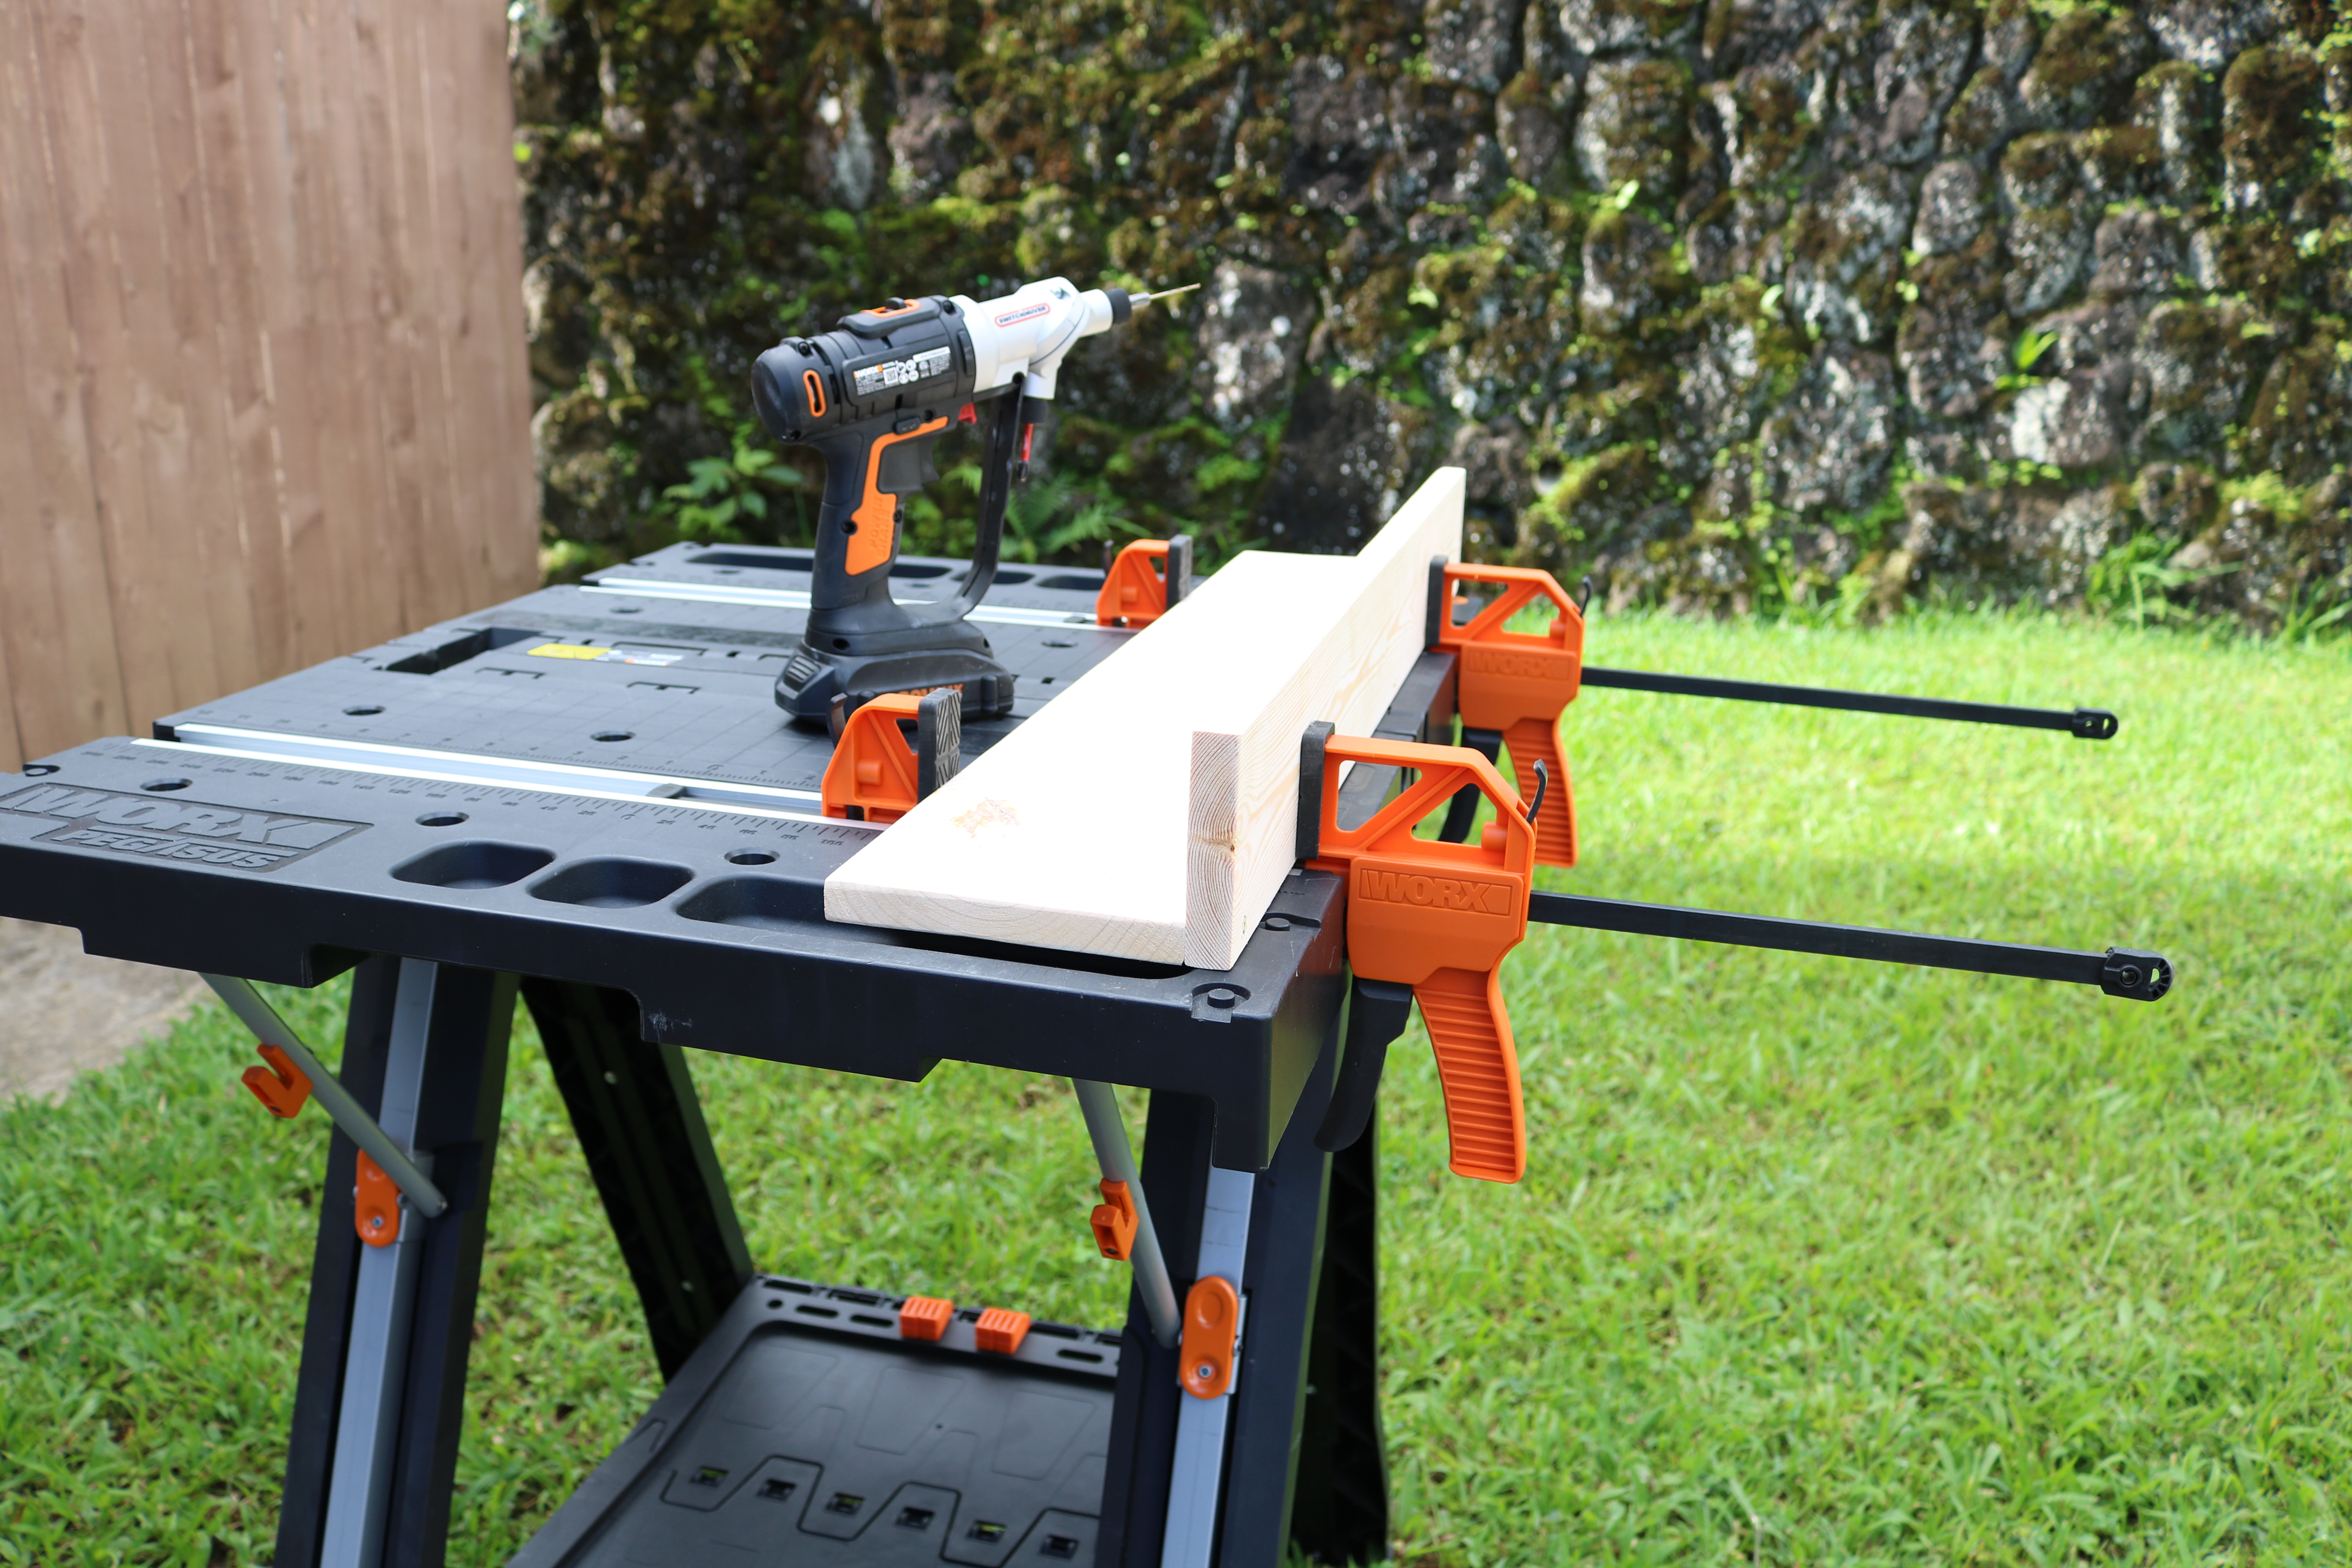
Lay your 1×6 face-up and put your 1×4 right up against it on its side. This is where my Worx Pegasus came in handy! It can be tricky to drill pilot holes into two pieces of lumber without a clamp (or two!). I was able to lay it on my bench and clamp it within seconds. It made drilling my pilot holes a breeze!
Step 3 – Attach two pieces:
After drilling 5 pilot holes, I used my 1.25″ drywall screws to attach the two pieces together.
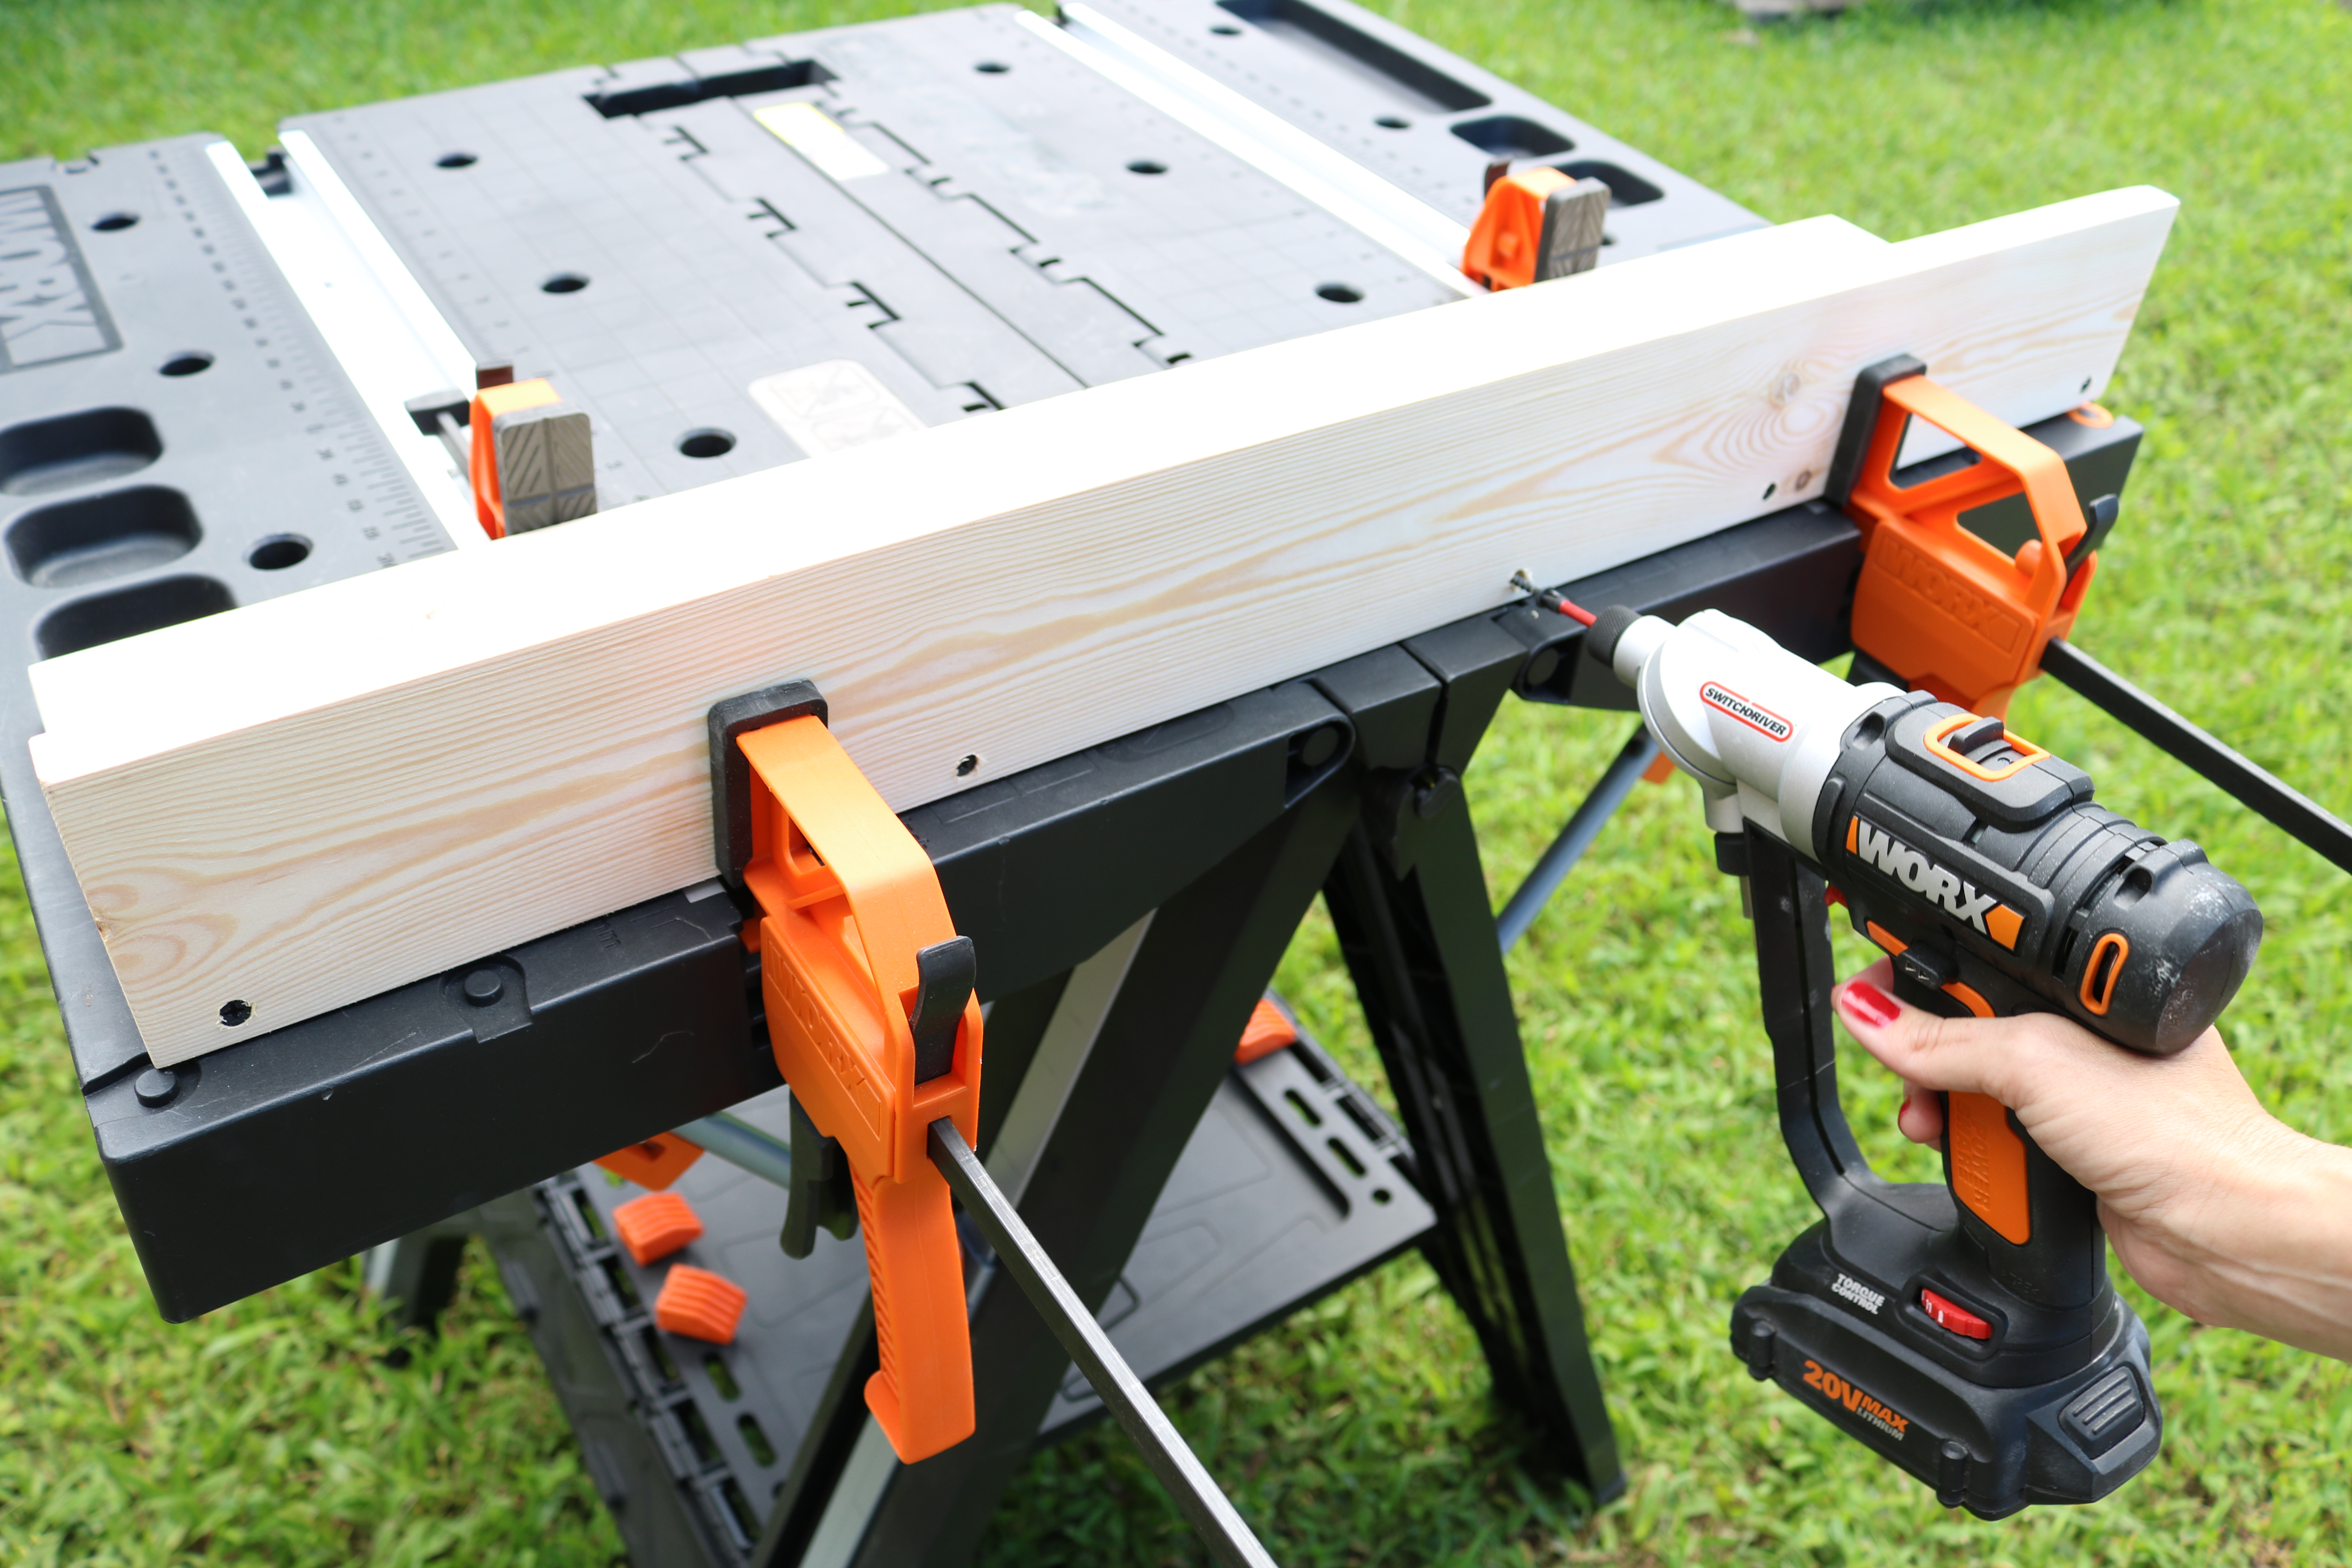
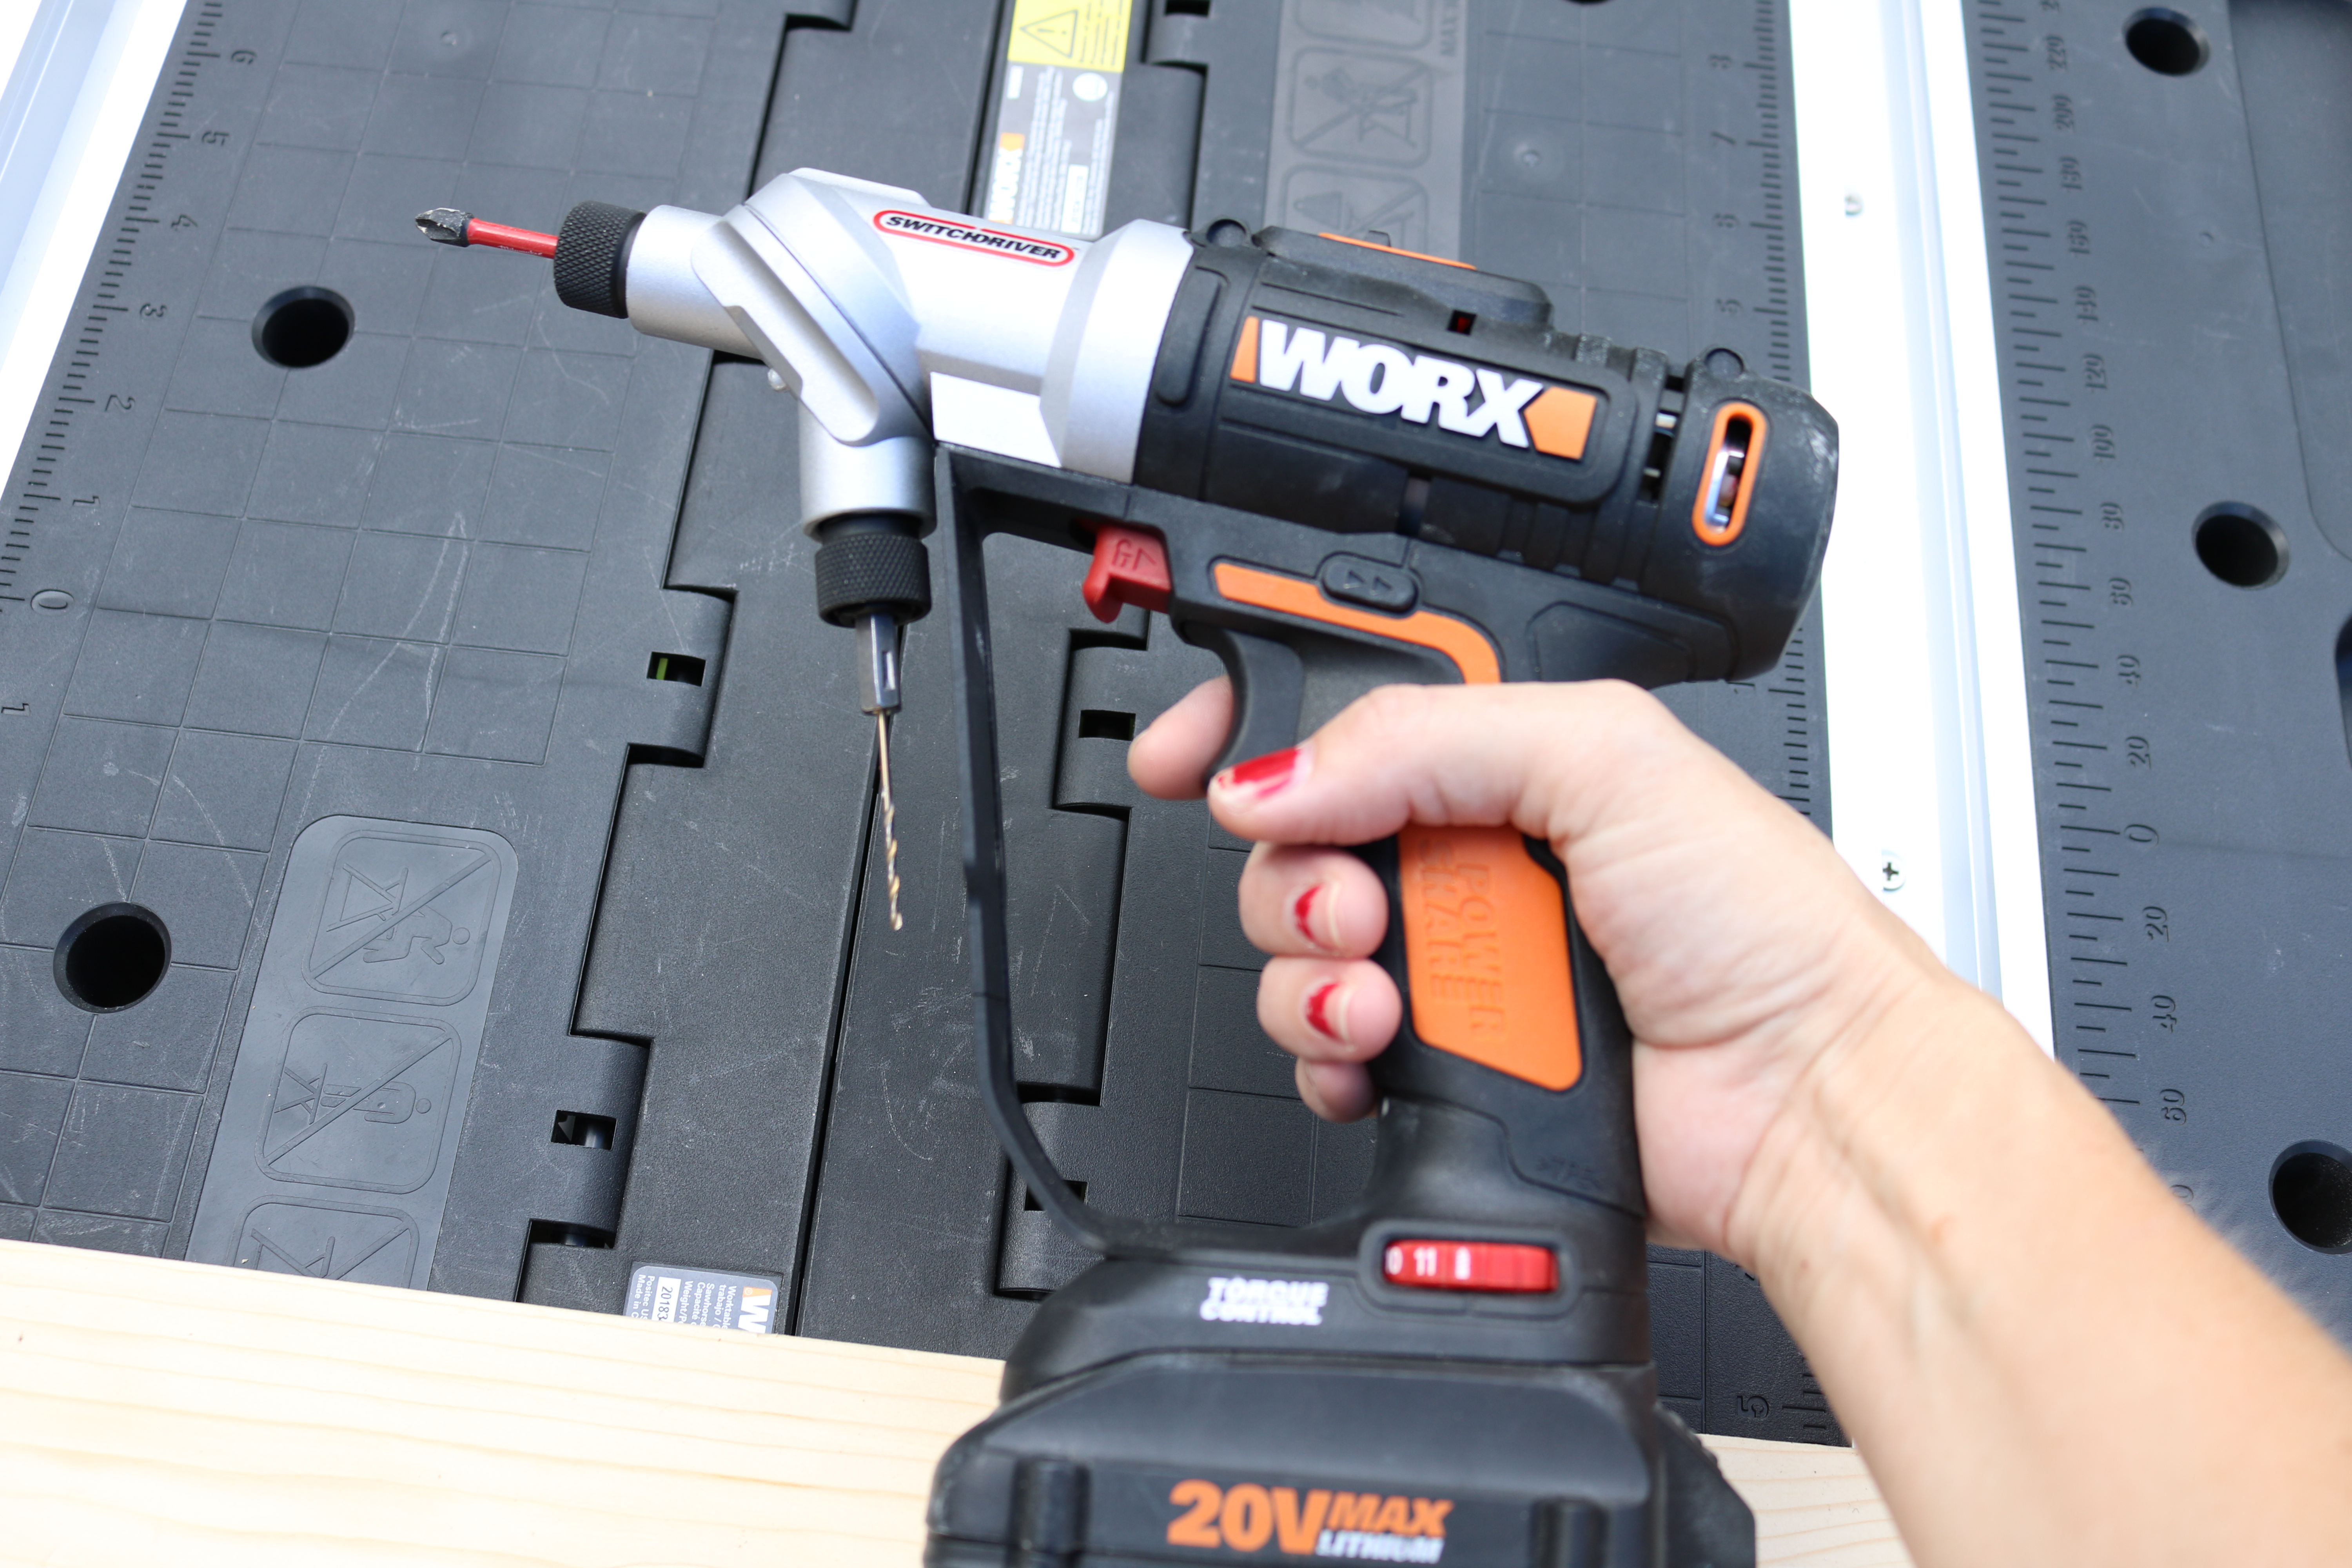
This drill I used is also made by Worx and is called the Switchdriver. You can go back and forth between different bits without having to have multiple drills! It’s also a very lightweight drill but still sturdy and able to be set upright (some lightweight drills fall over when set up like that).
Step 4 – Stain:
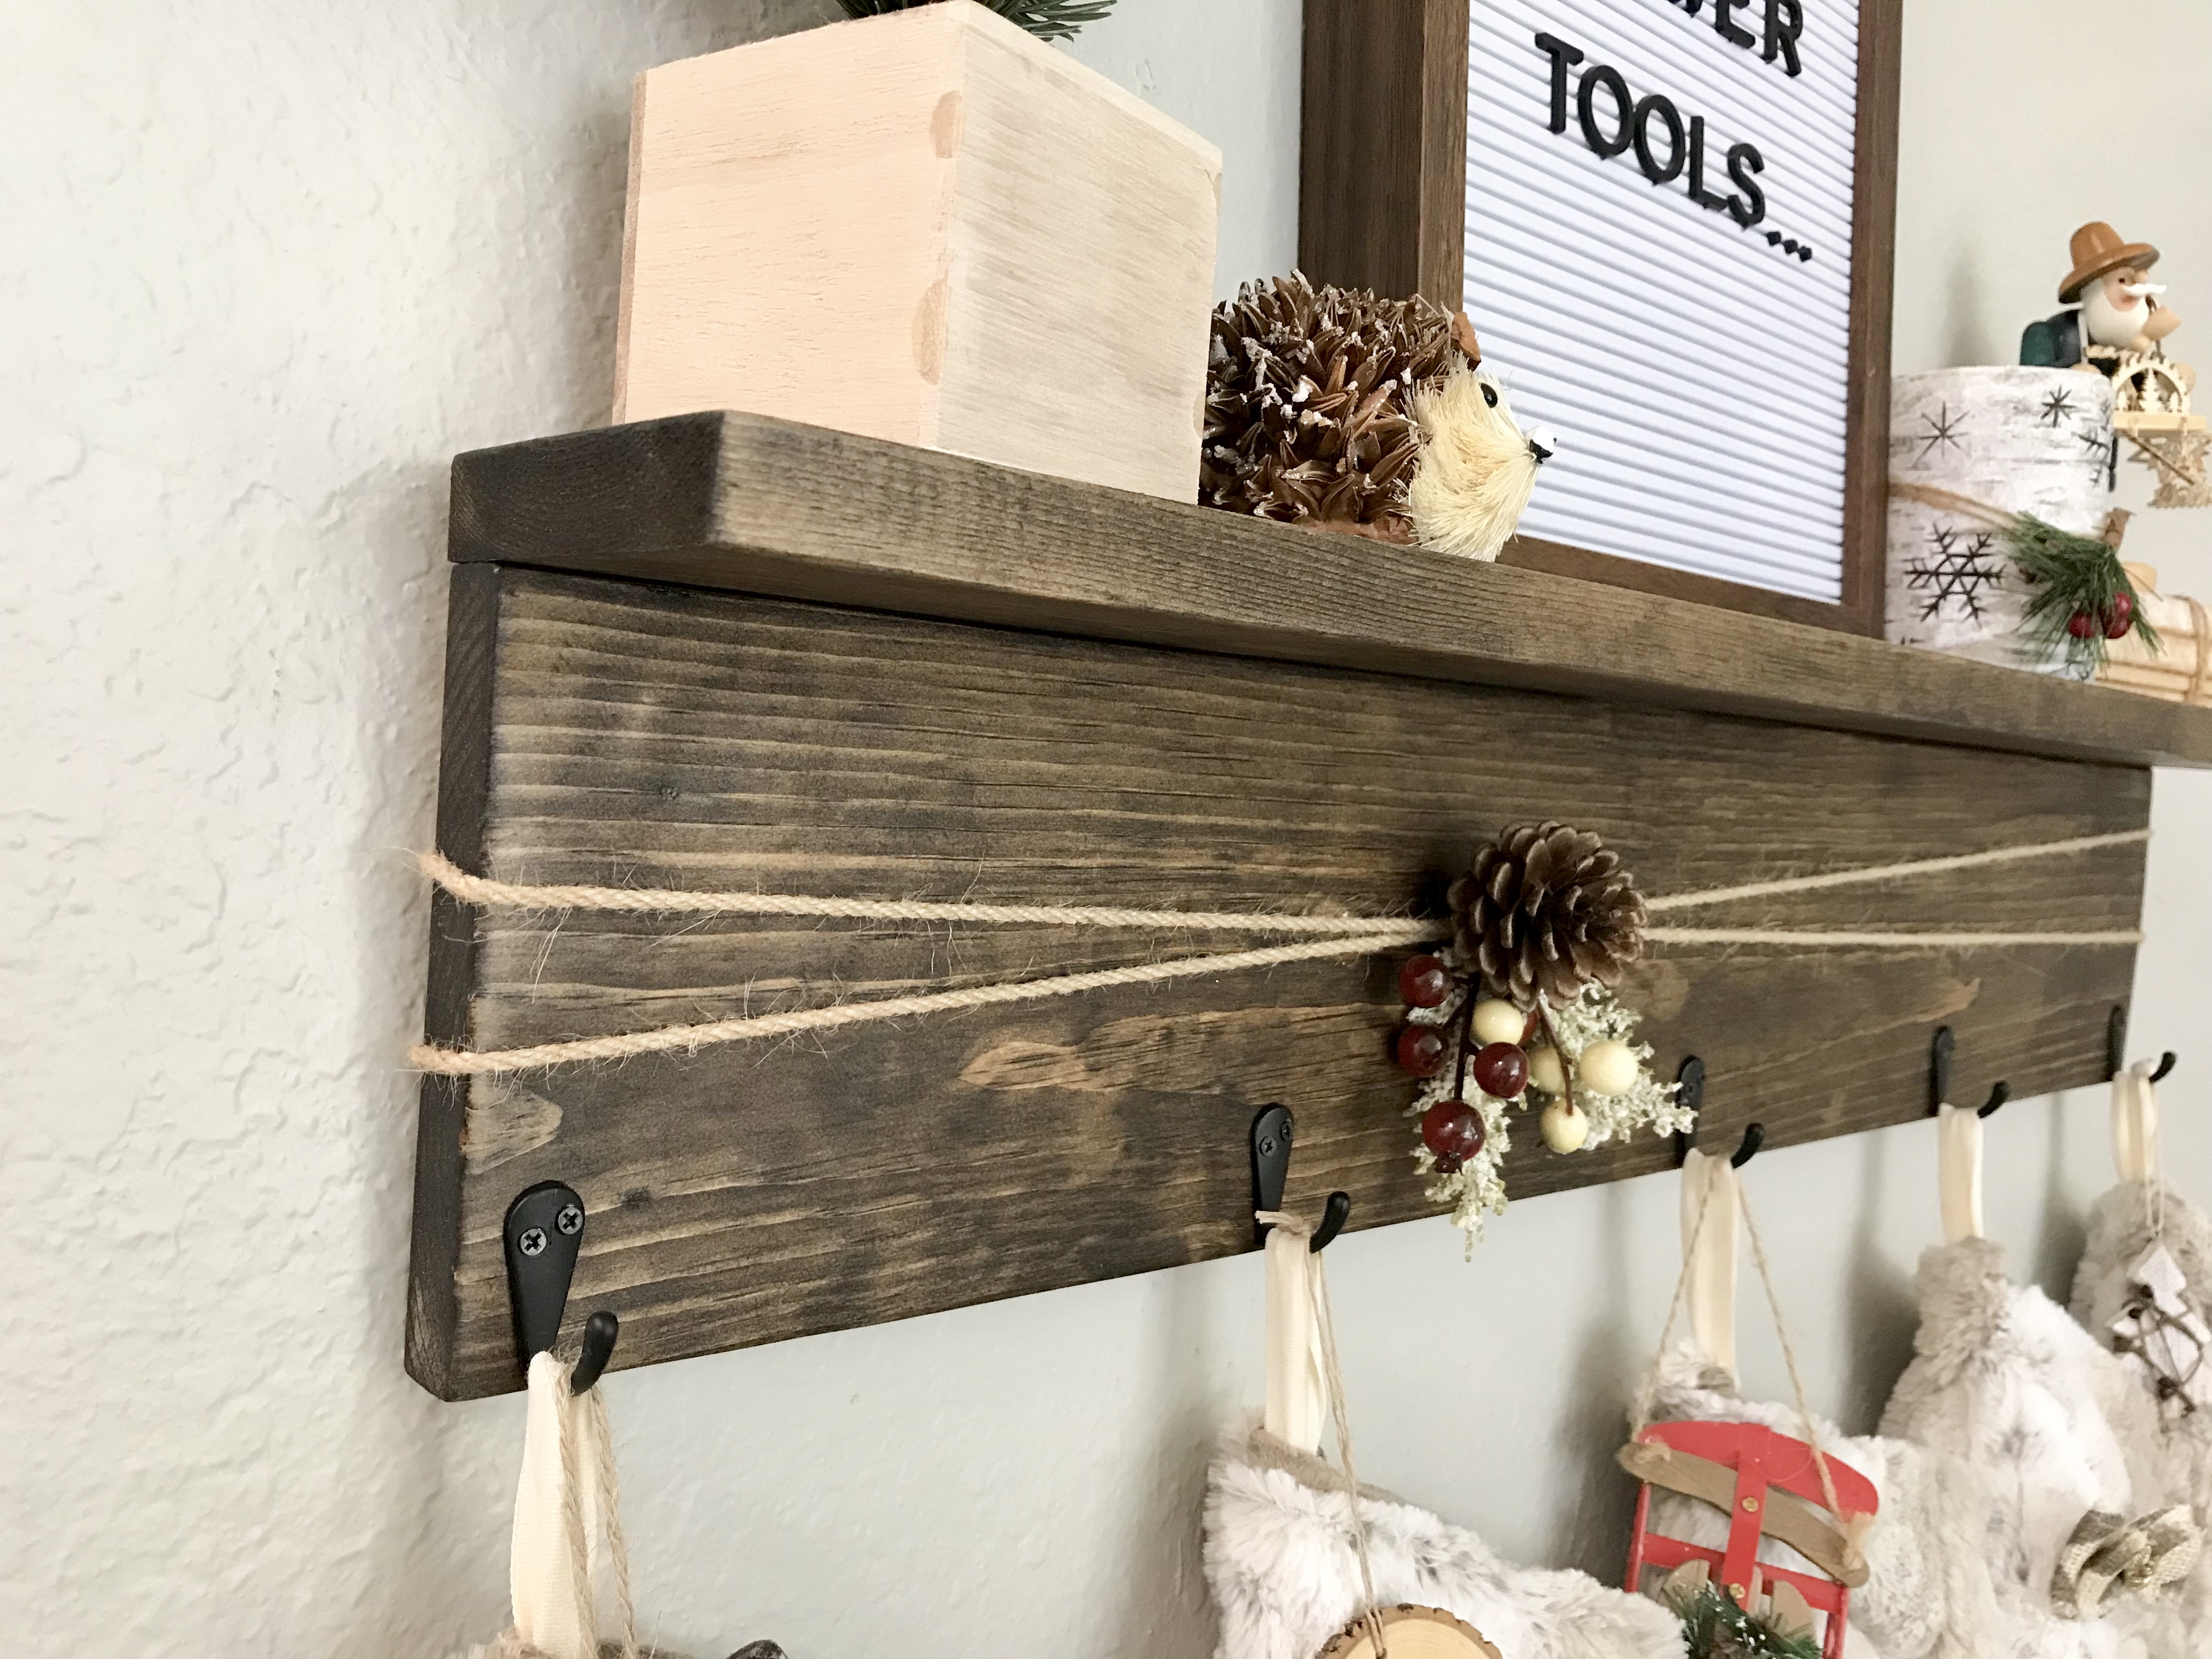
I used Minwax in Dark Walnut for this shelf, and I tied jute rope around it to make it removable after the holidays.
Step 5 – Attach hooks:
I purchased these hooks from Amazon. They come with a small screwdriver, and you don’t even need to drill a pilot hole into pine since it’s such a soft wood. They go in very easily!

Step 6 – Attach D-rings or sawtooth hooks:
You can use either D-rings or sawtooth hooks to attach the shelf to the wall. Just make sure if you’re using sawtooth hooks that you have long enough nails. Some of them come with short nails, and they won’t hold the weight of the shelf very well.
D-rings are the safer option, but they will make the shelf tilt forward just slightly at the top. Another option is to do one hook in the center and then Command strips on the sides for added stability and support.
And that’s it! Super easy project! And it was even easier thanks to my Worx Pegasus workbench and my Switchdriver duel drill. I’m really a fan!
If you’re interested in either item, you can purchase directly through the Worx website. They have a discount going on right now on the Pegasus! AND, through the end of 2018, you can use my promo code WXCHARLEE to save an additional 10% on your entire Worx purchase! So go snag yourself some goodies!

Hi what work table was that, black and orange one?