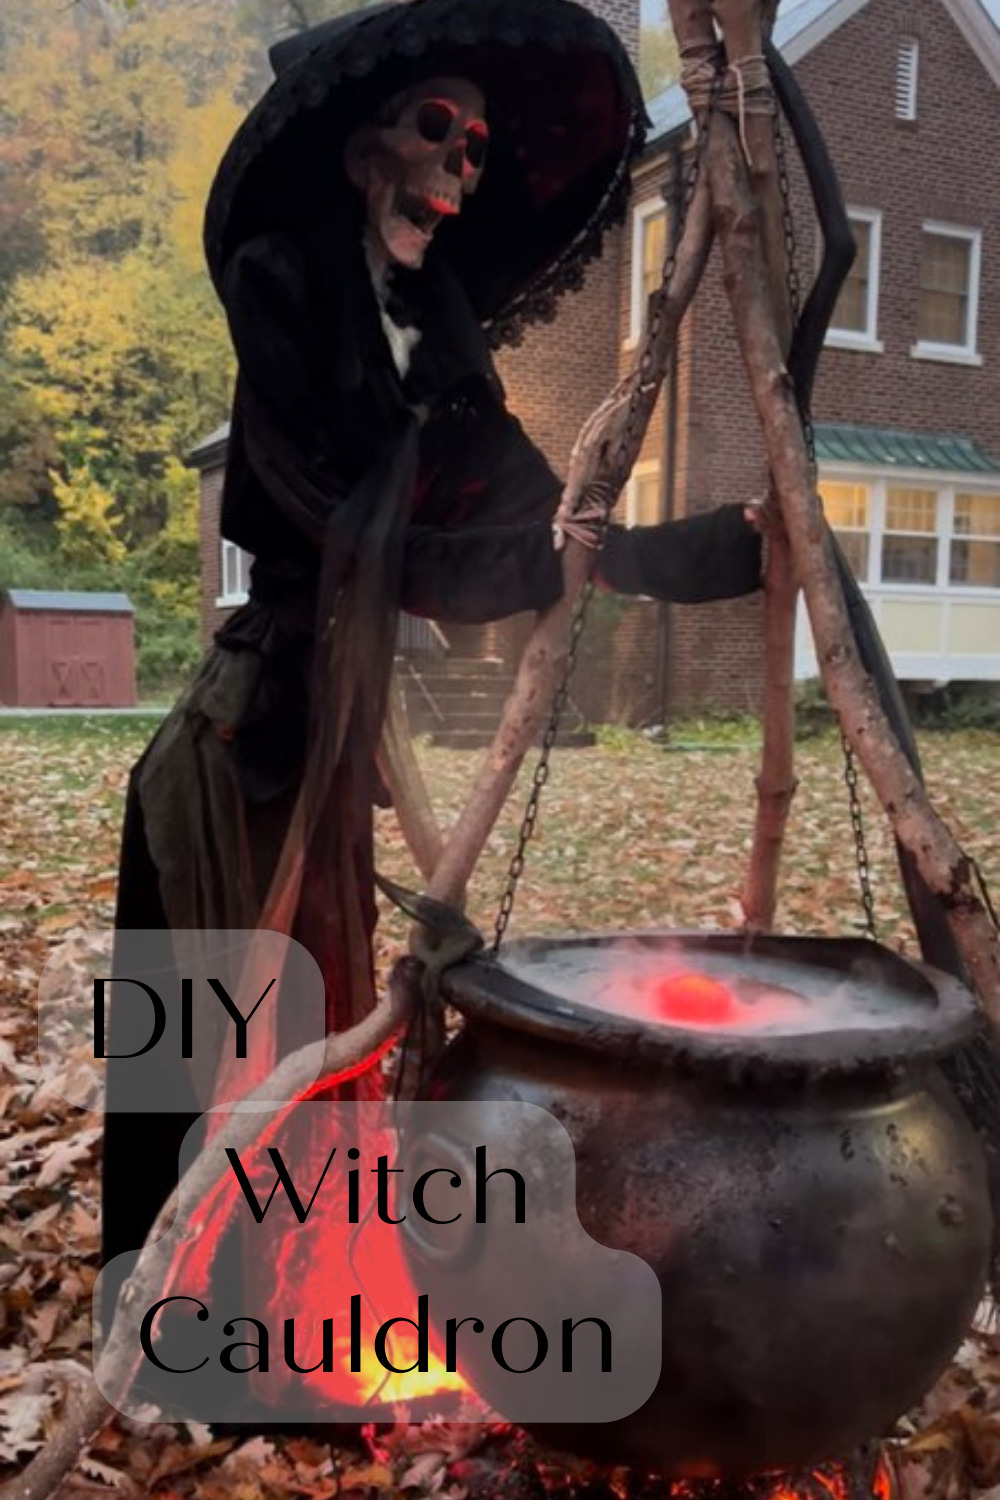
Everyone meet… Broomhilda. I love her, and that’s all there is to it. This may be one of my favorite DIYs I have done to date, and she looks beautiful next to my Pillars and Pillar arch!
This post contains affiliate links. Please visit my disclosure page if you would like more information and thank you for your support.
Supplies needed for your DIY Witch Cauldron:
– cauldron (I got mine at a Halloween supply store, but any cauldron will work!)
-chain to hang the cauldron
-branches that form the triangle structure (I cut them from the backyard, but 1x2s would work if you don’t have access to any that would work)
-cardboard
-spray paint
–spray foam
-1×2 wood
-a mini mister
–rope
–LED lights for the bonfire
Tools needed for your DIY Witch Cauldron:
-miter saw to cut the 1×2 wood to the appropriate size
-drill
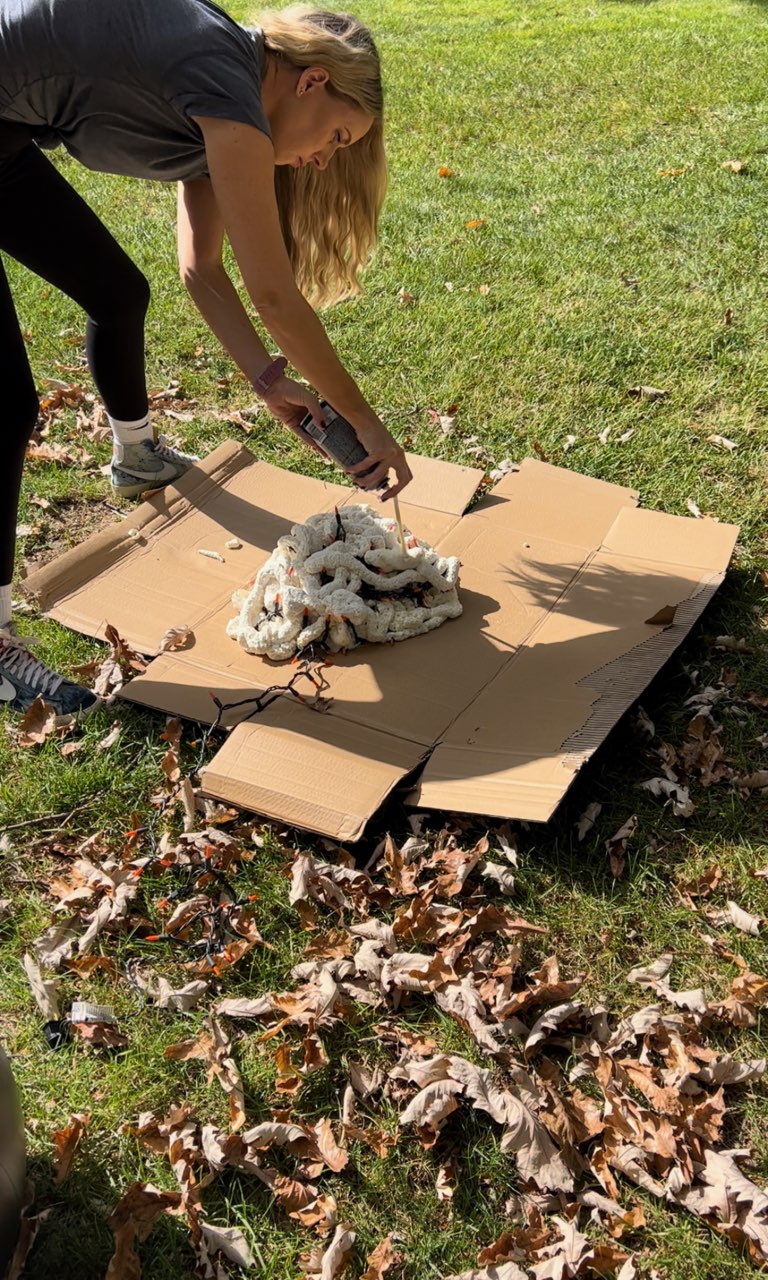
Step 1: Foam Fire Pit
One of the best parts of fall is the bonfires, and Broomhilda needed to get in on some of that action. To make that happen, I laid out some cardboard and got some great foam spray. Brace yourselves… for a while, this looked a lot like dog poop. It wasn’t pretty. But trust the process! I laid out LED lights that would act like fire, and sprayed the foam up over them, mounding it higher and higher, to eventually form a mound. Then I sprayed the mound black, red, yellow, and orange. Once it is turned on, it glows a bright light from under
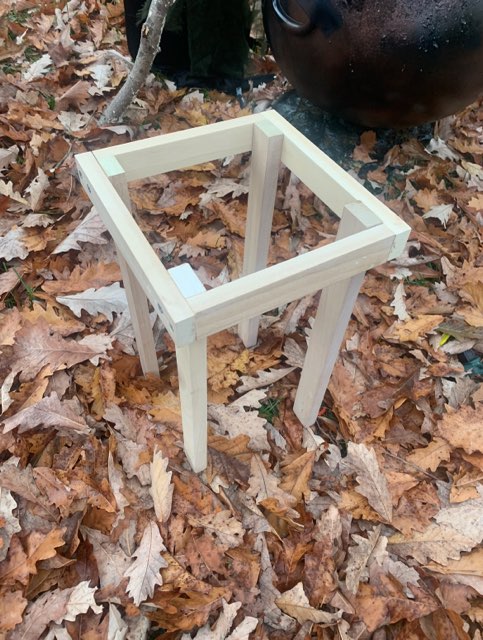
Step 2 – Assemble the cauldron
Here is where the dimensions will change depending on the size of your cauldron, but you will need to use the 1×2 wood to create a platform that will sit inside of your cauldron, to raise the water to the top. I measured the depth of mine and came up with one that allowed the bowl to sit on the top, but still remain under the lip of the cauldron.
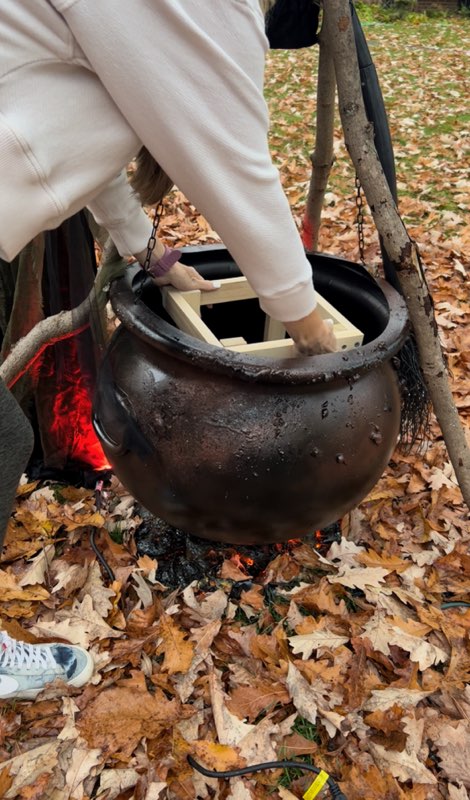
Once you have put it in there, that’s when you will cut a circle that matches the circumference of the cauldron. I cut this out of cardboard, then wrapped it in duct tape.
*Note* The duct tape was so the water that mists over the top doesn’t soak the cardboard and make it unusable. I spray-painted mine, but you could use black duct tape, or leave it silver. It’s really up to your discretion.
Once you have the inside assembled, it’s time to spookify the cauldron. I didn’t want it to look glossy and new, because Broomhilda has been around the block. This was a messy process where I used some of the spray foam on the cauldron and made it into a drippy pattern. Then I added sawdust and dirt to the side and spray-painted it black. Then I used the same rust-colored spray paint I used on the pillar arches.
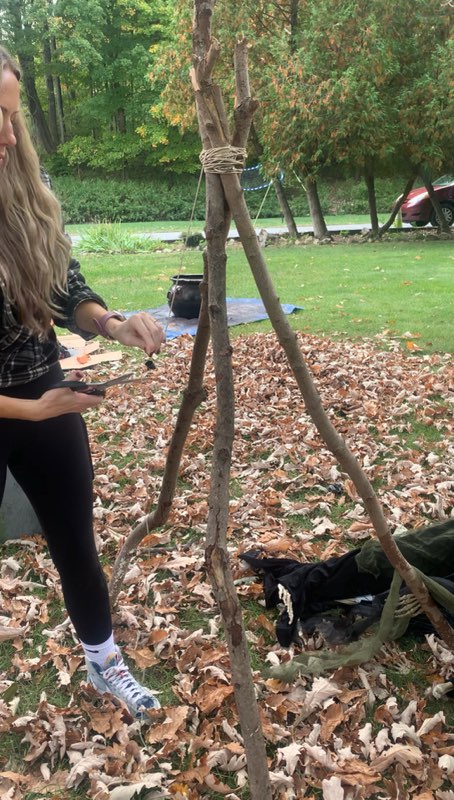
Step 4 – String it up
You can use black hot glue, or you can find a way to loop the chain through the cauldron. I cut branches down from a tree in the backyard, but if you don’t have a tree that would work for this project, you can use 1x2s to form the teepee structure. Tie it together with rope and then use the chain to hang it from the structure.
Step 4: Finishing touches
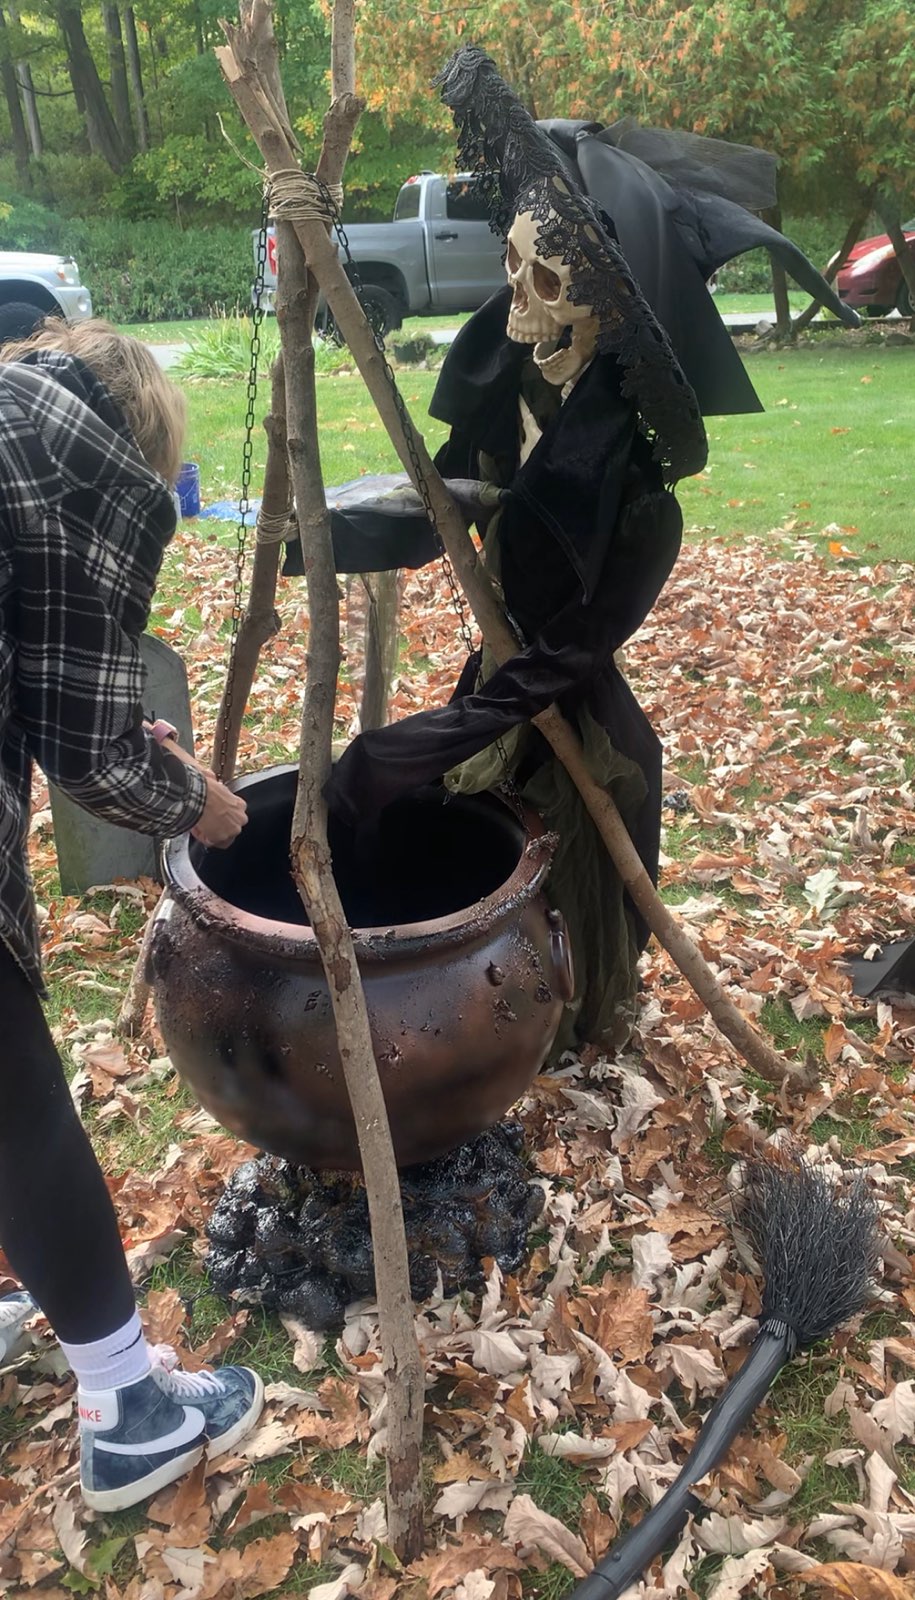
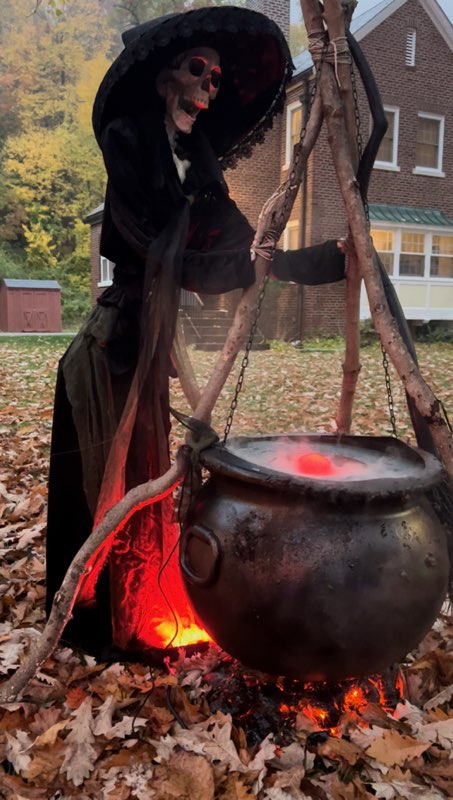
You have the cauldron… but no Broomhilda. So let’s fix that, shall we?! Grab another skeleton and witch-ify it to your liking. For me, that means a hat, a broom, and a cloak. I had her leaning against the cauldron looking over her potion.
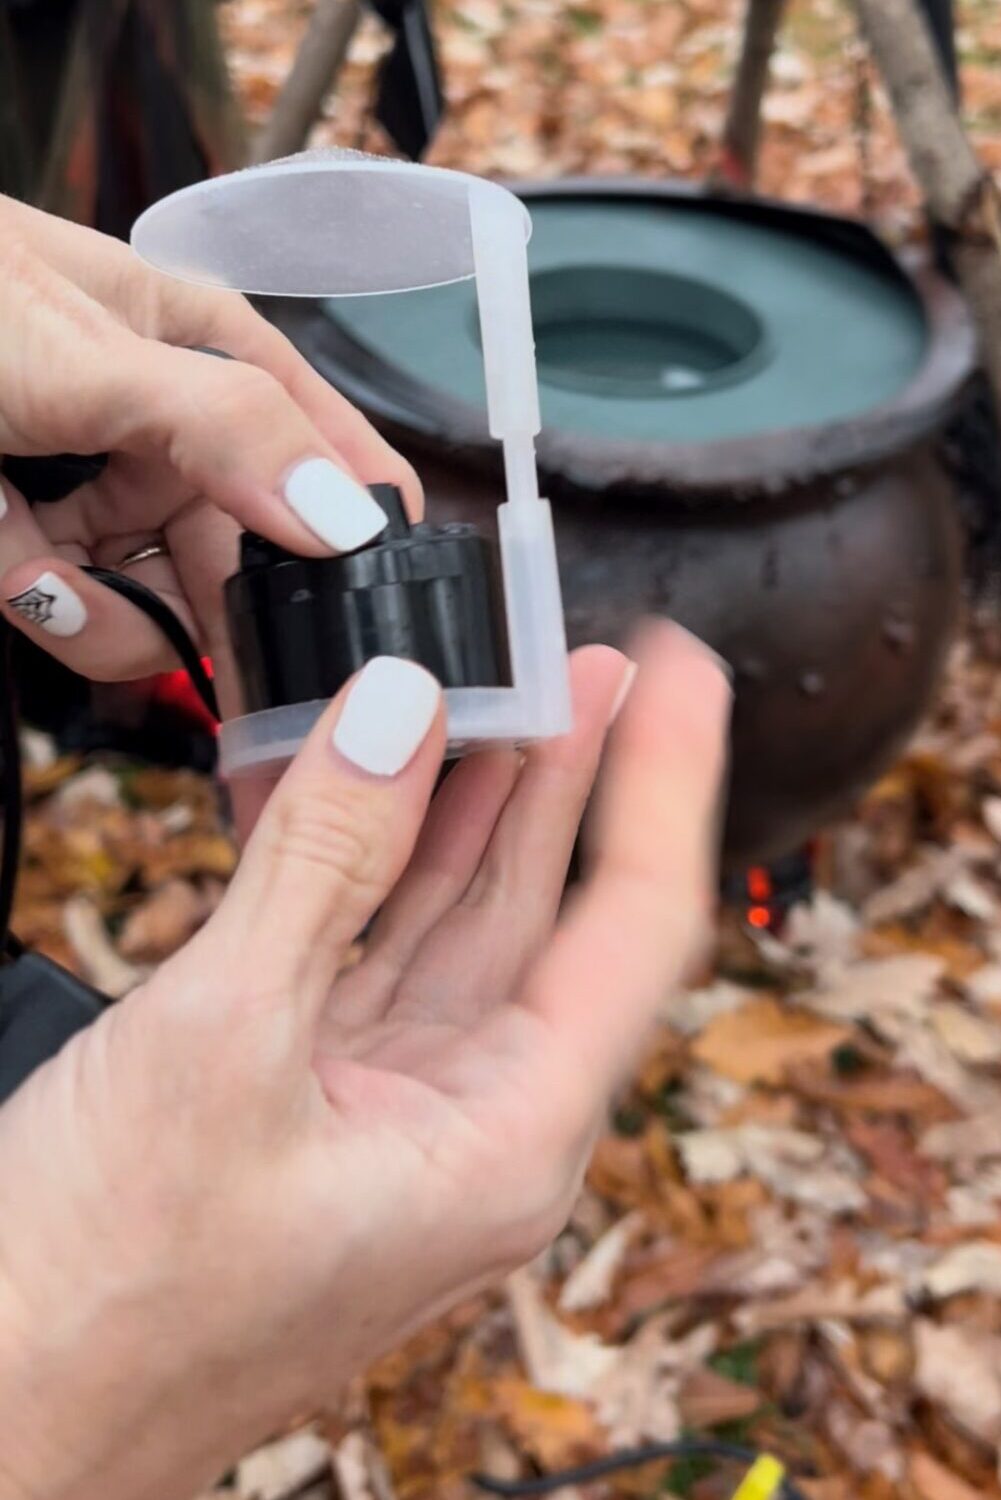
Making the potion magical is the next step. I poured water into the bowl that sits up in the cauldron. Then I found the coolest mister from Amazon!! No dried ice is needed, here people. I added it to the water to create that amazing misting effect. Switch it all on… and it’s just an amazing affect.
How cool is this thing? I mean truly…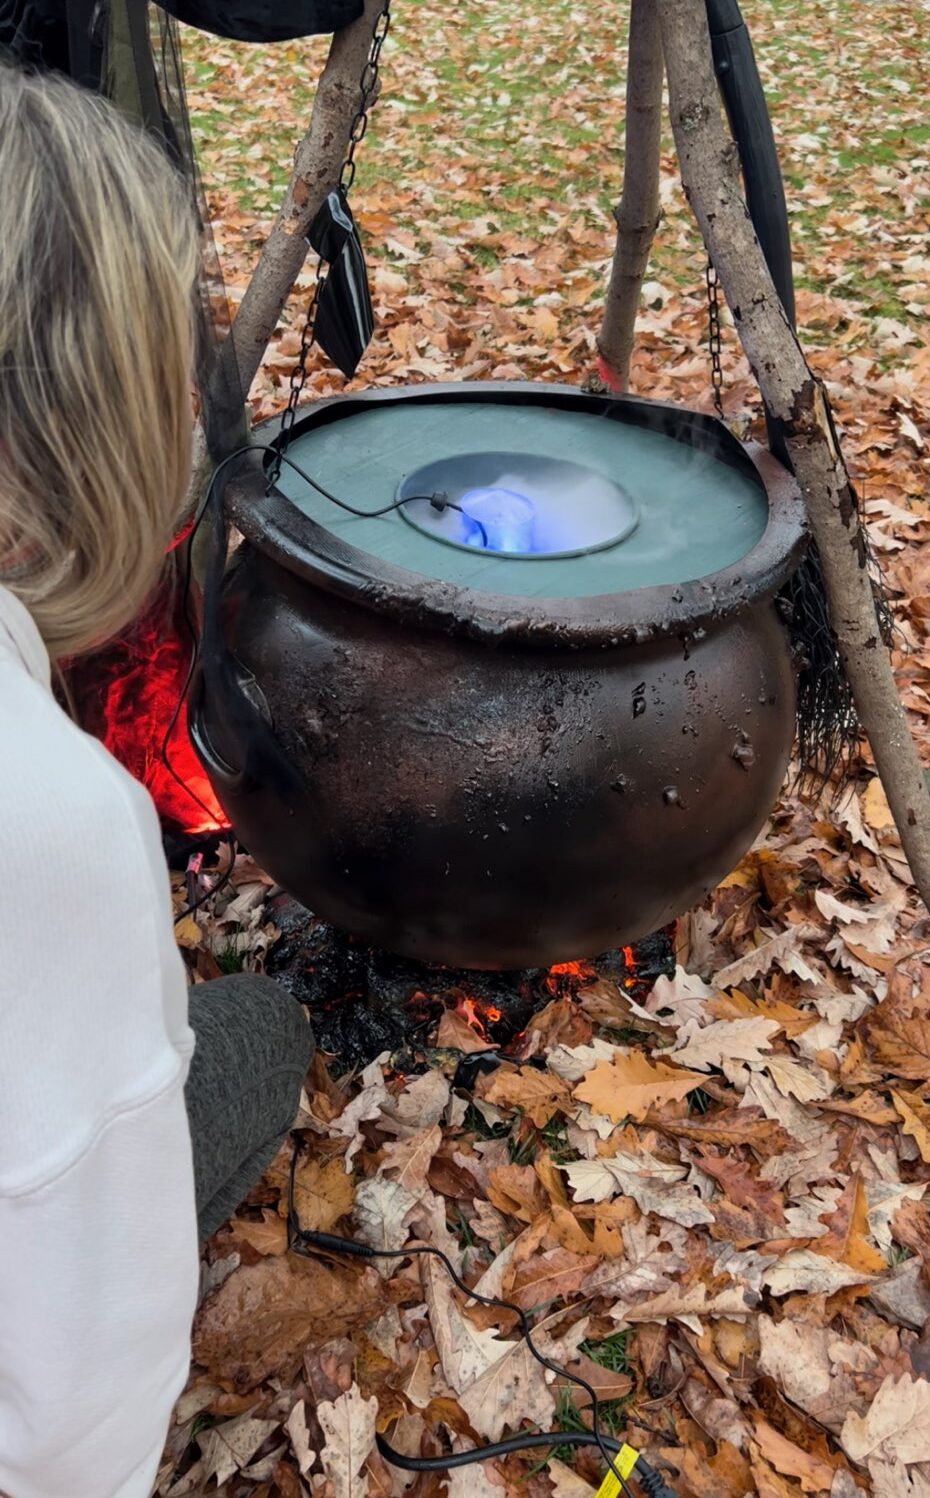
And when you put it all together… I can’t even articulate how magical it is!
Broomhilda makes me so happy. If you add your own touch, your own flair, your own twist on it… please post it and tag me on Facebook or Instagram. You know I love to see what you all come up with! Happy haunting!