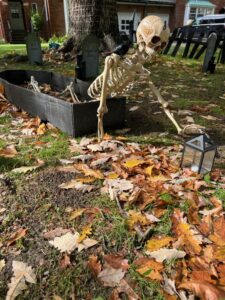
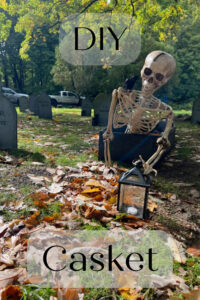
I have the headstones… and I have the spooky skeleton in a cage… but my cemetery felt like it was missing something. I needed kitsch meets creep, so I decided to make this creepishly adorable coffin. The thing I love most about it is that I could add another skeleton escaping, to tie all of my DIY Halloween projects together in my graveyard of terrors!
This post contains affiliate links. Please visit my disclosure page if you would like more information and thank you for your support.
Supplies needed for your DIY Casket:
– 1 Piece of plywood or OSB
– 2×2 (2) to attach the plywood pieces
-A plastic skeleton
– Black Outdoor or Spray Paint
-Anything you choose to use to add a mysterious flare to your coffin
Tools needed for your DIY Casket:
-1 1/4 inch screws
-This isn’t a tool you NEED, but anytime I am covering a wide area with paint, I love to use this handheld paint sprayer
Step 1 – Make your plans
When you first get your plywood, I always like to sketch out my cutting plans so I can get the most bang for my buck. I made my drawing here, and as you can see I made the casket 24 inches high and 24 inches wide. As you can see, you should be able to get all of your cuts out of one piece of plywood.
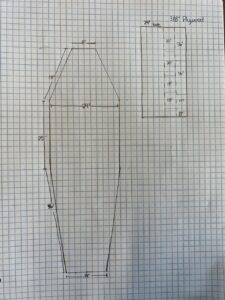
Knowing you are going to use 2×2 piece of wood to connect the sides and the base of the coffin, go ahead and measure those out and cut them as well. I cut them at an angle.
Step 2 – Drill
Assemble the coffin by laying down the base, then adding your 2×2. I screwed in the 2×2 to the back of the coffin. Once they were secure, I added the side pieces and screwed them in through the back of the coffin. Do this all the way around the casket, and you will see it start to take shape.
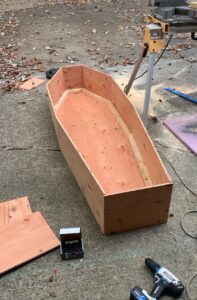
**ALTERNATIVE – You could technically paint these things first, but especially if you are using the handheld paint sprayer, having the casket assembled will make the painting process much easier to knock out!
Step 3 – Lay out the drop cloth and make it black!
As you can see, a drop cloth is essential here. I also make sure to use a mask when using my sprayer. Lay that coffin out and start spraying with your black outdoor paint!
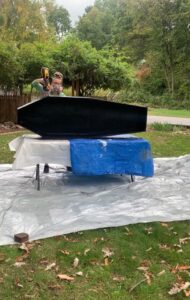
Technically if there is a color that suits your graveyard better than black, there is no reason your casket couldn’t be another color! Make sure to tag me on FB or Instagram if you branch out of the color pallet I use. I always get such great ideas from my followers, and am always looking to make my graveyard even better from year to year!
Step 4 – Finishing touches
A coffin in a graveyard is fine. But a skeleton coming out of a coffin, reaching for a lantern surrounded by crows?! Now that’s crowd-pleasing. Once the coffin is assembled, this is your chance to add some zest to it. I loved using the skeleton to tie into my bench and cage, so I placed this skeleton on his stomach like he was crawling out of his tomb. Was it chilling? Yes. But I needed a little more. So I added a spooky crow to his shoulder and surrounded him with these black lanterns.
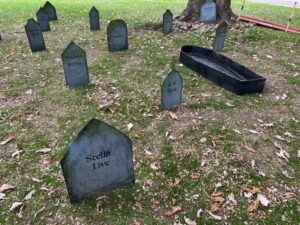
Find the perfect spot nestled in between your hilarious headstones, or beside your spooky bench. You’re “ghoul” to go!

