I came up with the idea to route DIY Patterned Mosaic Doors using plywood to make doors when I had a customer come to me and ask me for help enclosing a dining room into a temporary bedroom. Barn doors wouldn’t work for the space, and this was one of my favorite customers, and I really wanted to help her save money, as she was letting her grandmother move in with her family.
I’d built a few things for her before and knew her style. I thought about doing a kind of shoji or bi-fold door set, but I really wanted there to be a fun and pretty pattern on the outside that faces her living room. I’ve done mosaic designs and patterns like on my DIY Herringbone Barn Door Console and other wood mosaic art pieces. But, I knew all that lumber would be expensive and heavy. I had just really started getting comfortable with my router doing house projects, and I wondered if I could make a pattern in plywood to mimic the look of a mosaic. I had never seen anything like that done before, so I tested it on a small piece of plywood and then pitched the idea to my customer, and she loved it! So I decided to be brave and just go for it.
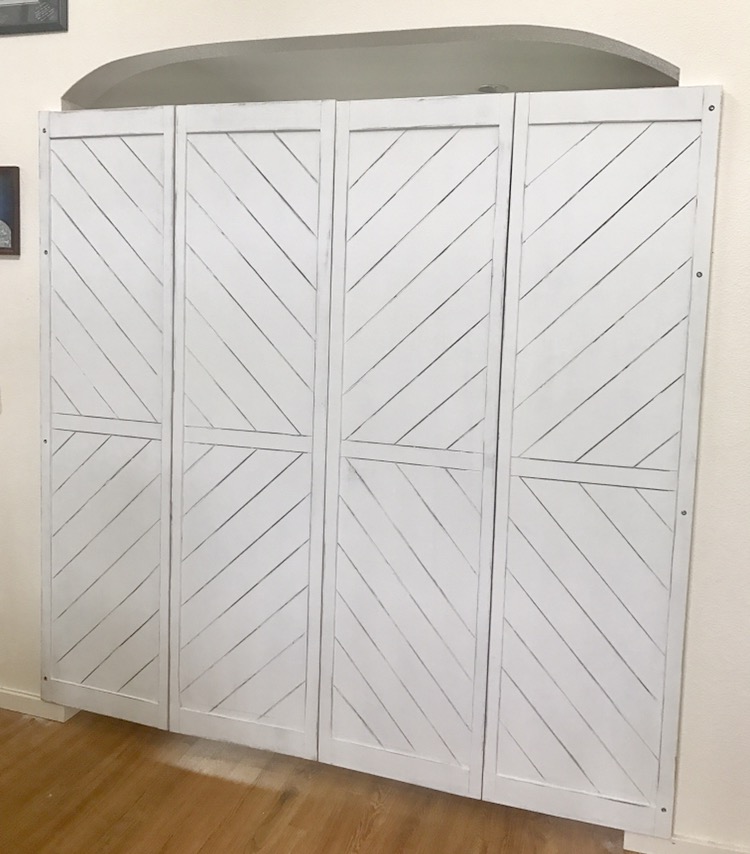
How to Make a Patterned Mosaic Door with a Router
In this post, I’ll teach you how I used a router to make a pattern in my hand-made doors. This same technique can be used to make barn doors or headboards, or anything else you’d like to make a pattern on!
Step 1 – Purchase materials for routed door
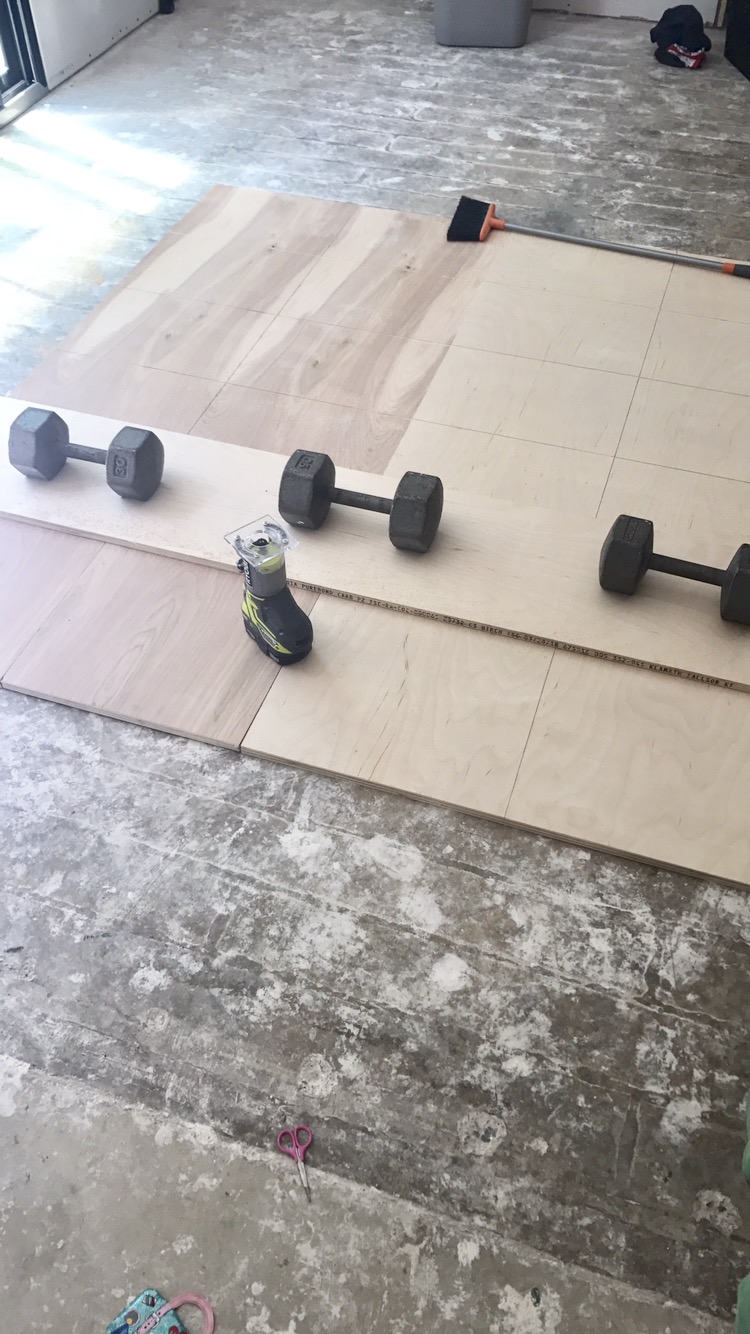
- I used 3/4″ birch plywood for the routed section of my doors
- Router – Mine is a Ryobi cordless palm router

- 1/8″ straight router bit
- Something to use as a fence
- Clamps (optional but helpful)
- Sanding sponge
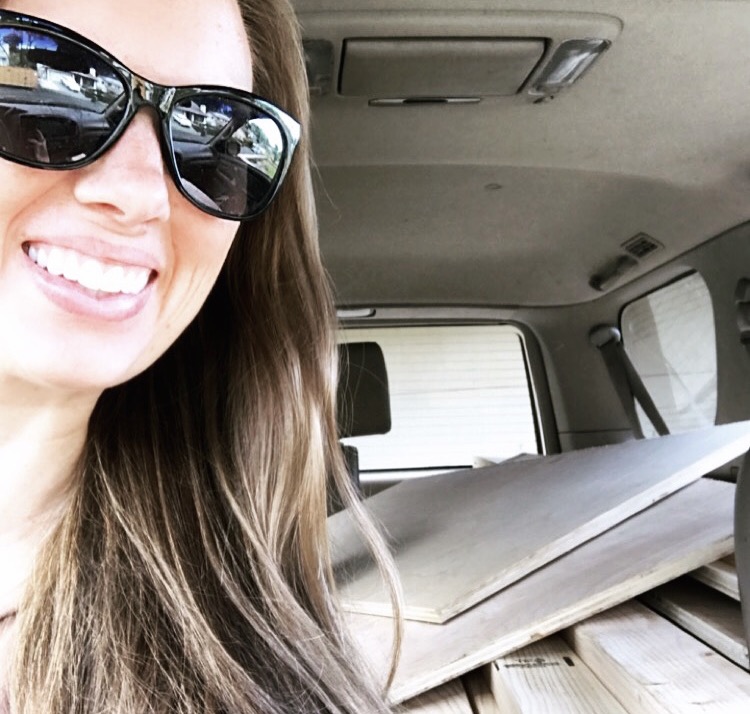
I had my plywood ripped to width at the lumber store, so I wouldn’t have to worry about lifting a big sheet of plywood onto my table saw or hoisting it in and out of my car.
Step 2 – Sketch out your DIY routed door pattern
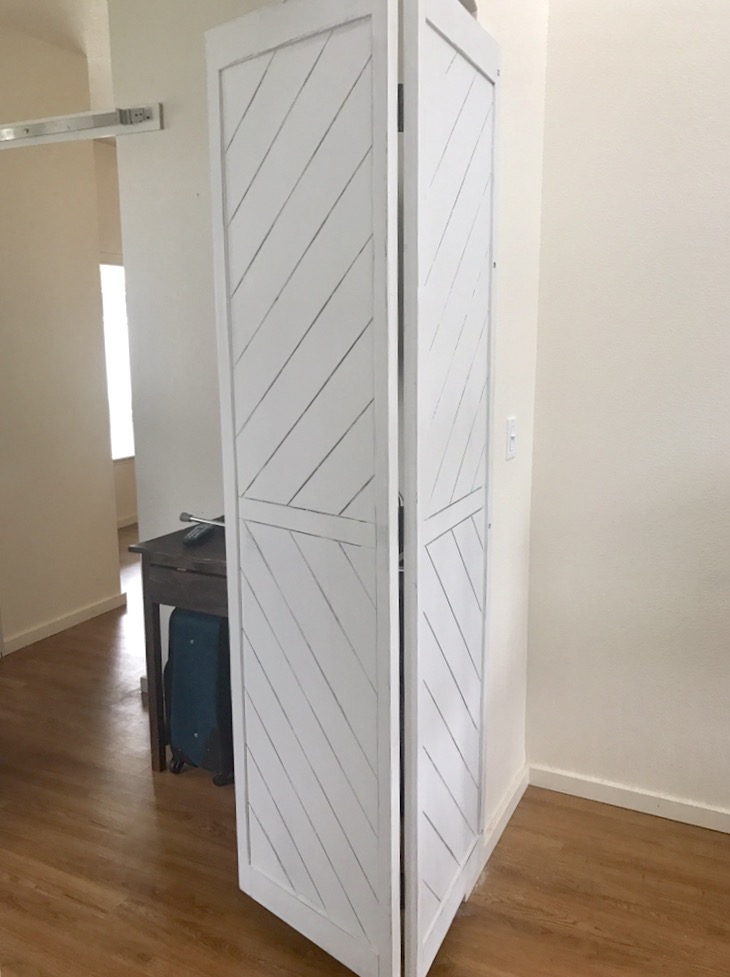
I sketched out two options for my customer and let her choose which one she preferred. Technically, it’s the same pattern…just doors rearranged. 😉

And this is what it would look like with the doors open.

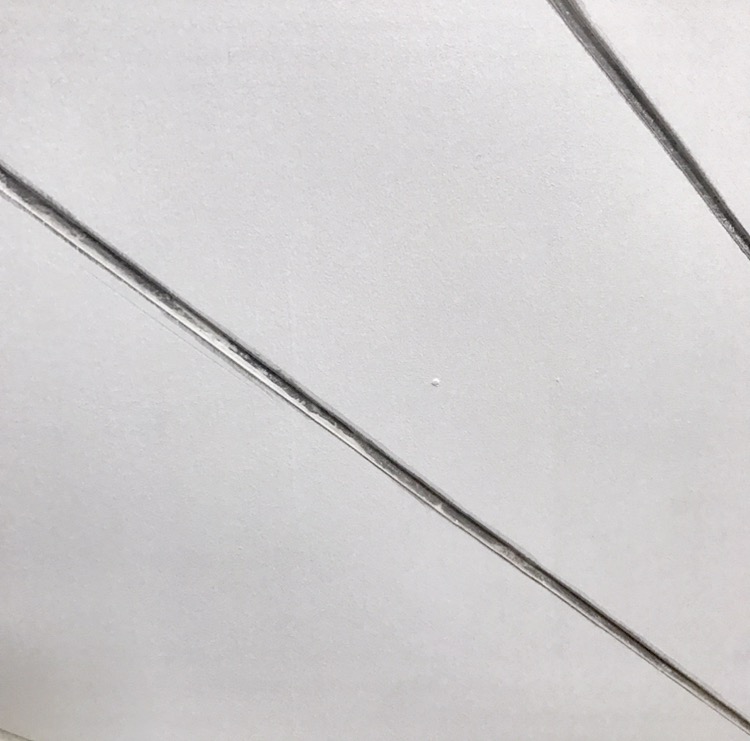
Step 3 – Set up your router and bit for the herringbone pattern
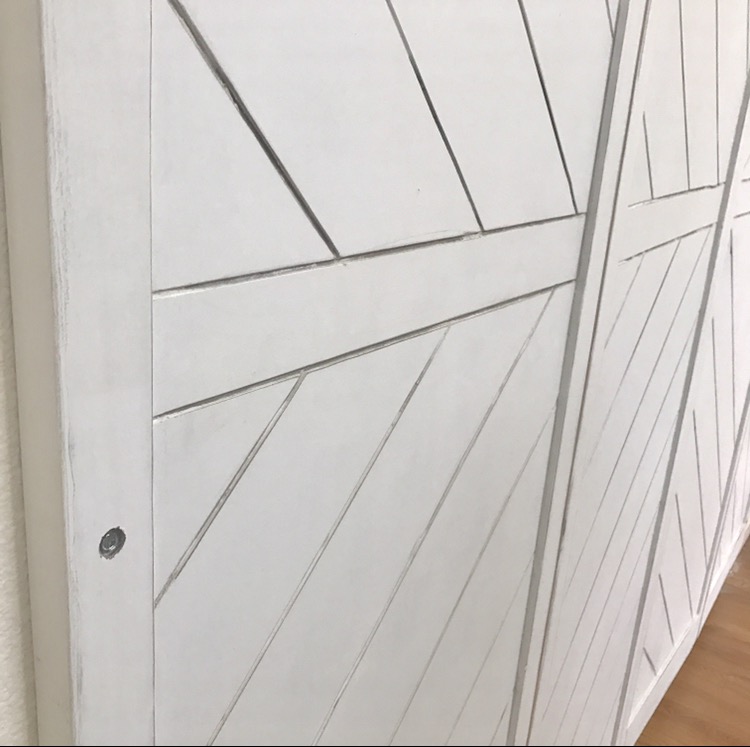
I set my router to cut about 1/8″ deep into the plywood. I didn’t want it to cut too far in, but I also wanted to make sure the grooves were visible.
Step 4 – Get your doors ready to be routed
Make sure you have plenty of battery power and backup batteries if doing multiple doors with a cordless router. I had 8 panels to do, and I think I went through three batteries!
For the plain lined side, I measured where I wanted the lines and set my fence to allow for the distance to the router bit.
Step 5 – Routing the herringbone door pattern
When I first started, I had fully planned to draw out the whole pattern and then mark my fence back from the pattern to account for the distance from the outside edge of my router to the center of the bit. But, I quickly realized just how tedious that was. So I decided to just cheat. Ha! For my “fence,” I happened to be using a large level, and the width of the level plus the distance from the outside of the router to the center of the router bit was almost exactly 4″!
So I measured down 4″ from one corner and then 4″ in from that same corner. This gives a triangle if you connect those two measurements. Then I routed my first line from that first measurement, and then I set my level on that old line and repeated! Easy peasy!
Step 6 – EXTRA TIPS AND TRICKS
Be sure to keep your router tight to your fence. They can get a little squirrely and try to run away from you! No one wants to do extra patching, so just take your time and keep your fence tight.
And go extra slow when you’re approaching an intersecting line. You want the router bit to just go right in the line and not pass it at all. If you stop too soon, there will be a little extra piece of wood in your pattern. If you stop too late, you’ll have a line that will be difficult to “erase”.

And that’s it! Just sand your edges and finish to your liking! I highly recommend the Gator Micro Zip![]() or an angled sanding sponge
or an angled sanding sponge![]() to get in those cracks!
to get in those cracks!
I’d love to see if you use my idea on any projects! Feel free to tag me on Instagram or send me an email. 🙂