We have a bench… and that is elevating the outdoors to a lovely level. But that just wasn’t quite enough for this Mrs. Clause wanna-be… so I had to add a DIY Christmas fence.
(For another super simple Christmas DIY, you would LOVE the soda can jingle bells! A super easy project with a nostalgic feel.)
This post will contain affiliate links- please see my disclosures page if you need any information on that!
Supplies needed to make DIY Christmas Fence:
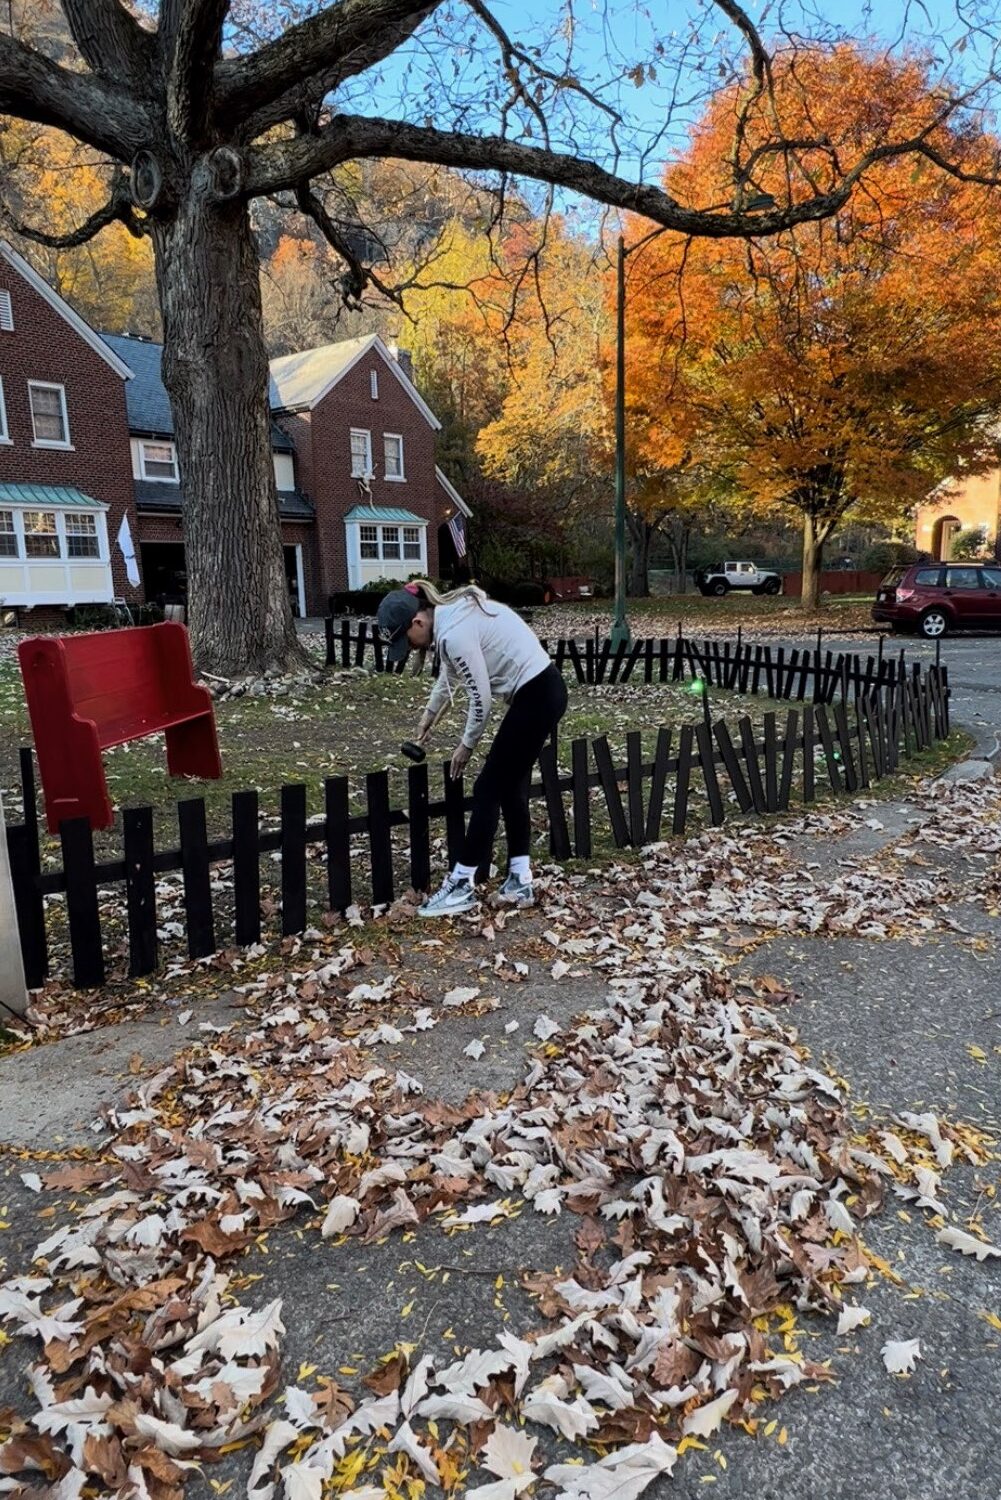
-a fence (remember we did this fence as a DIY for Halloween. If you didn’t follow along with that one, you will need some fencing.)
-outdoor paint
–hot or super glue
–garland
–bows
Tools needed to make DIY Christmas Fence:
-A power drill– but only IF you choose to attach your garland in that way.
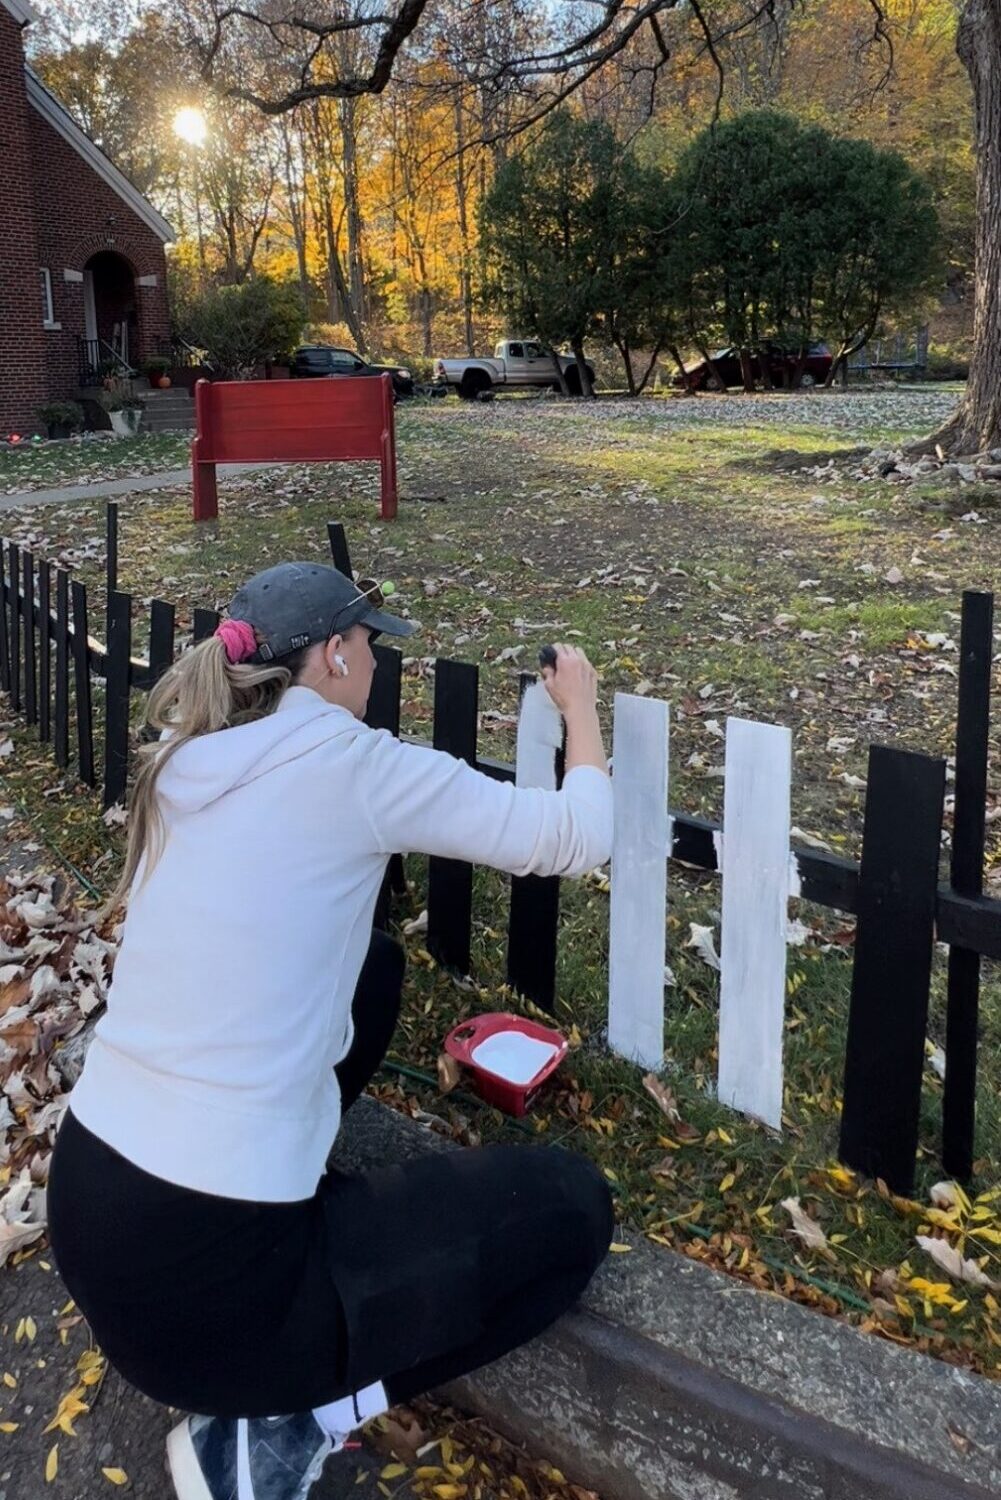
Step 1- Paint your Christmas fence
Assuming you had our Halloween fence up, that’s the dream because you can keep it up and Christmas-ify it. (Is that a word?!) I straightened the posts on my Halloween fence and then I painted it white with outdoor paint.
*Alternative: There really is no reason you HAVE to paint the fence. A black fence could be turned into a Christmas fence as well! This is your take on the project. If you want it to be red and green, gold, matte black… whatever! Please experiment with color… and PLEASE tag me. You know how much I love to see the different takes you have on these projects!
Such a funny moment came from me painting my fence, I was out painting with my earbuds in, living my best life. Totally in the zone, and vegging out (any moms out there reading this would know that having headphones in and no children needing you with a mindless job like painting… the dream). The next thing I know, two of my sweetest neighbors meandered out to chat with me. And since the fence goes around the perimeter of my yard, there was a lot to paint! They selflessly offered to help me! (Do you think they were also just trying to zen out in the yard away from their children?)
It was a very Tom Sawyer moment, outside painting the Christmas Fence.
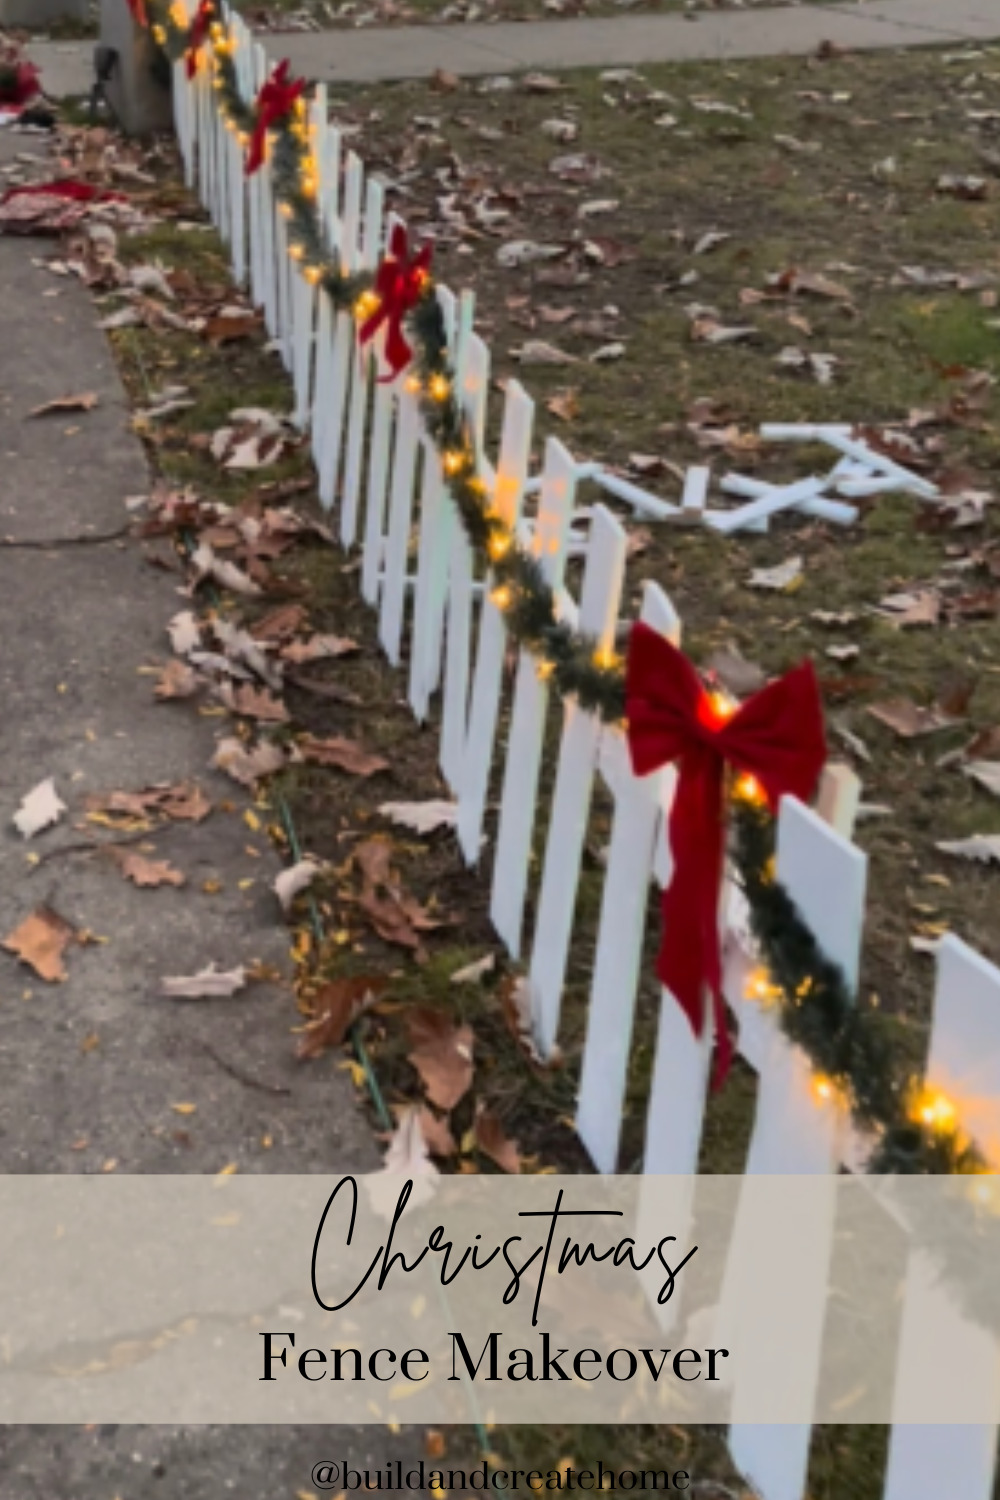
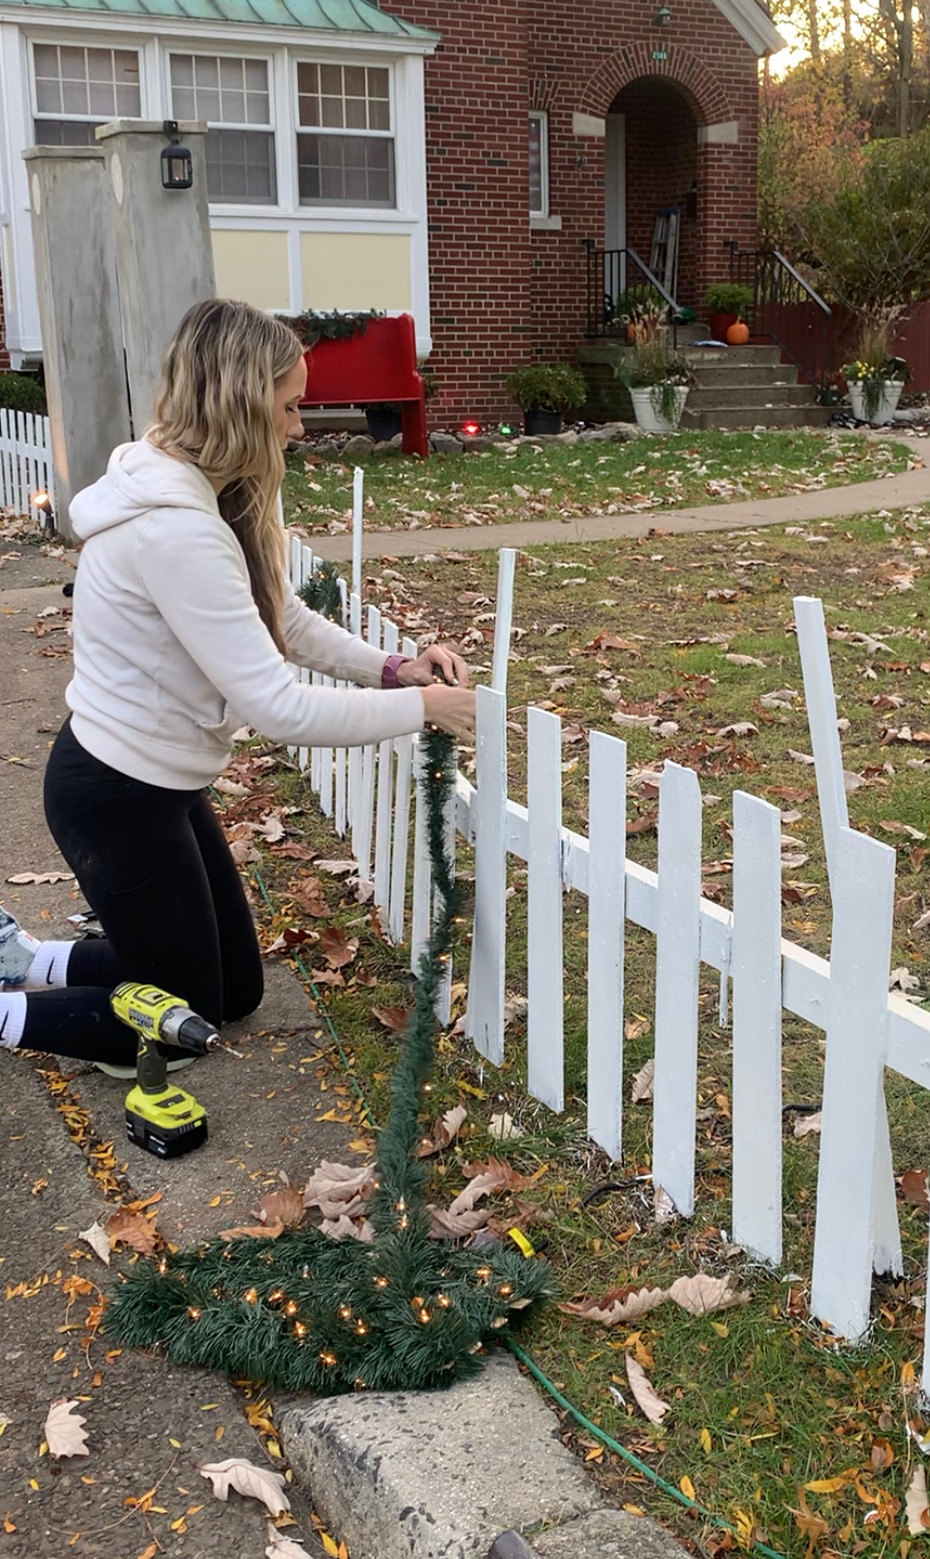
Step 2 – From fence to Christmas fence:
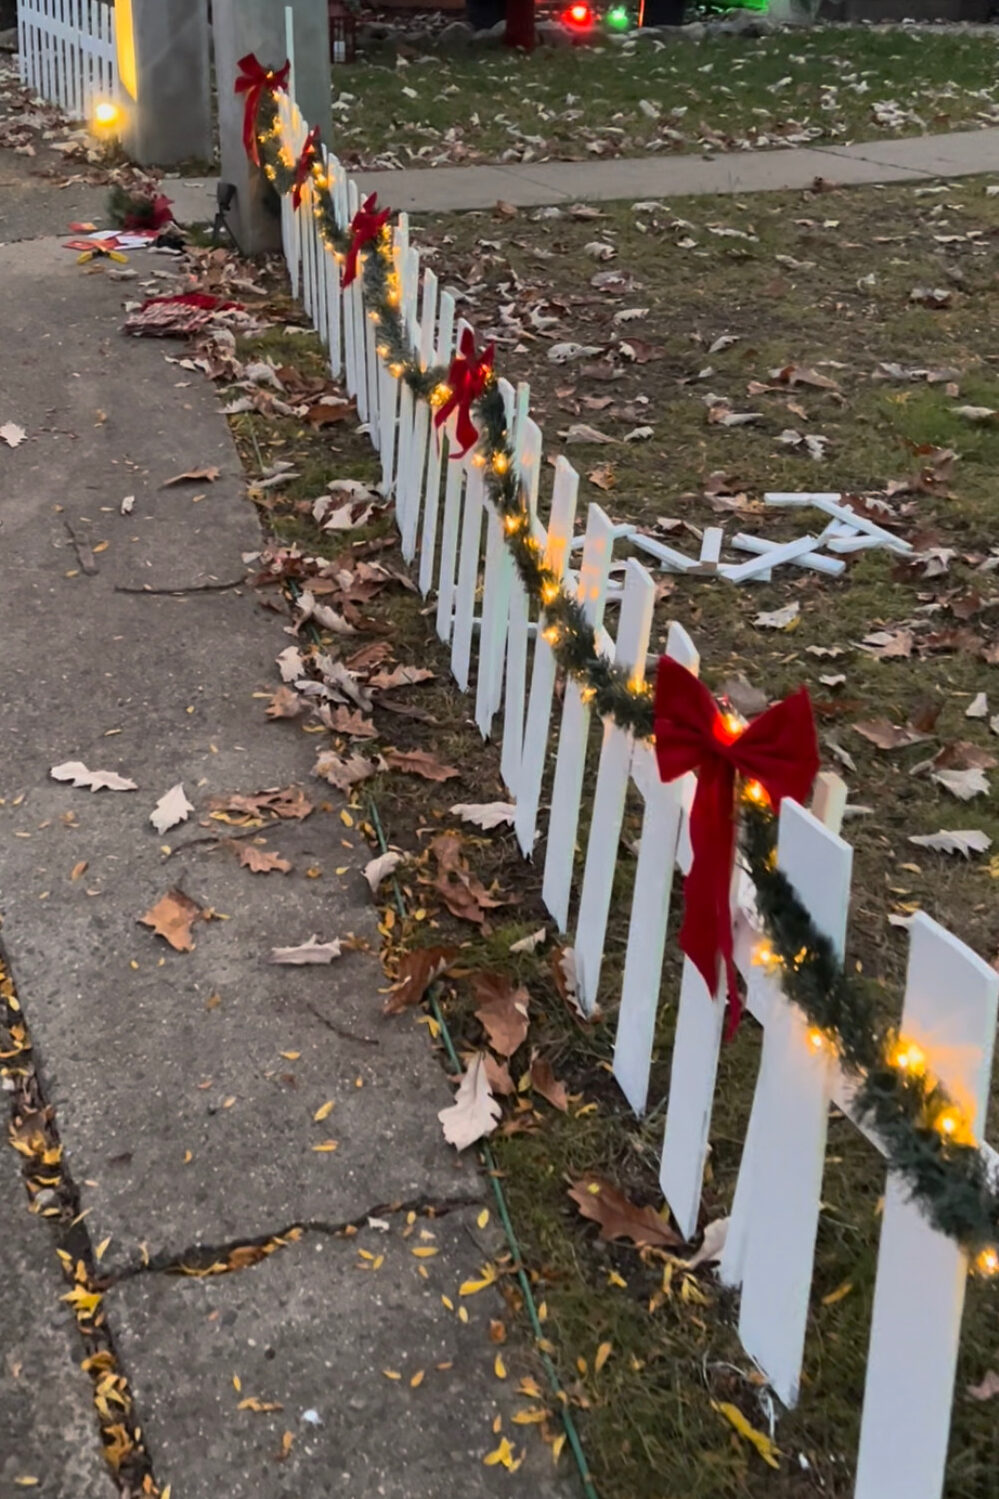
The next step is where you really get that spirit into your yard. I chose to drape my fence with lit garland from Home Depot. I love that I chose a pre-lit garland, and this one was 50 feet. So I needed a couple of them to make it all the way around the perimeter. So if you choose to go unlit, keep in mind you may need multiple strands, and you will also need to purchase lights. I decided to attach my garland to the fence so that it wouldn’t be whisked away in the wind, but if you want to save that step. you can always drape it through the pillars or along the back of the fence.
Attaching the bows could be done in a few ways. You can hot glue them straight to the garland, but I decided to use my drill to make small holes in the fence and then use wire to attach both the bow and the garland. You could use zip ties if the wire isn’t available to you!
And there you have it. Your yard has just been elevated to a Christmas wonderland, just by revamping a Halloween fence. Don’t you love that?!