If you’ve seen the Christmas fence or any of my Halloween posts about the DIY Pillars and Arches, you know I love to deck out my yard for the holidays. This Makeover of Christmas Pillars and Arch was the most festive way to set the stage for my yard this season.

This post contains affiliate links. Please visit my disclosure page if you would like more information and thank you for your support.
Supplies needed for your Outdoor Yard Decorations- Christmas Pillars and Arch:
– 1/4 Inch Backer Board
-4 2×4 pieces of wood (I ripped them down into 2×2 with my table saw, but if you don’t have one you can get 8 2×2 pieces)
–Spray adhesive
-PVC Pipe
-Rebar
–Sander/ Sanding disks
*NOTE* These are the materials you will need if you are making these pillars from scratch. If you need instructions on how to set the pillars up, read more on that here. But, if you are doing the makeover on this project from the fencing, you won’t need anything other than a bit of Mortar, your foam board, letters, wreaths, and lights.
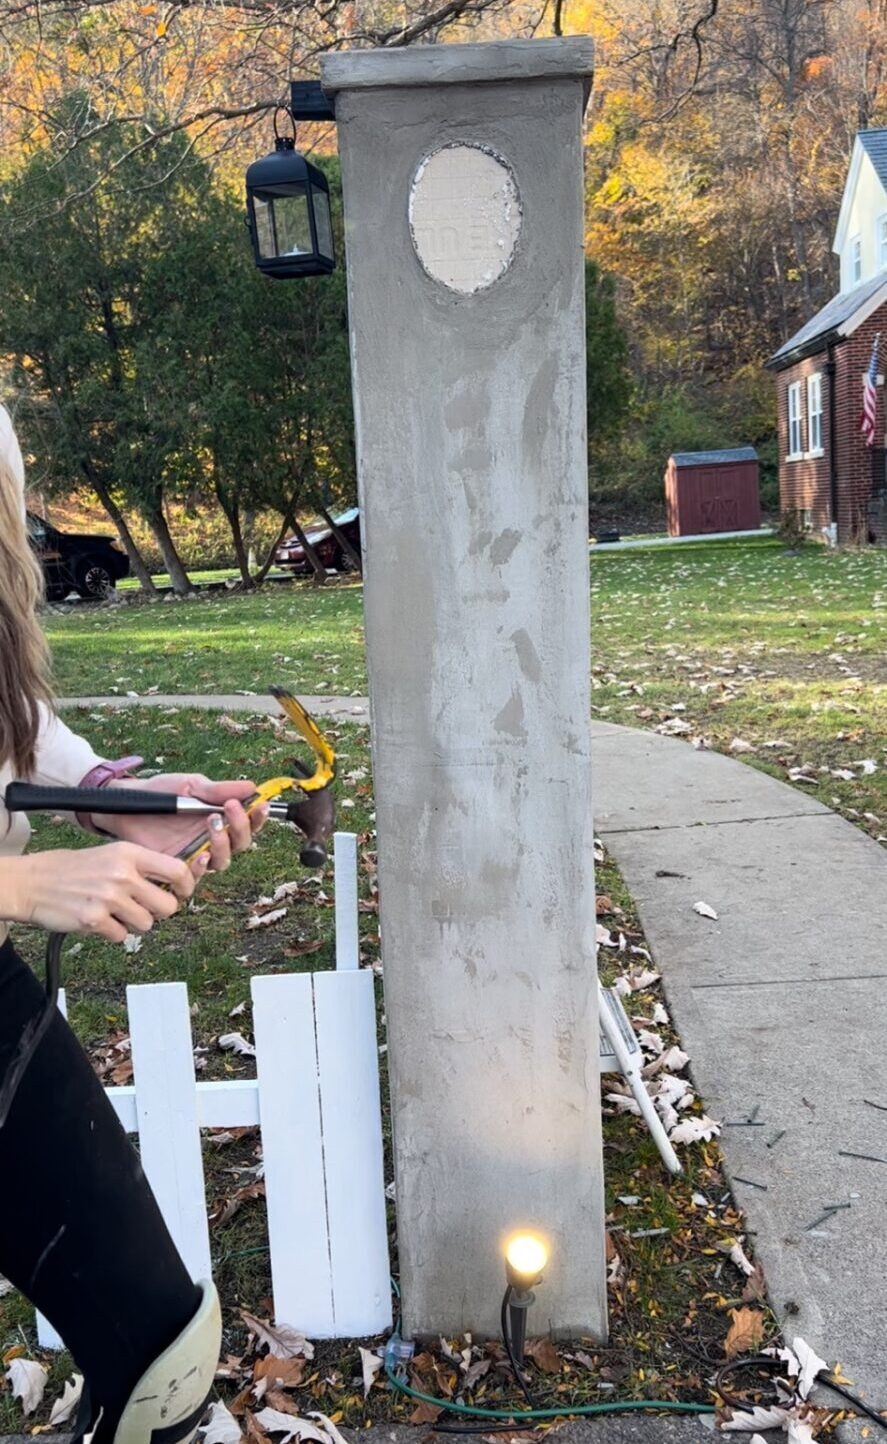
Step 1: Update your Outdoor Yard Decorations- Christmas Pillars and Arch
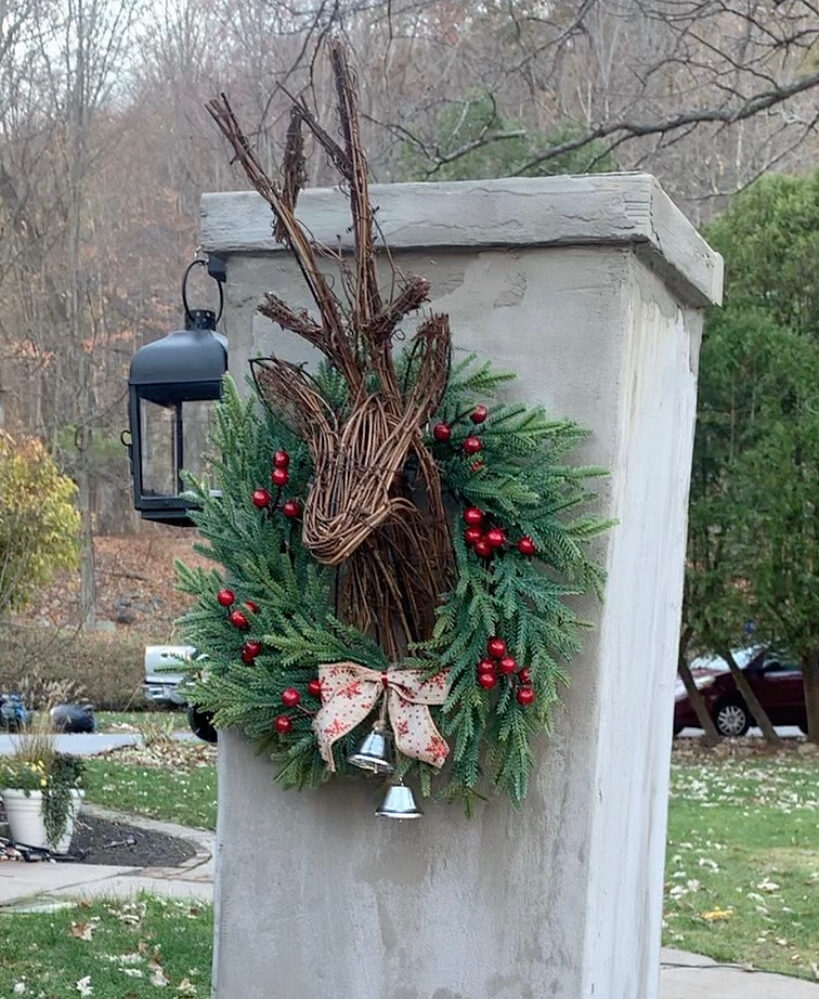
There is no need for spooky faces when jingle bells are ringing. So I pulled the styrofoam heads off of the pillars That I made in the DIY Cemetery Pillar Arch and patched them with more mortar. Then, even though I knew I would be adding a wreath, I let it dry and sanded those spots.
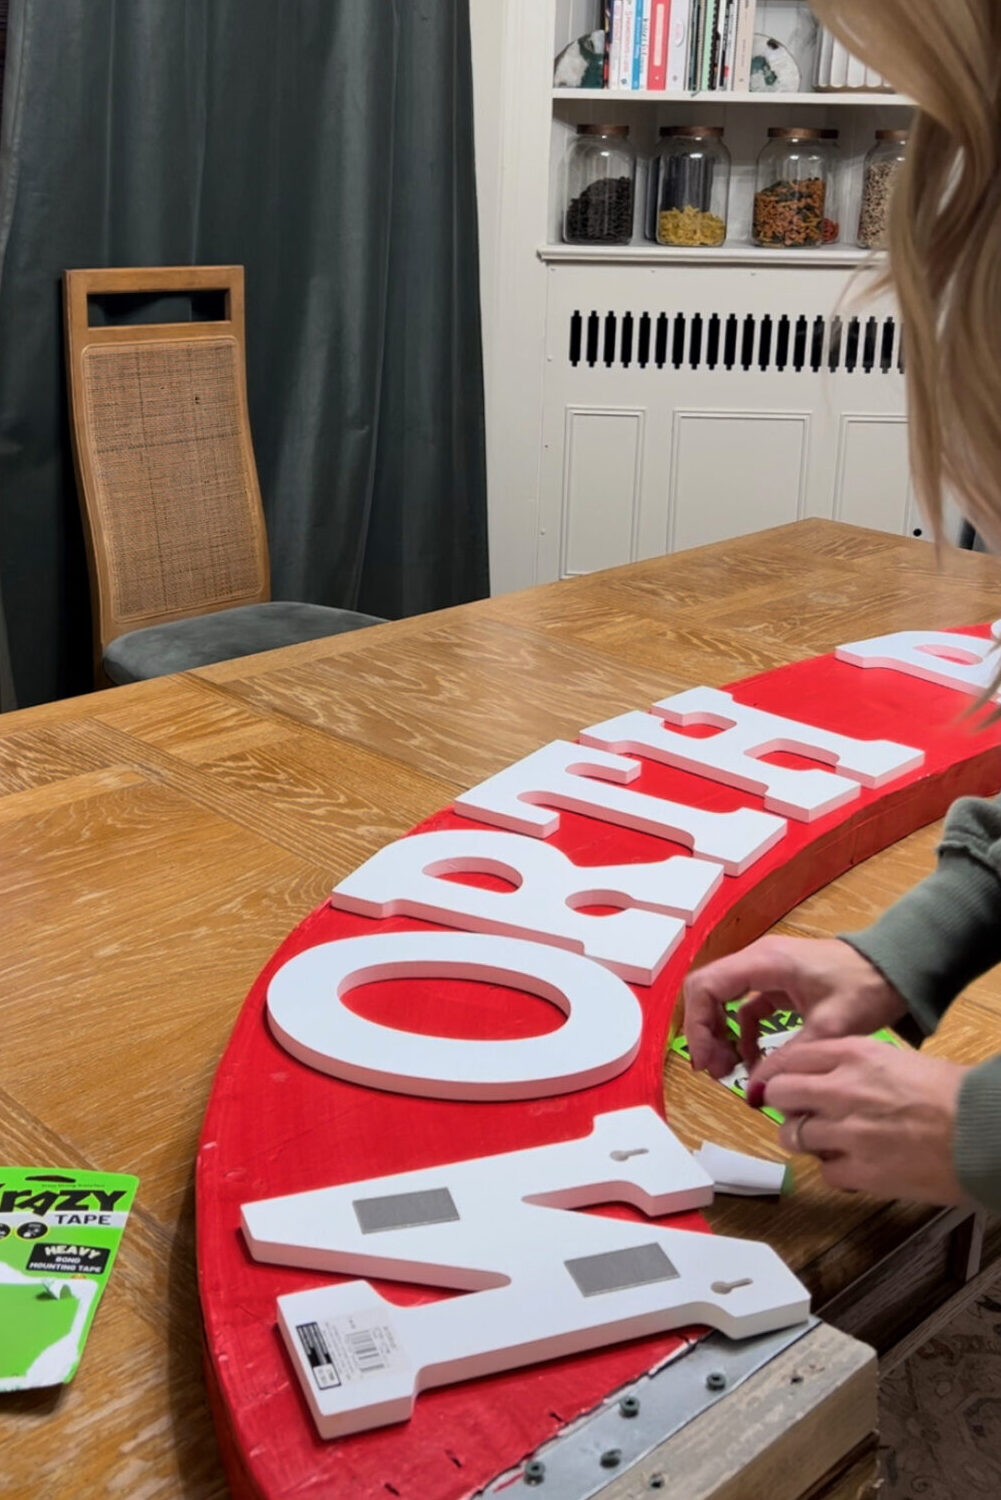
Step 2 – Make the signage for your Outdoor Christmas Arch
Step one for the arch process is to decide what you want it to say. I used my existing arch to plan my measurements, so I knew exactly how big I needed it to be. Then I used 2″ insulation foam board to form the arch. You could use Plywood if you want to go that route!
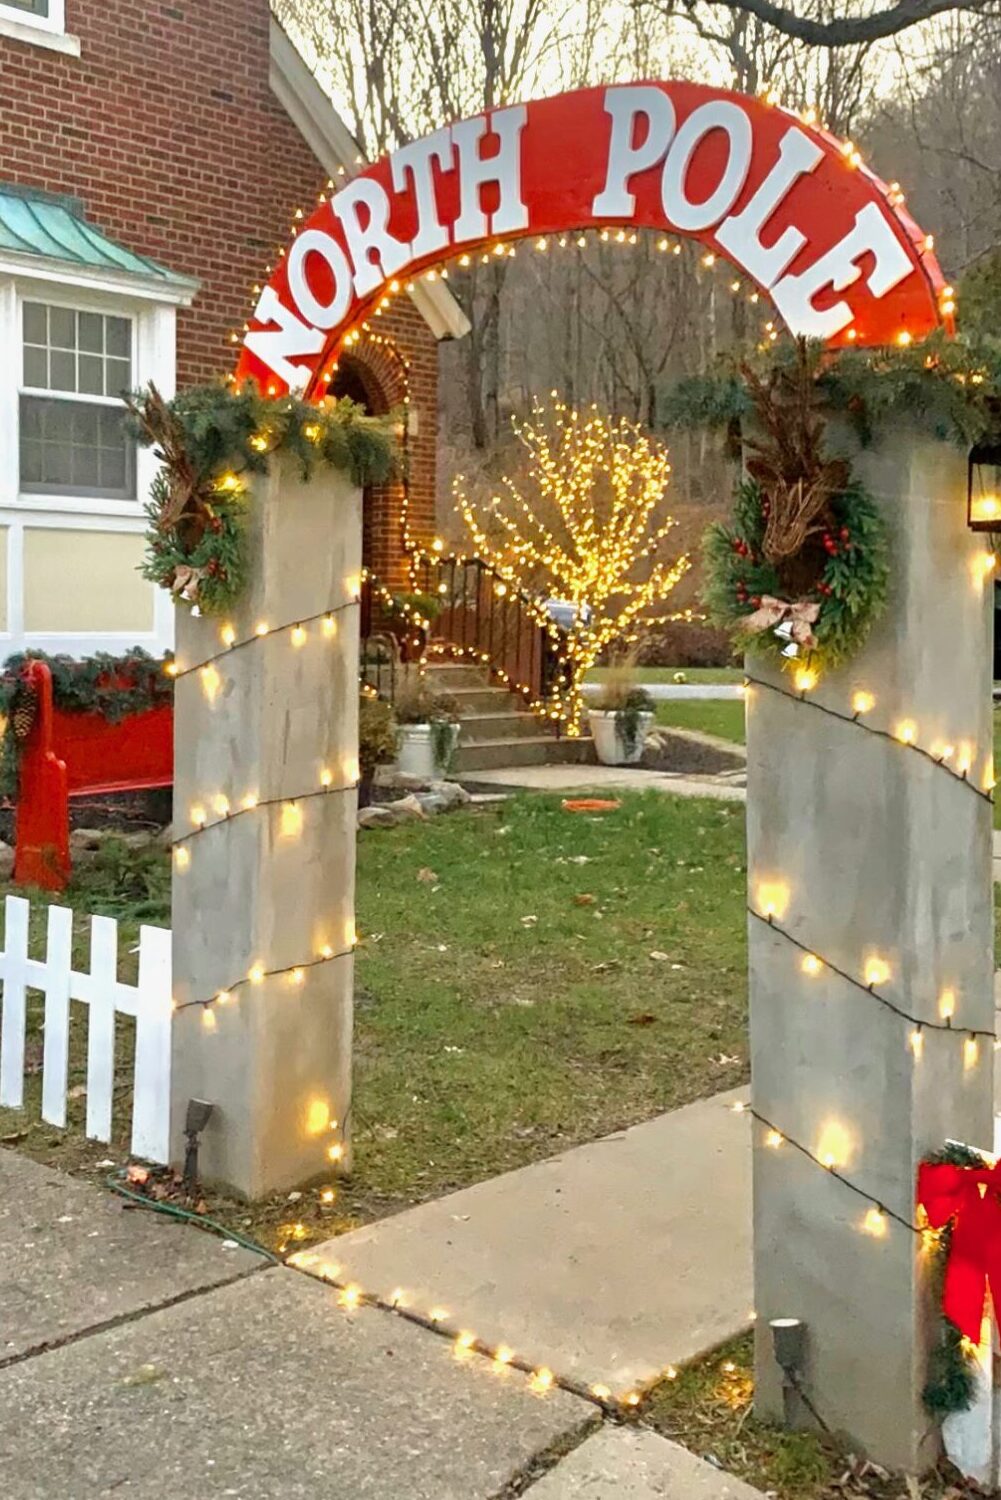
I settled on “North Pole” as the title for my archway, and painted my foam board in a brilliant Christmas red. Then found these great letters at Michaels- They were on a big sale, so I’m not sharing the exact same ones. But they are comparable to these– and started attaching them to the foam board with this Krazy Glue.

**ALTERNATIVE – Don’t forget… this is your project! If you think flat sticker letters or free-standing prelit theatre letters look better- do it! Just make sure you send me a picture of what you design on Instagram and or Facebook after you do it, because I love seeing what you come up with!
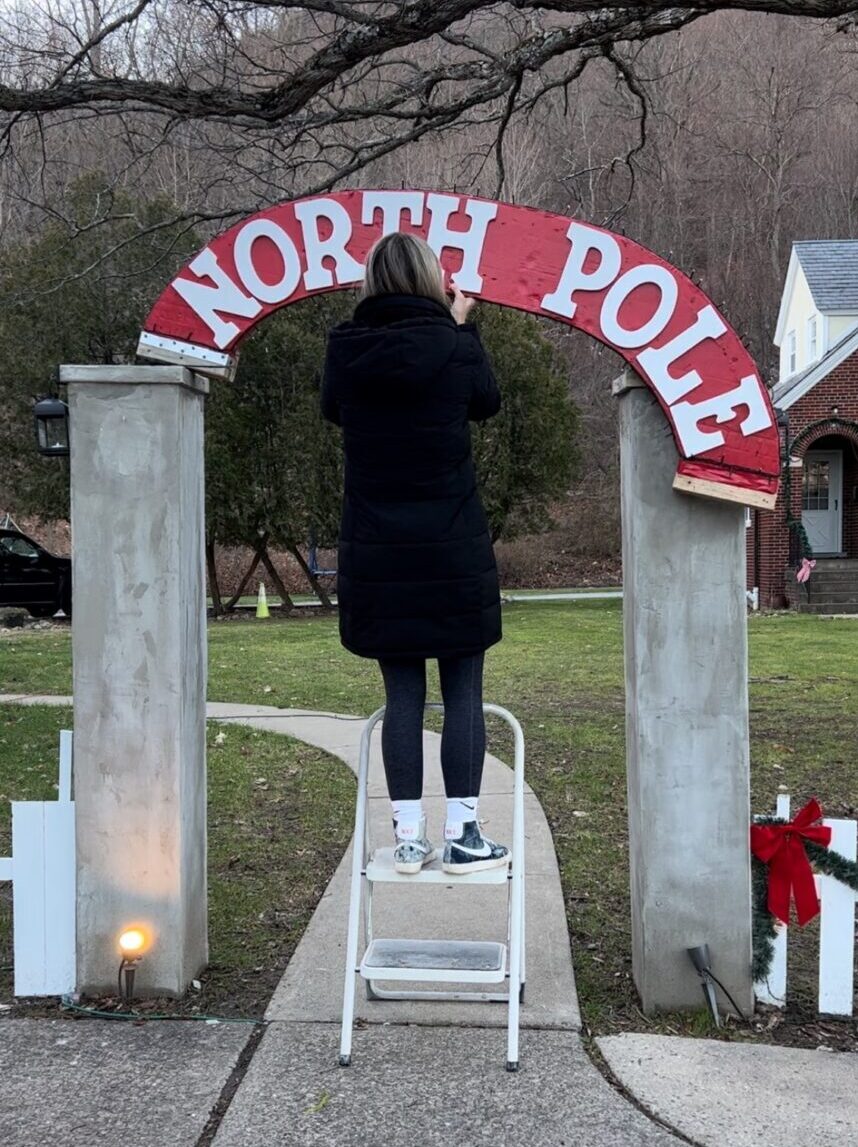
Step 3 – Attach your Christmas arch to your pillars!
Now that you have your pieces ready, next it’s time to assemble them. Bring that arch out and slide it onto the pillars. I then wrapped the whole thing in these lights. Lastly, added this BEAUTIFUL wreath. You can browse wreaths you might like here:
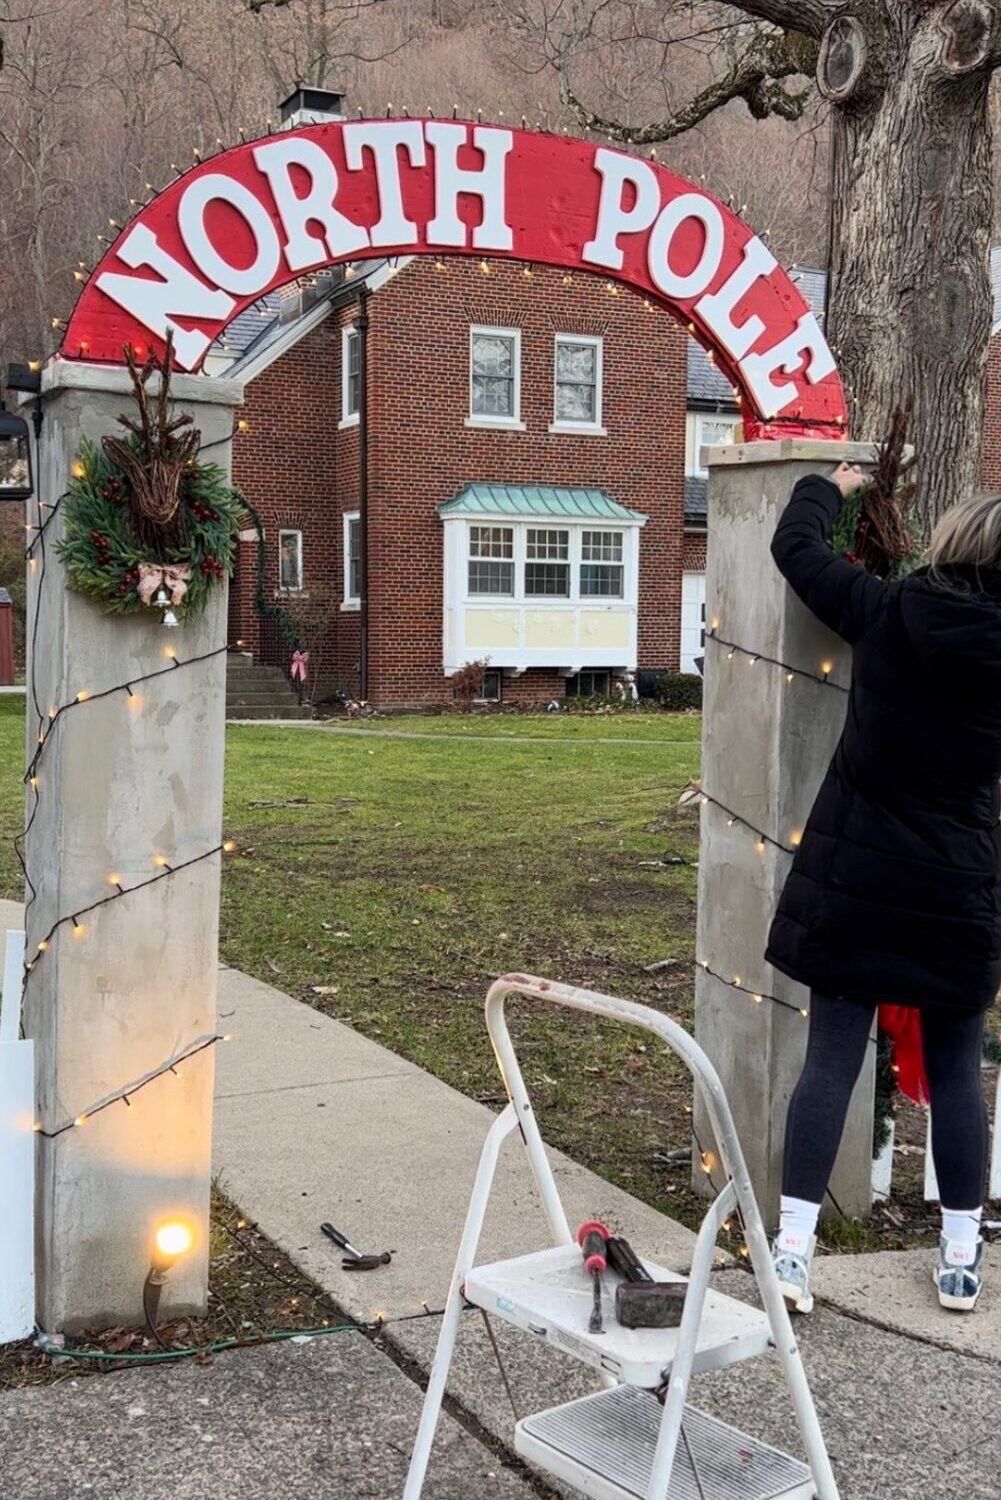
And there you have it. The perfect cozy Christmas entryway! Outdoor Yard Decorations are such a “sleigh”- see what I did there- and these Christmas Pillars and Arch turn your yard into a winter wonderland!
Need more outdoor Christmas Decorations?