So you might be asking why I put the word “magnetic” in quotation marks…it’s because I tried the magnetic idea. And I hated it. I’ll tell you a little bit more about it and what I decided to do instead.
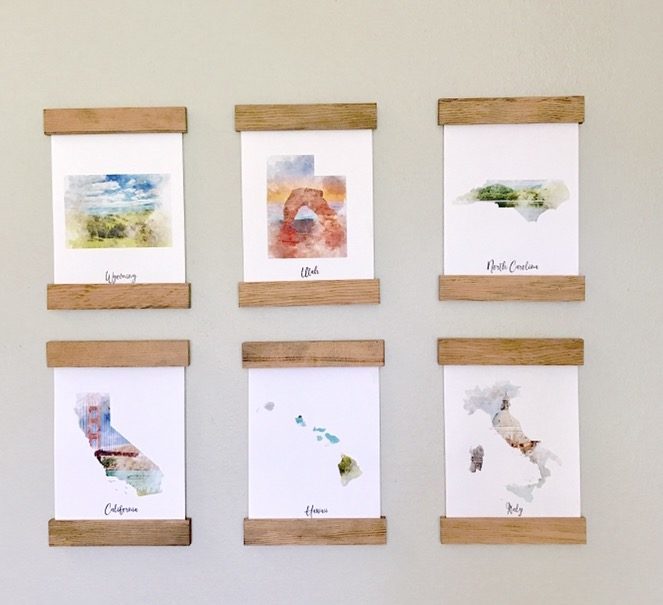
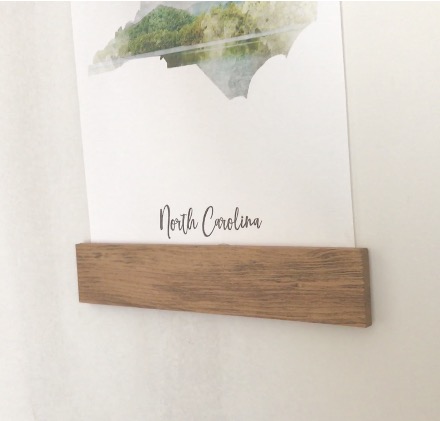
First, I bought these watercolor prints from Jane. If you haven’t heard of Jane, it’s an online daily deals boutique. I’ve seen these cute prints featured quite a few times. Mine are 8×10 size, and they are printed on card stock. I had hoped they were going to be canvas, but oh well. I still really love the prints.
When the prints came in, I confirmed they are actually 8.5″ x 11″, so be sure to measure and confirm yours are the same size before you start cutting!
Here are some other 8×10 prints that would look awesome on these frames:
- Florals
- Butterfly Print
- Rat Seance
- Aesthetic Floral Mix
- Rainbow Aura
- Fairy Themed Aesthetic
- Royal French Bulldog
Okay, let’s get started.
Supplies needed to make magnetic frames:
**This post contains affiliate links. Thank you so much for using my links and supporting me. I really appreciate it. 🙂 **
You will need:
Lattice Trim
Sanding pads or Sander
Hot Glue Gun![]()
Hot glue sticks![]()
Miter saw![]() (I used a miter saw, but a hand saw would work just fine)
(I used a miter saw, but a hand saw would work just fine)
Command Strips![]() for hanging
for hanging
Step 1:
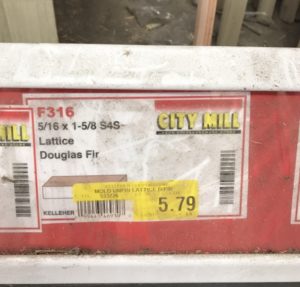
I used lattice trim since it’s nice and thin. It’s only 5/16″ deep, and I used 1 5/8″ wide trim for mine, and the ones available at my local hardware store were Douglas Fir.
Next, I cut my pieces to 9.25″ length. That way I got 10 pieces out of each 8′ board. Each framed picture will require 4 boards, so you’ll get 2 1/2 pics out of each 8′ board.
For my 6 prints, I purchased 3 boards and had some scrap wood left over.
Once you’ve got your boards cut to 9.25″, you’ll want to sand the edges. I love this little sander by Gator Finishing! Super comfortable grip, and is great for tight spots, too!
I stained my boards with Minwax in Early American. I left them unfinished (no top coat).
Step 2: Assemble your frame
Once the frames were assembled, I used the magnetic strips. I bought the sticky kind, and ended up cutting them about 1/2 inch shorter than the frames.
I was so excited to try out these strips…but they ended up being a pain in the butt! They were really hard to lay straight and keep from being crooked. The card stock kept sliding around as I tried to attach the Command Strips to the wall. And when I was finally finished, a big breeze came through my window and actually blew one of the pieces of card stock out of the bottom part of the frame!
So I returned to the drawing board and removed all the magnetic strips. I decided that since these were cheap prints, and I don’t think I will ever be re-framing them, I’d go ahead and use hot glue! Yes, this will destroy the prints if I ever want to use the frames for something else. But as I said, these are cheap, card stock prints. Not family heirloom portraits. 😉
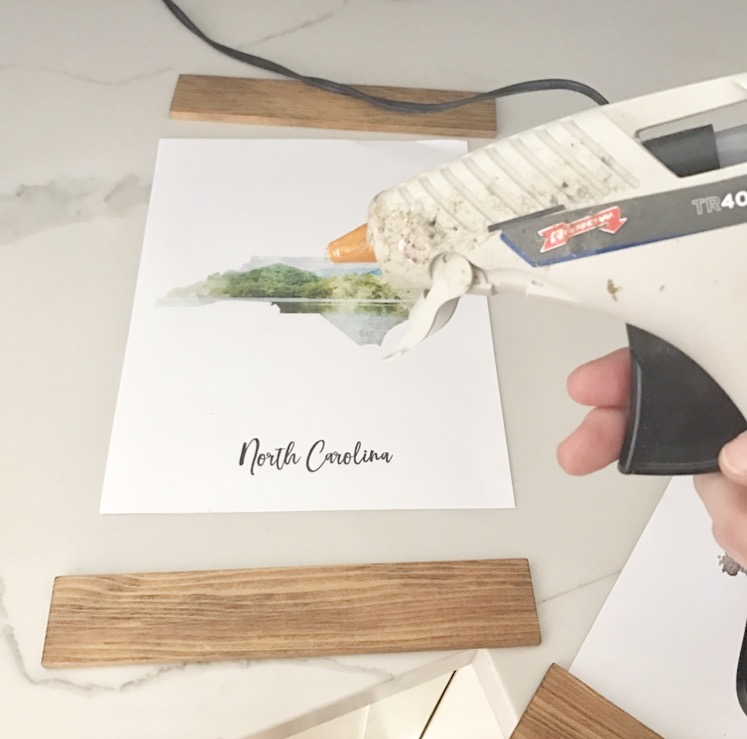
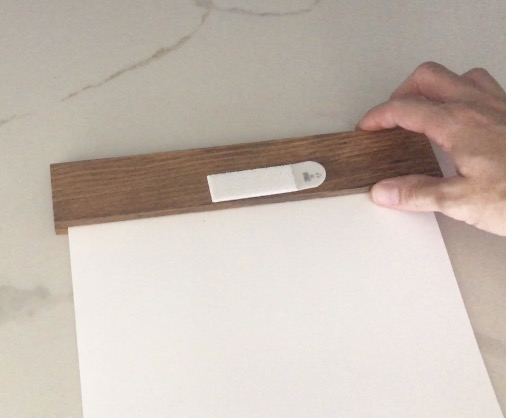
I measured 1/2″ down for the bottom edge and drew a line, then did the same at the top (1/2″ up). And then I got my hot glue gun ready.
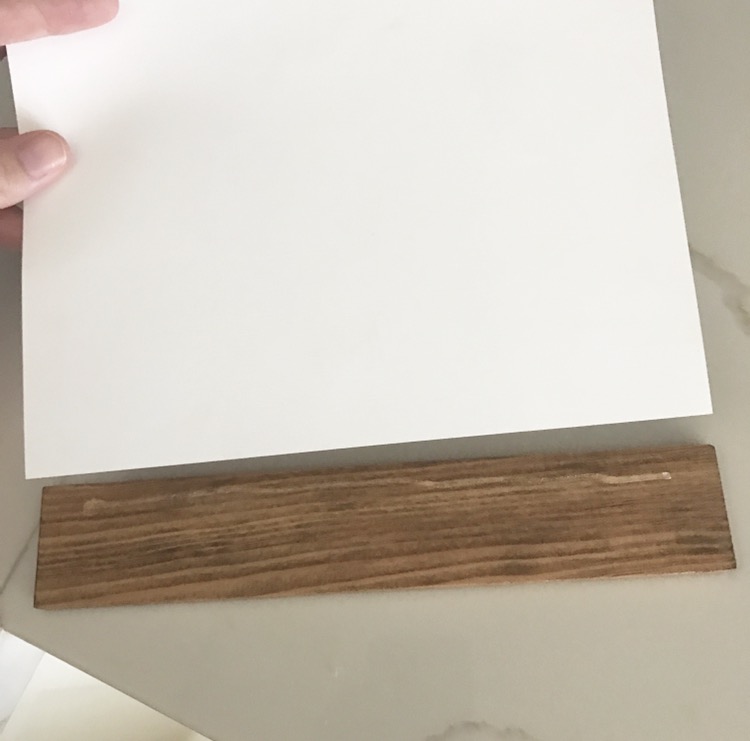
Next, flip the print over and line it up on the lines you drew.
Then, I added glue to the second piece and sandwiched my paper between the two boards. I made sure it was totally dry before I let up on the boards, but hot glue dries fairly quickly, so I didn’t have to wait long.
Step 3: Figure out how to hang your DIY Frames
The last step is to attach the Command strips, and you’re done! I used one Command strip on the top and one on the bottom as well to keep them from flapping around in the wind. Here is where, you could also add a magnet, if you’re looking for a frame to go on the fridge!
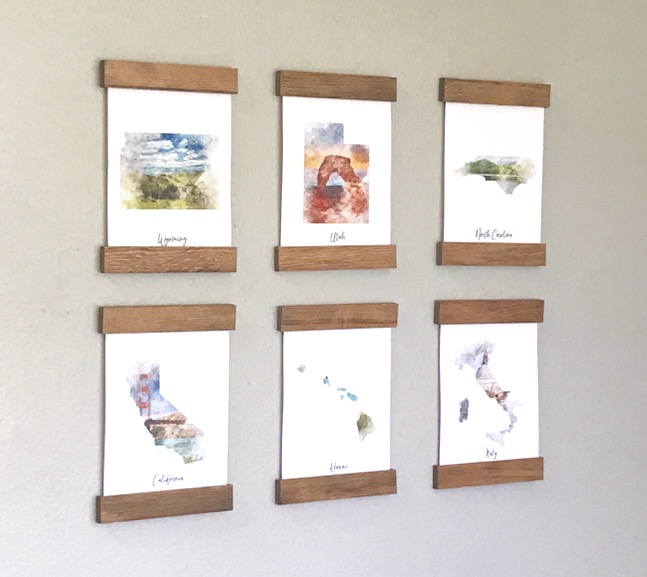
So there you have it! A cheap and easy project, the perfect DIY for someone you love. It cost me $18 to frame eight prints. Not too bad!
Be sure to follow me on Instagram and watch my instastories for more tips and tricks! And if you’re looking for other easy DIYs, check this one out!

Thanks for using our glue gun, Charlee! #MadeWithArrow