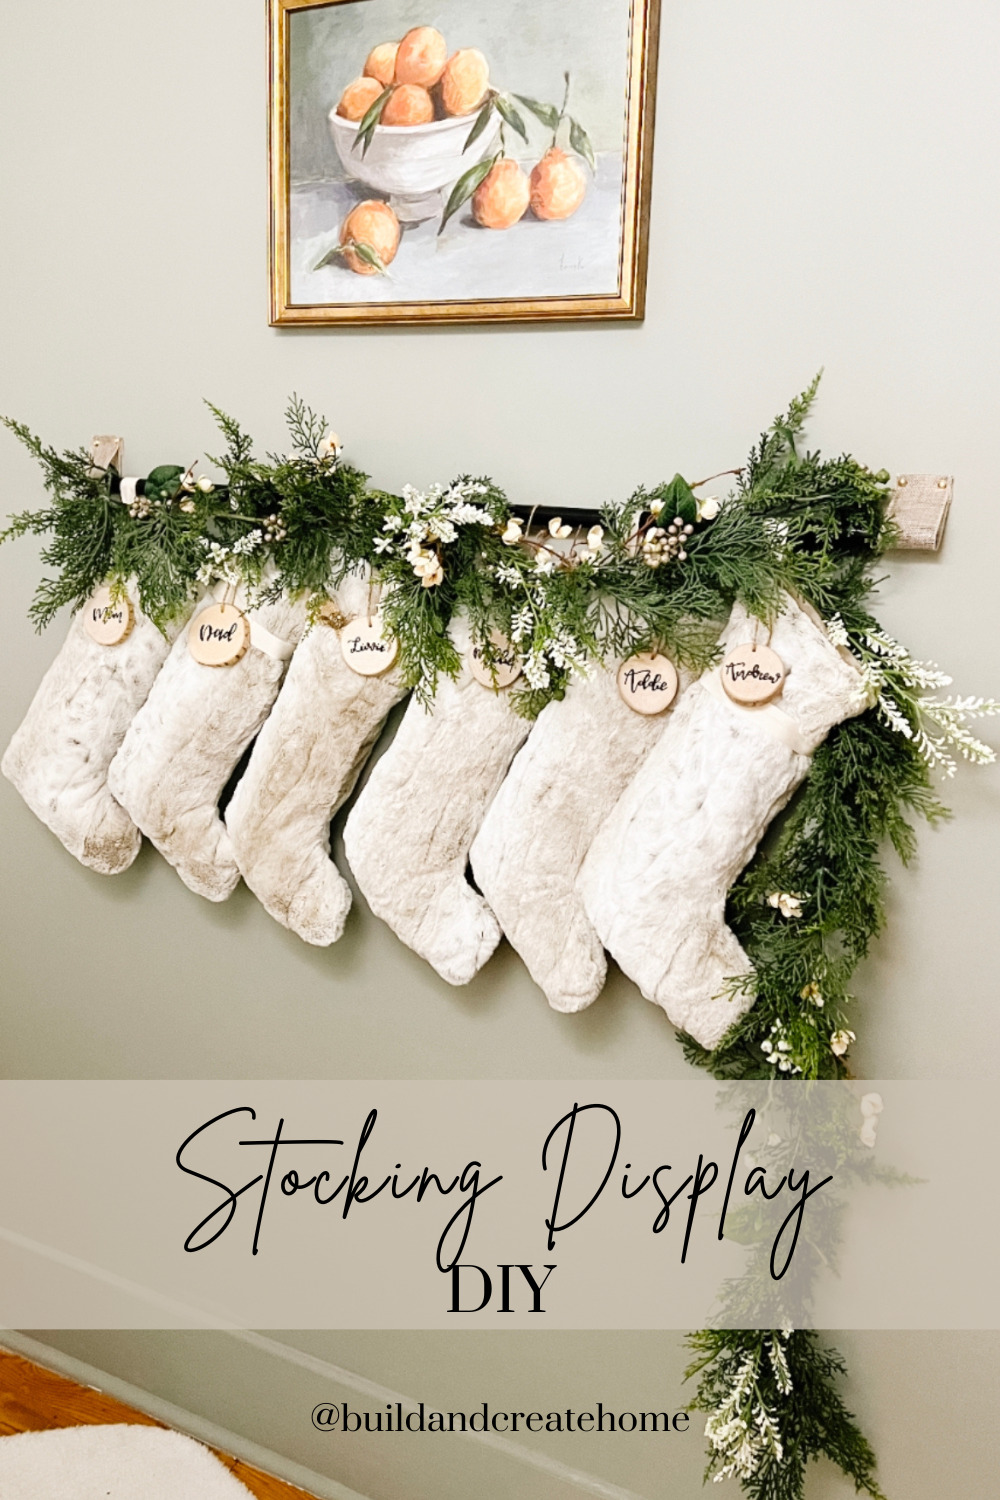
A few years ago I made a mantel that is still one of my most popular DIYs! I started thinking about how I could make this even more simple— and here it is! As simple as it gets. My DIY Stocking Display is perfect for apartment living, military bases, college dorms, or any home without a fireplace!
This post will contain affiliate links, so please see my disclosure page.
This is truly a beginner DIY project since all you need is a little hammer to get the tacks in- and you may not even need that!
Supplies needed to make a DIY Stocking Display:
– I used a black broom that I unscrewed and then sawed off with my mini hand saw. If you want to do this project without any sawing- you can grab this curtain rod and use that!
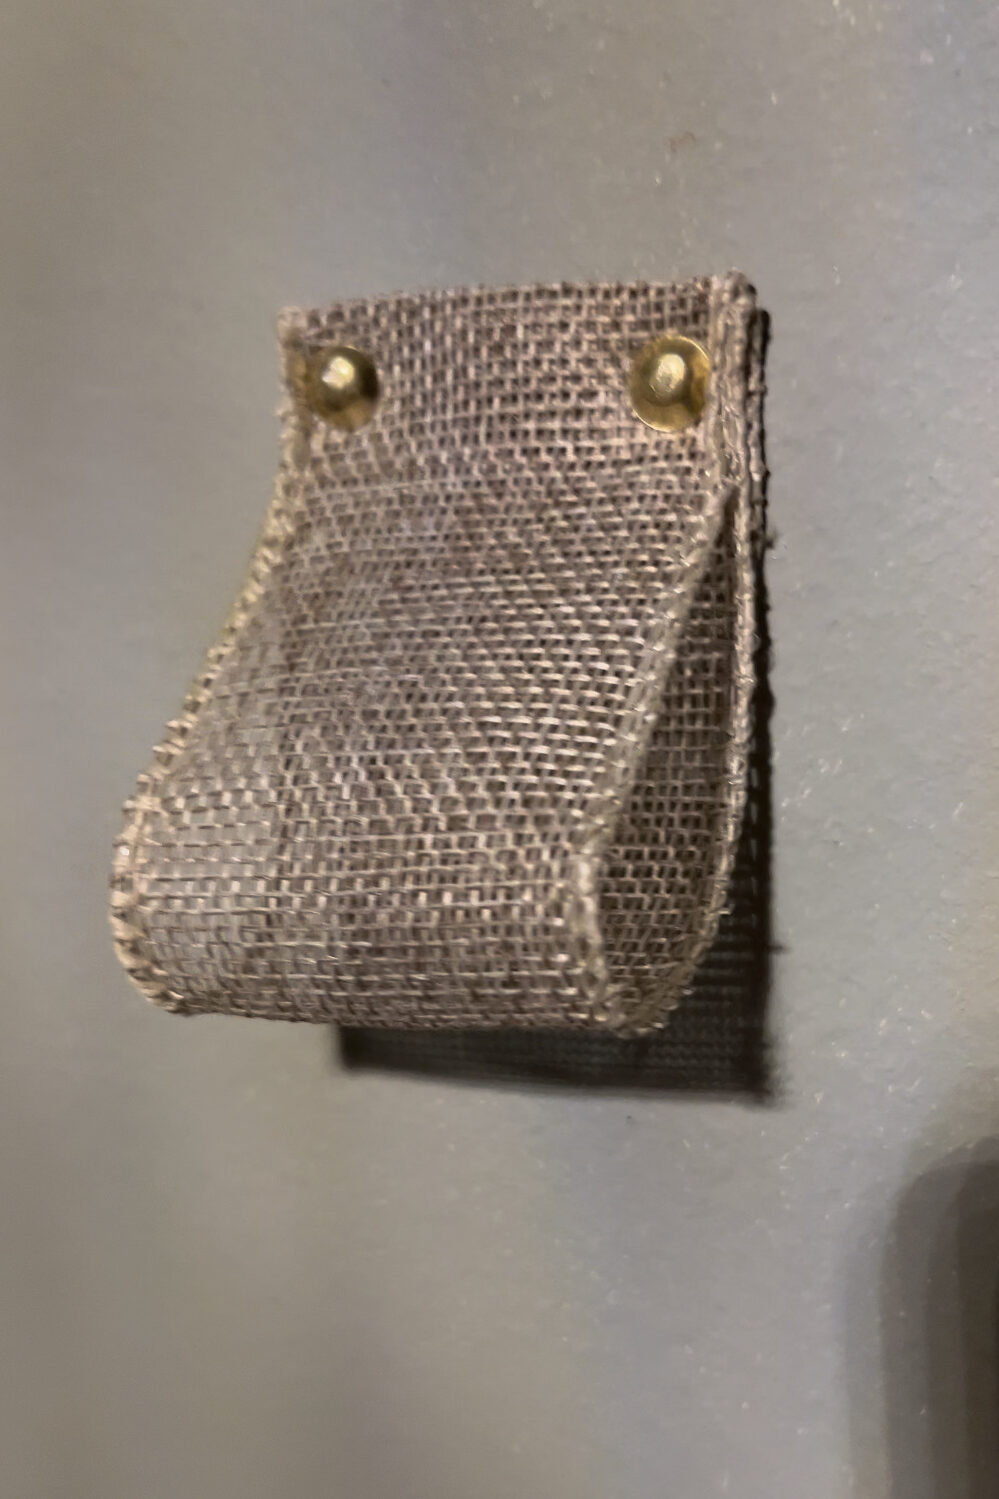
–Burlap Ribbon
– Gold Thumbtacks
– Garland of your choice! (you can go with flocked, add jingle bells or pinecones!)
–bakers twine
–circular wooden ornaments
-any stockings you like- I went with fuzzy white ones to fit my more rustic Christmas vibe
Step 1- Create your loops:
You have the rod ready to hang (whether you got the broomstick and sawed off the ends, or you got a curtain rod. The next step will be to find the perfect height you want your stocking display. Then take your burlap ribbon and cut them to the size you’d like.
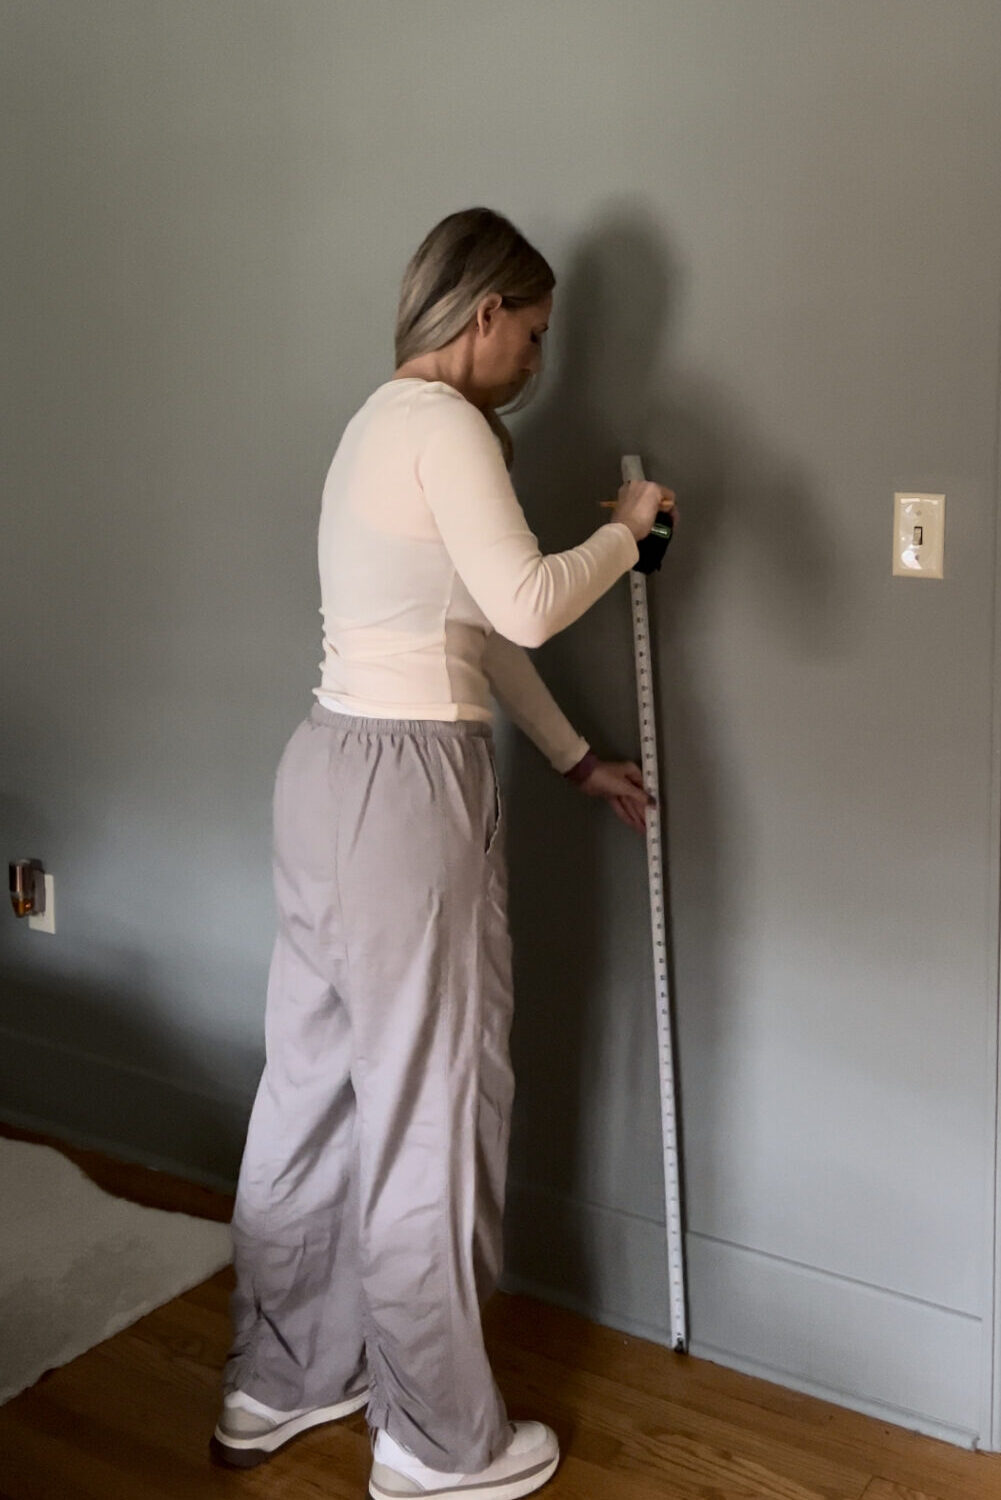
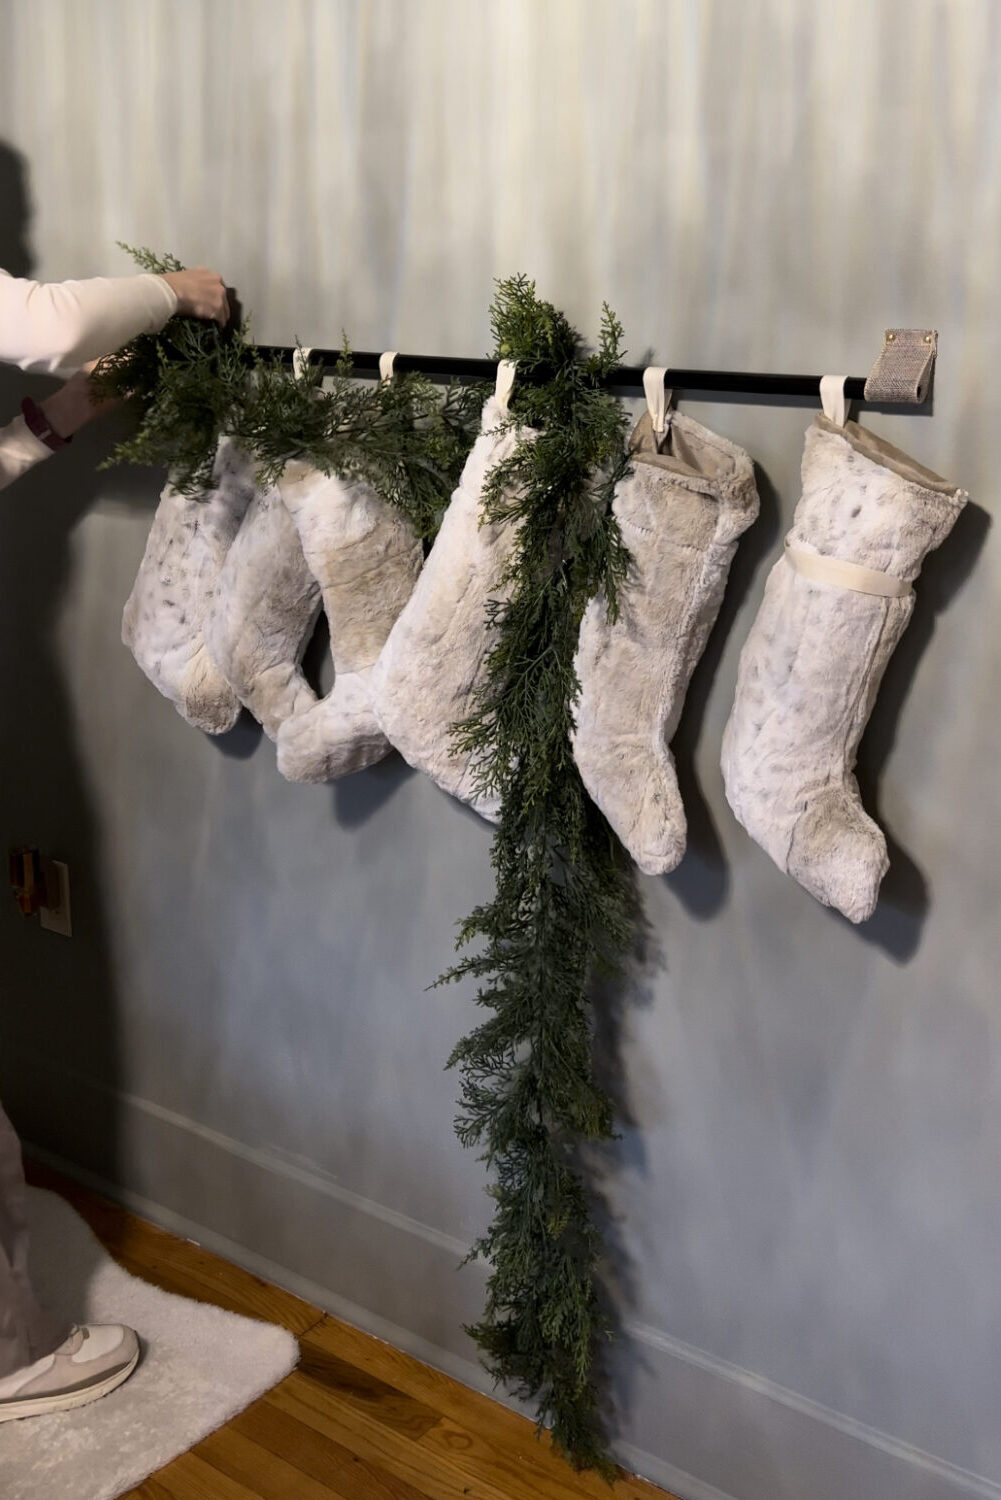
Step 2 – Place your rod for the DIY Stocking Display:
Once you have the loops where you want them, you can start to assemble the display. (If your stockings have loops on them, be sure to put them on the rod before you put them in the loops!) It’s time to place your rod through the loops. You can then add your garland!

Step 3 – Add any finishing touches to your DIY Stocking Display:
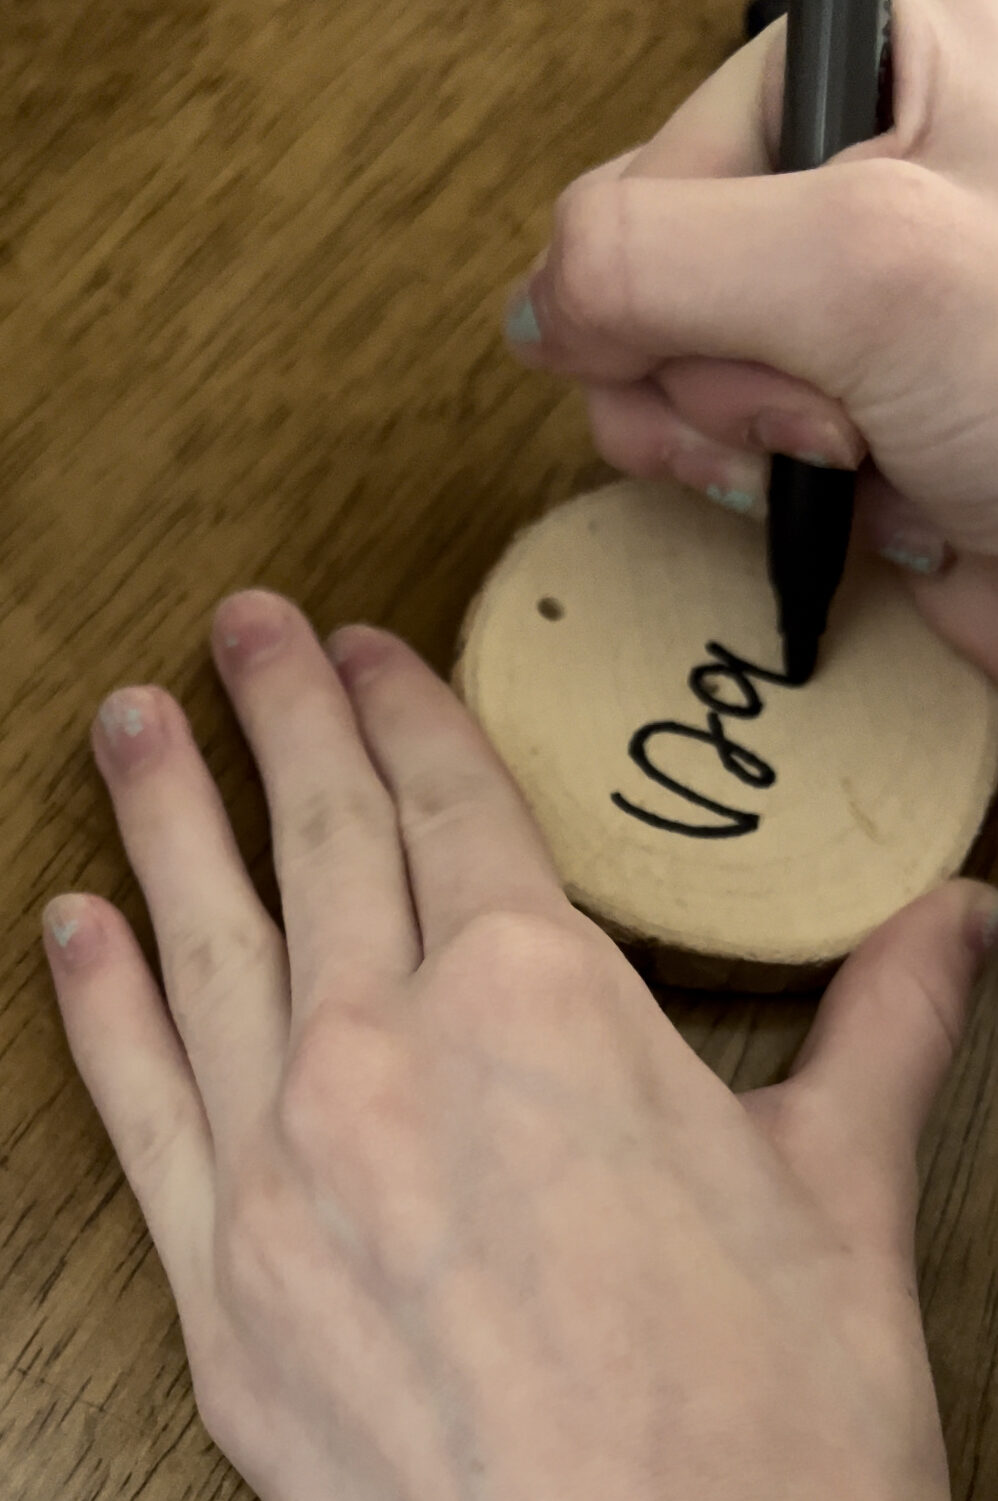
I used wooden ornaments and baker’s twine to write the names of my children on the stockings. If you have any other little additions you want to add to your display- do it! And be sure to tag me on Instagram or Facebook- I would LOVE to see what you come up with!
Other Chrsitmas Crafts: