If you haven’t seen my video on my Rev-A-Shelf DIY cabinet video… check it out here. I LOVE this project for adding organizational solutions to a small space. And as a renter… this is perfect because I can patch the holes in the wall when I leave, and I can also take the cabinets with me. A temporary solution, but a forever piece of furniture. What more could you need?
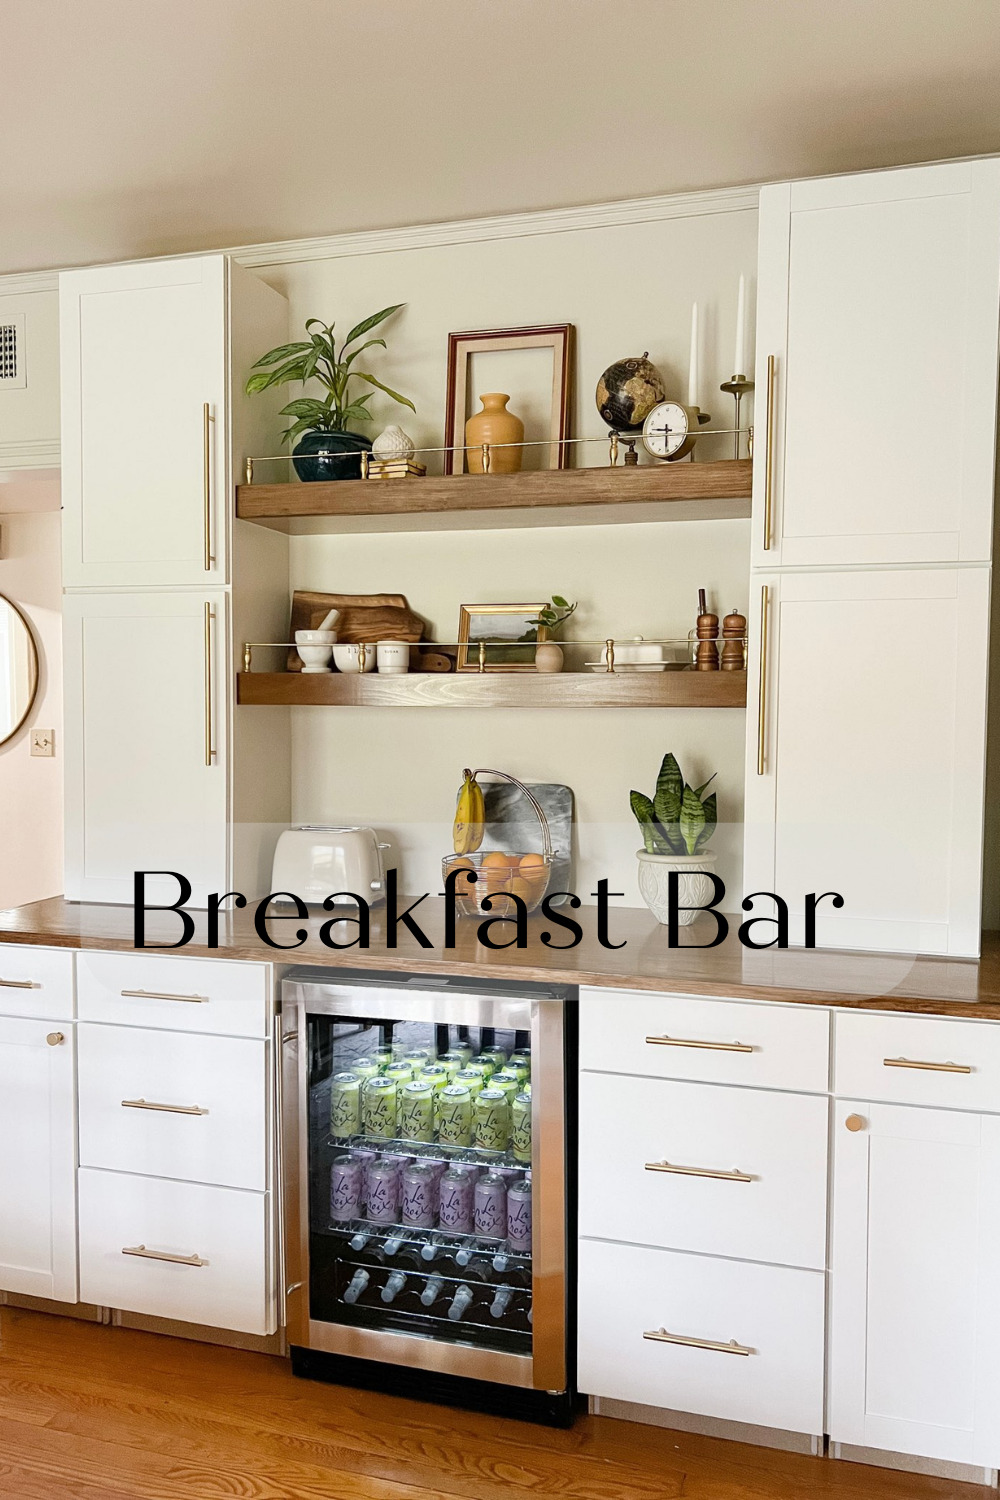
My Rev-a-Shelf breakfast bar is what dreams are made of. It’s stunning, and practical and can be jazzed up with some DIY Faux Brass Railing to the space between the cabinets, and the floating shelves.
**If you have 8 foot ceilings PLEASE be precise with your measurements or these cabinets may not fit! I have 8-and-a-half-foot ceilings.
(I know… Anything other than Christmas DIY in November seems crazy to some of you! Those of you holiday lovers, don’t forget we have some Christmas DIYs waiting in the wings. Check out the soda can jingle bells! Or challenge yourself and elevate your tree game with the tree box stand! There’s still time to make something totally tinsel!)
This post will contain affiliate links- please see my disclosures page if you need any information on that!
Supplies needed to make your Breakfast Bar:
-cabinets (The white ones I used are linked in the post- and to save even more money you can buy these unfinished! You will have to paint them white, and the coverage isn’t quite the same)
-4×8 foot plywood
-poplar 1×2 is the trim around the edge of the top (poplar is sold by the foot so one piece 89 inches and one that is 26 inches long to go around the edge)
Tools needed to make your Breakfast Bar:
-table saw
-cabinet screws
-miter saw
-jig saw
-multi-tool
-brad nailer
-Your Breakfast Bar add-ins! (mini fridge, extension cords, Keurig, whatever your must-haves are!)
-89 long by 26 deep by 96 tall 8-foot ceilings need to be precise remove baseboard behind the cabinets 1×4 across the back to fill the gap that the baseboard created drilled into the studs
Step 1- Get your supplies
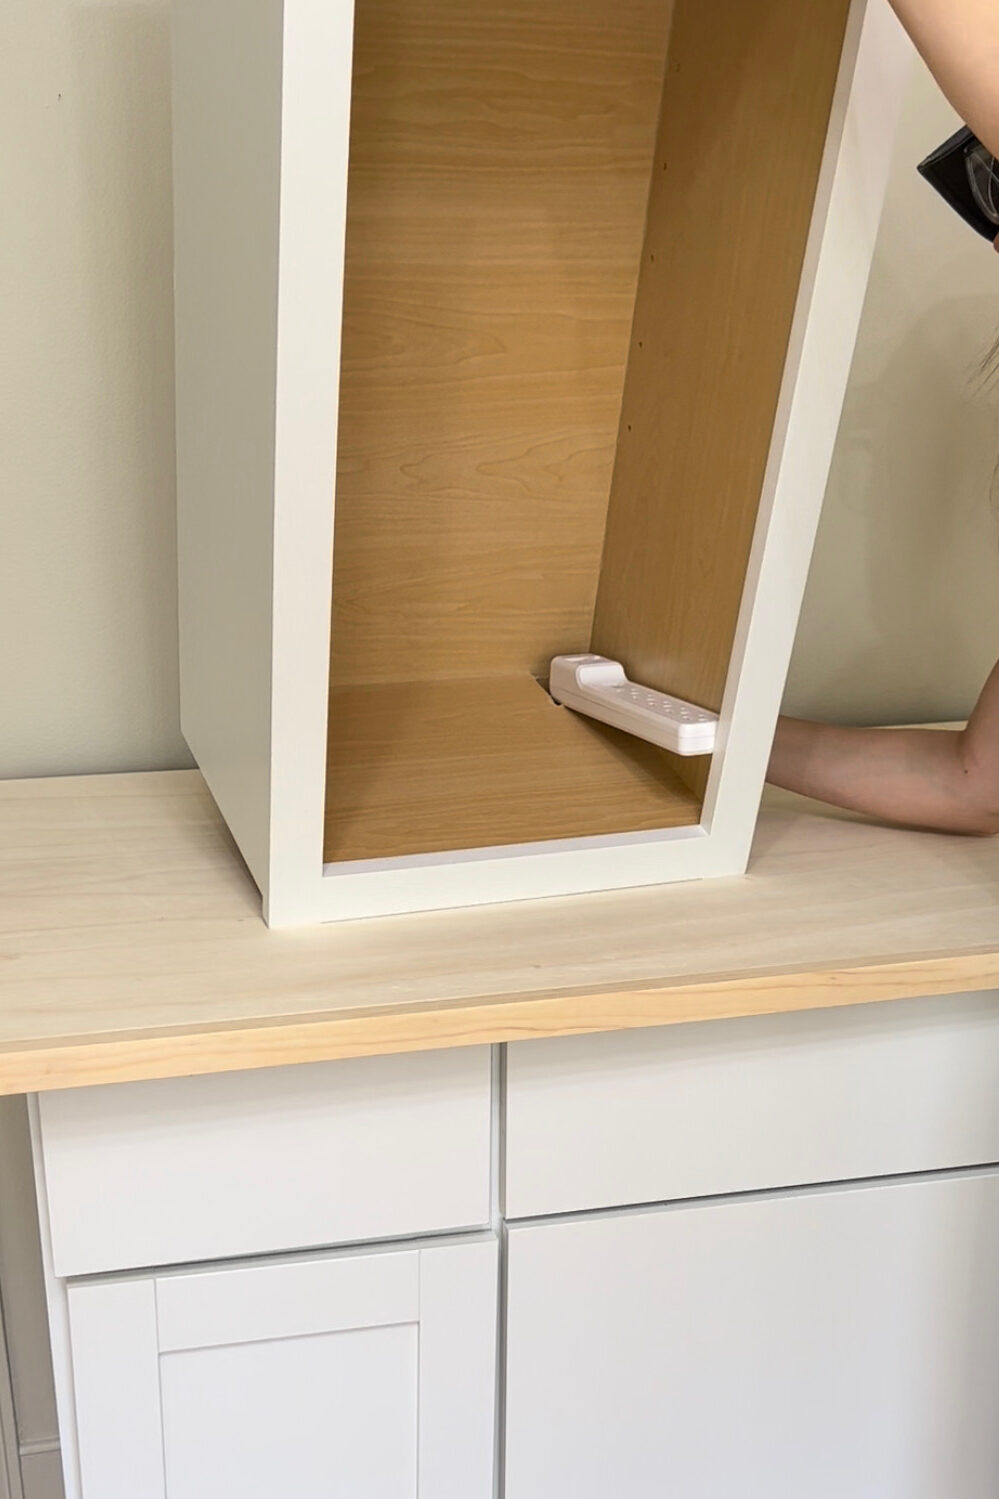
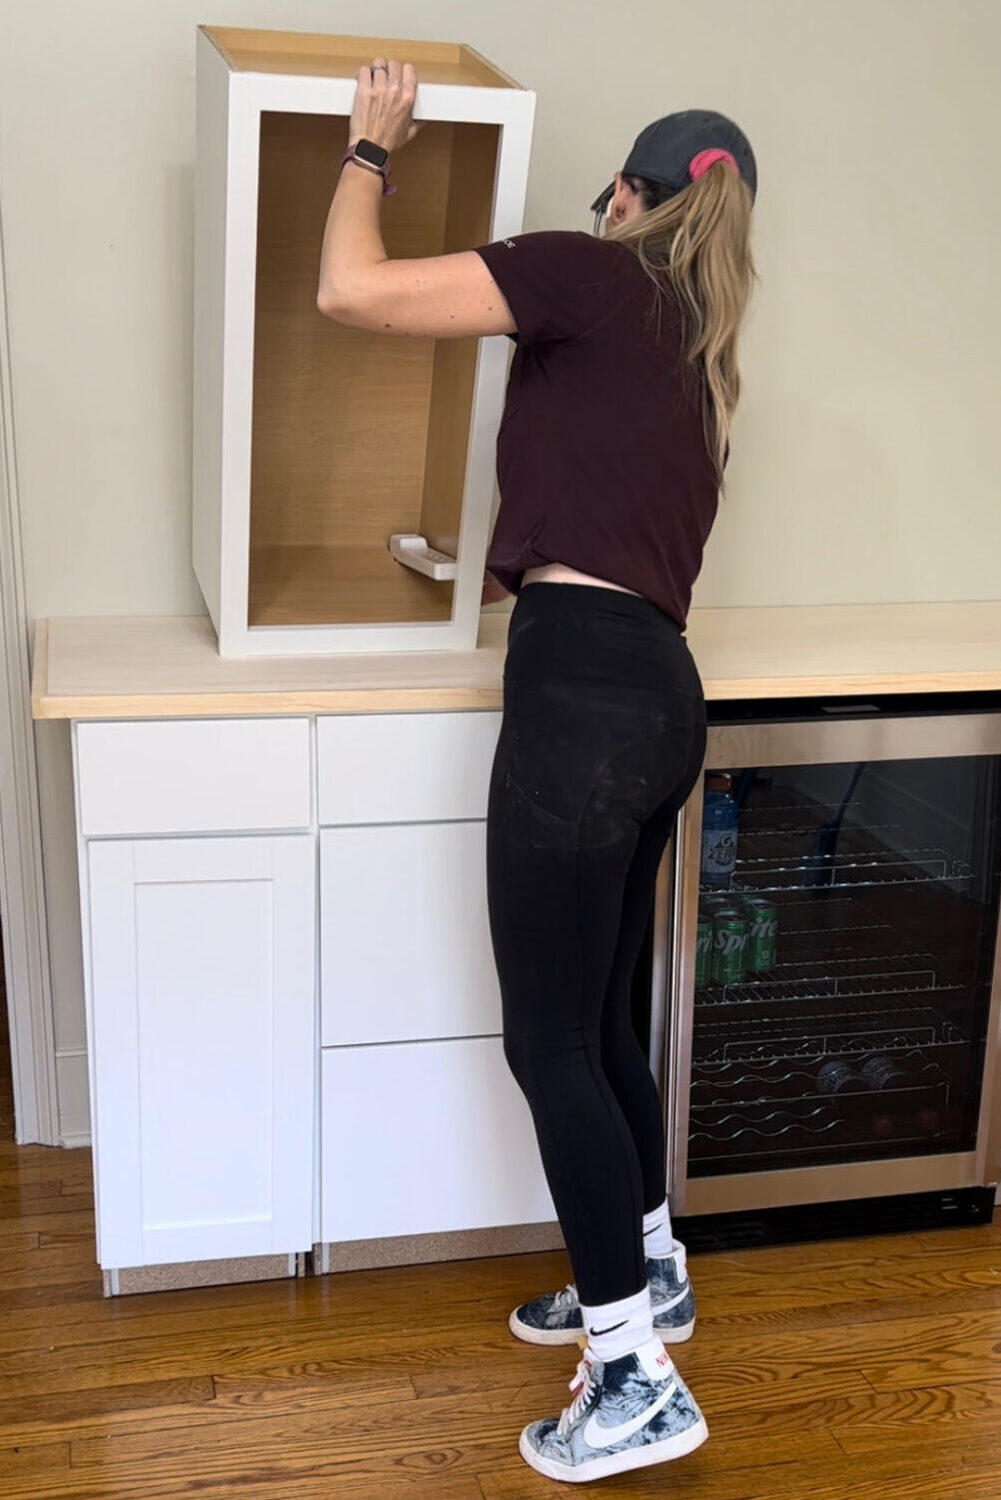
Cabinets are a must-have for a breakfast bar. For the upper cabinets, I used four of these white cabinets. If you want to save some money on cabinets, you can get these unfinished! You will just have to buy the paint and finish them on your own. You also won’t have quite the same coverage you might have on a finished cabinet.
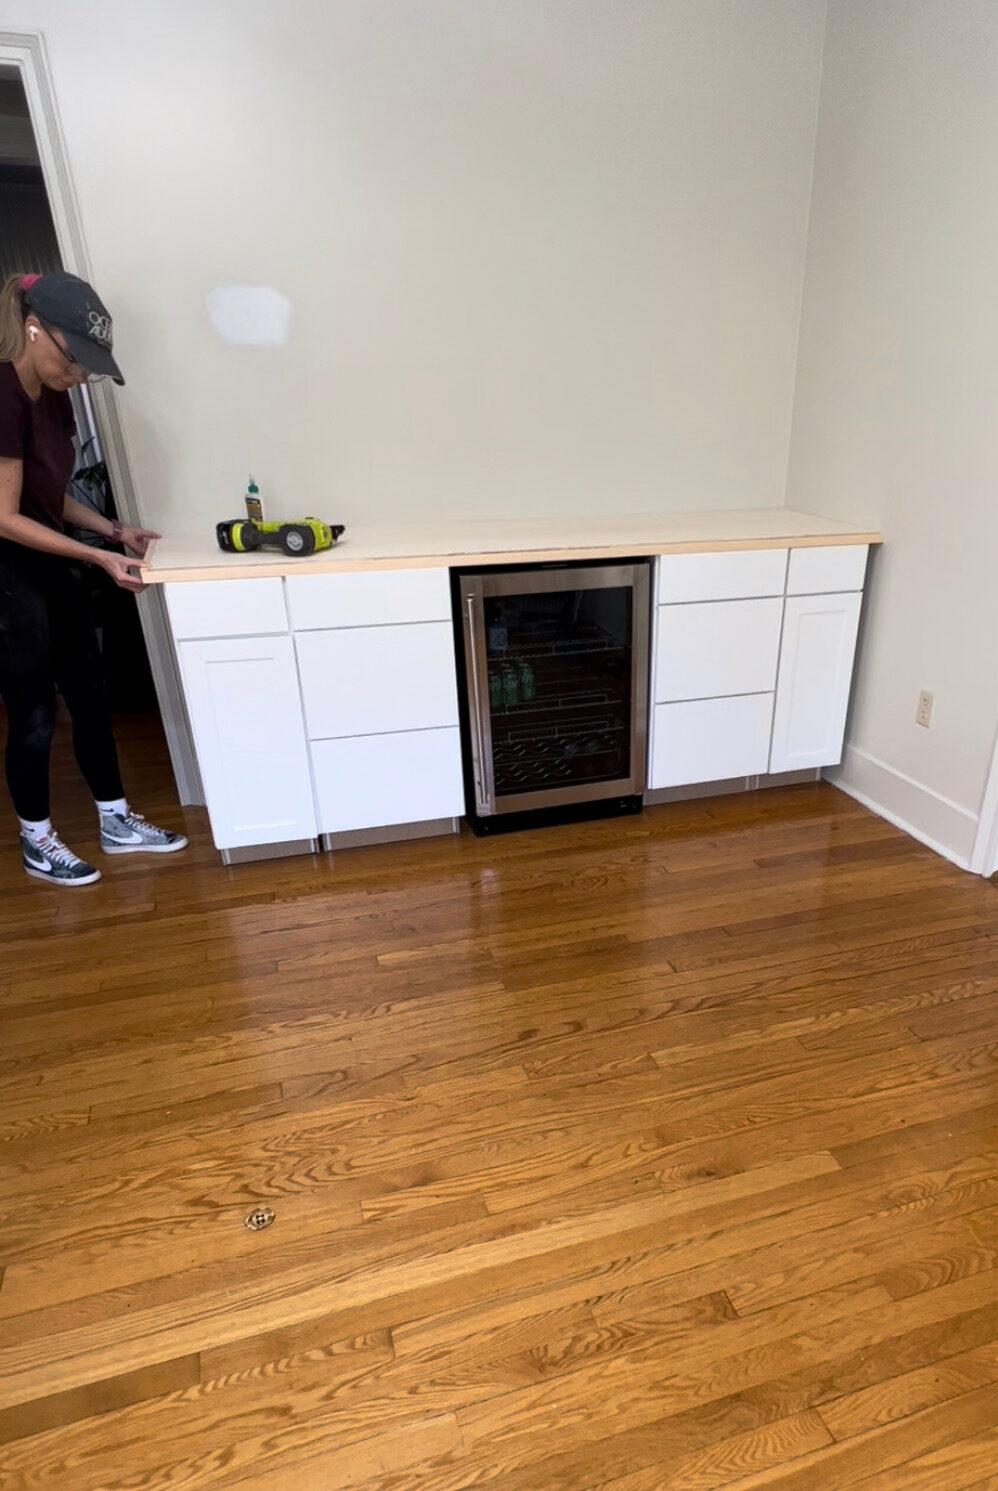
Then you want to find your bottom cabinets. I used two of these 12″ bottom cabinet drawers, then I also used two of these 3-drawer cabinets on the bottom as well.
The bar top is a 4×8 foot plywood piece of plywood I had ripped for the countertop at 88 inches long. You can do this yourself with a table saw, or you can have it ripped for you at Home Depot or Lowes. I was able to use the rest of the plywood also- it’s ripped at 10 and a quarter inch 2 times. That’s what I used to make the floating shelves. (If you want step-by-step on those– see the next post!)
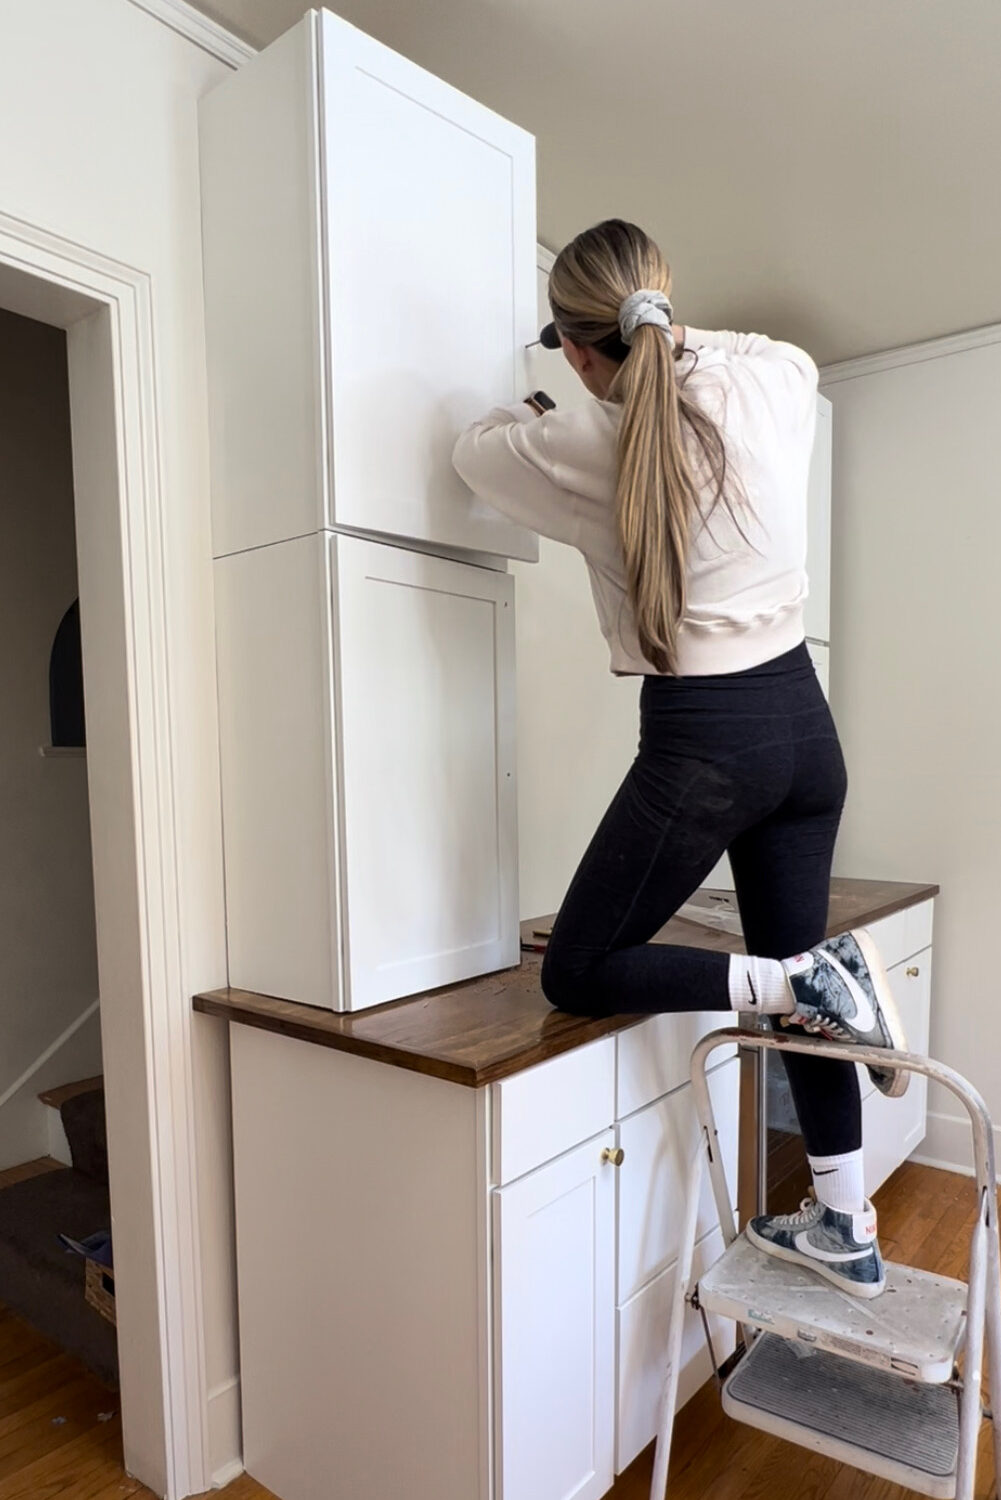
Step 2 – Secure the cabinets for the breakfast bar
So This step was a little different for me because I am renting. I knew because I was in a rental, I did;t want to remove my baseboards behind the cabinets. So, if you are also looking to keep your baseboards intact, this is how I would do it.
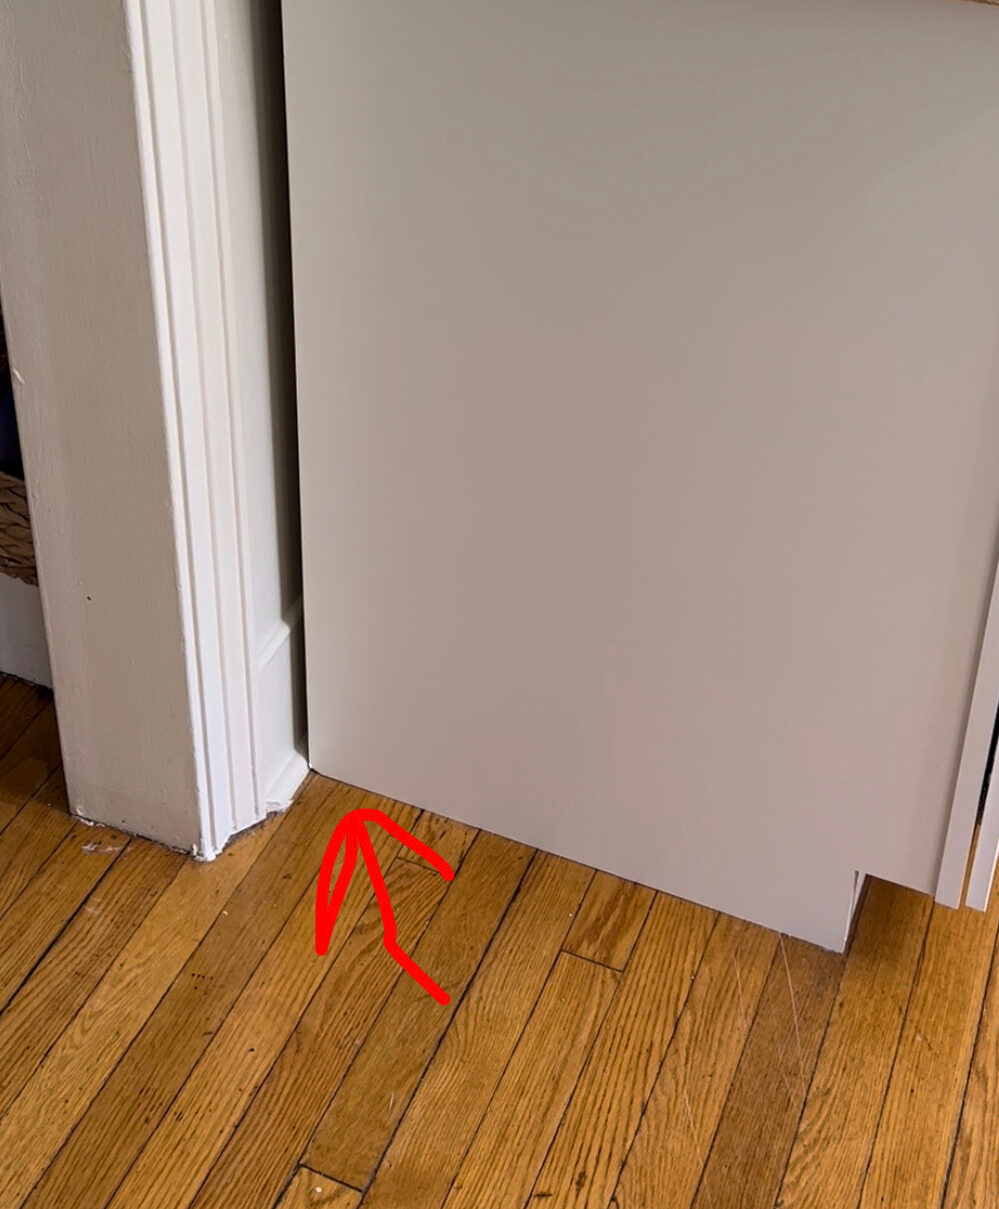
Removing the baseboard would make the cabinets flush with the wall, and would have fewer gaps between the cabinet and the wall. Since this was a none starter for me, I took a 1×4 and screwed it into the studs on the wall, then screwed them in through the back of the cabinet. That made the cabinets more secure and flush with the wall.
If you are able to take the baseboards off, screw the cabinets into the studs with wall screws.
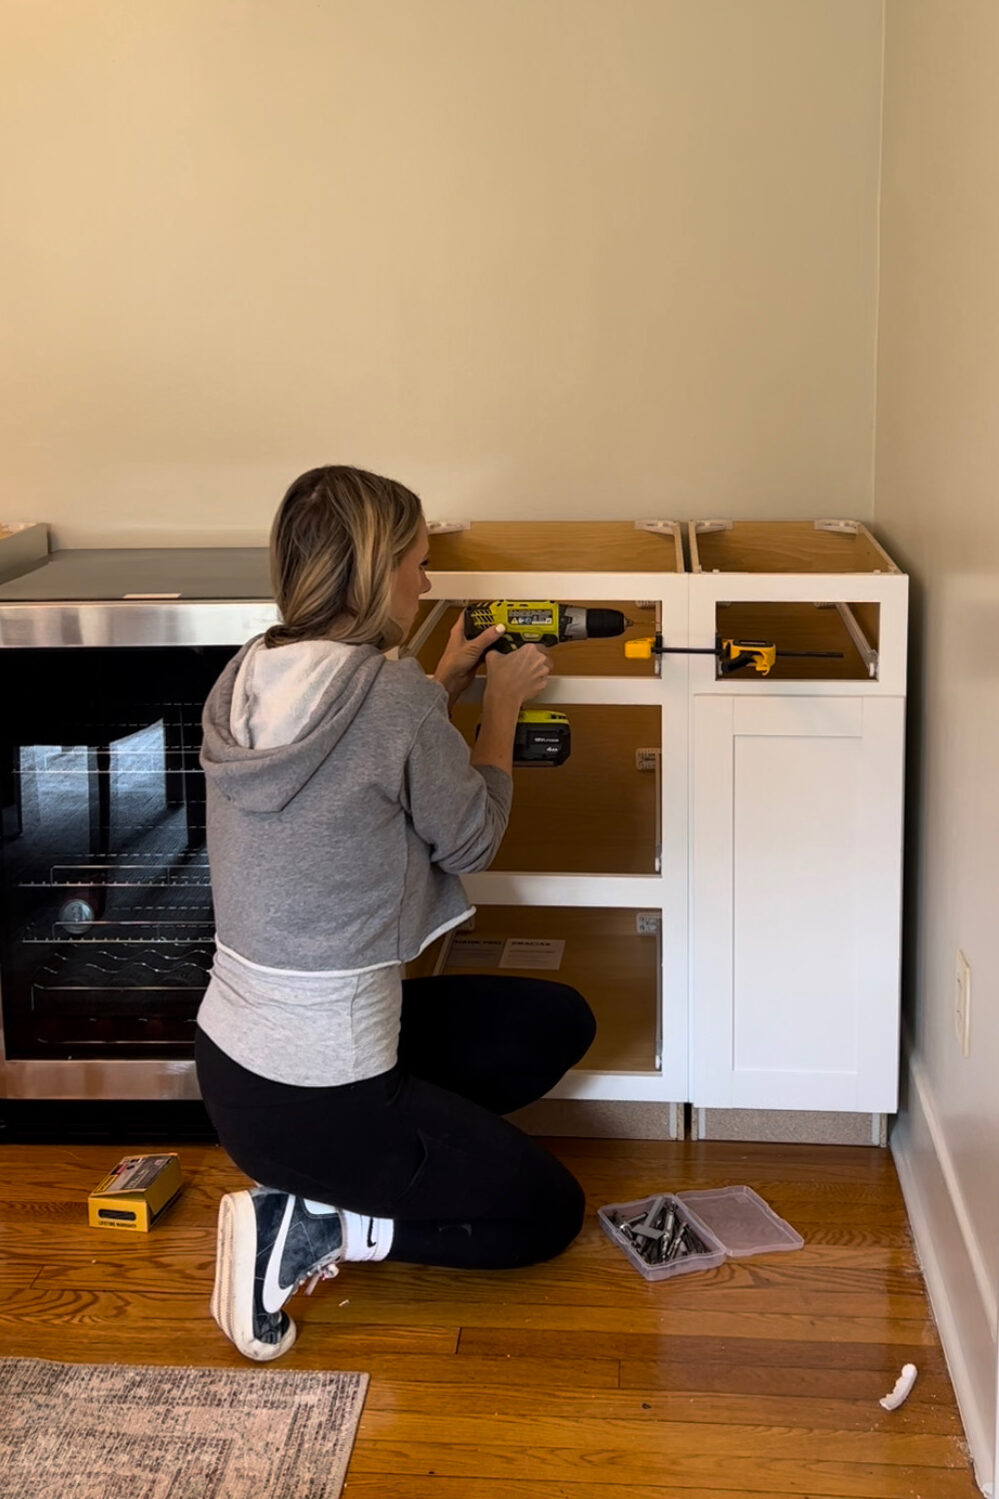
I also clamped the lower cabinets together and attached them with screws. I drilled pilot holes first. This makes the whole things seem super secure and sturdy.
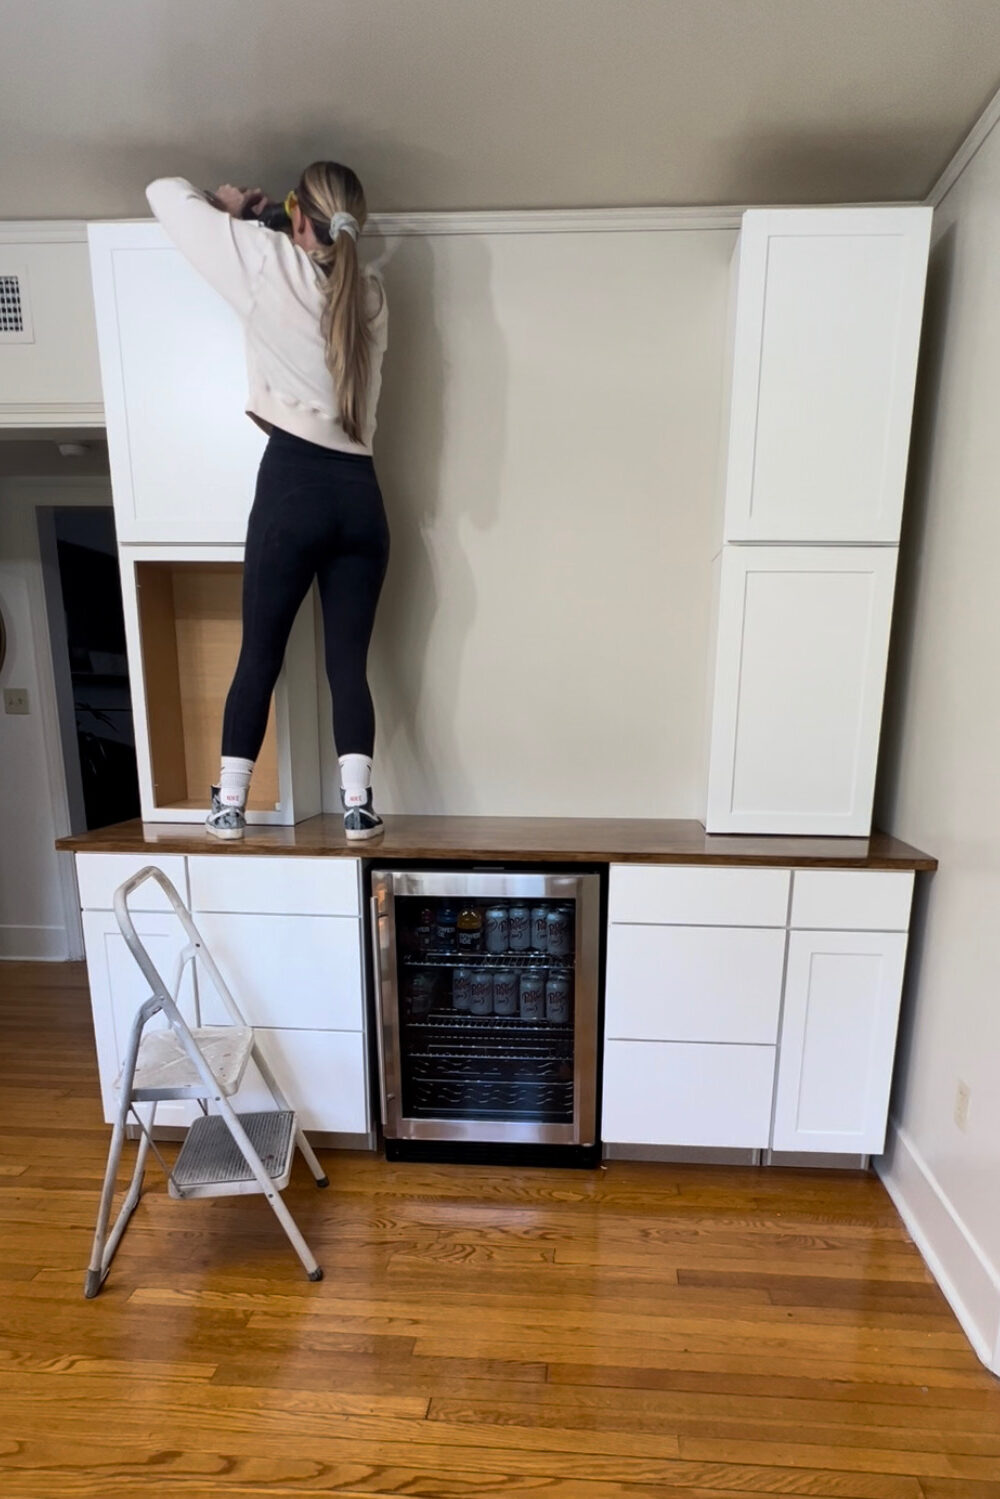
Step 3 – Lay out the countertop and install the upper cabinet to your breakfast bar
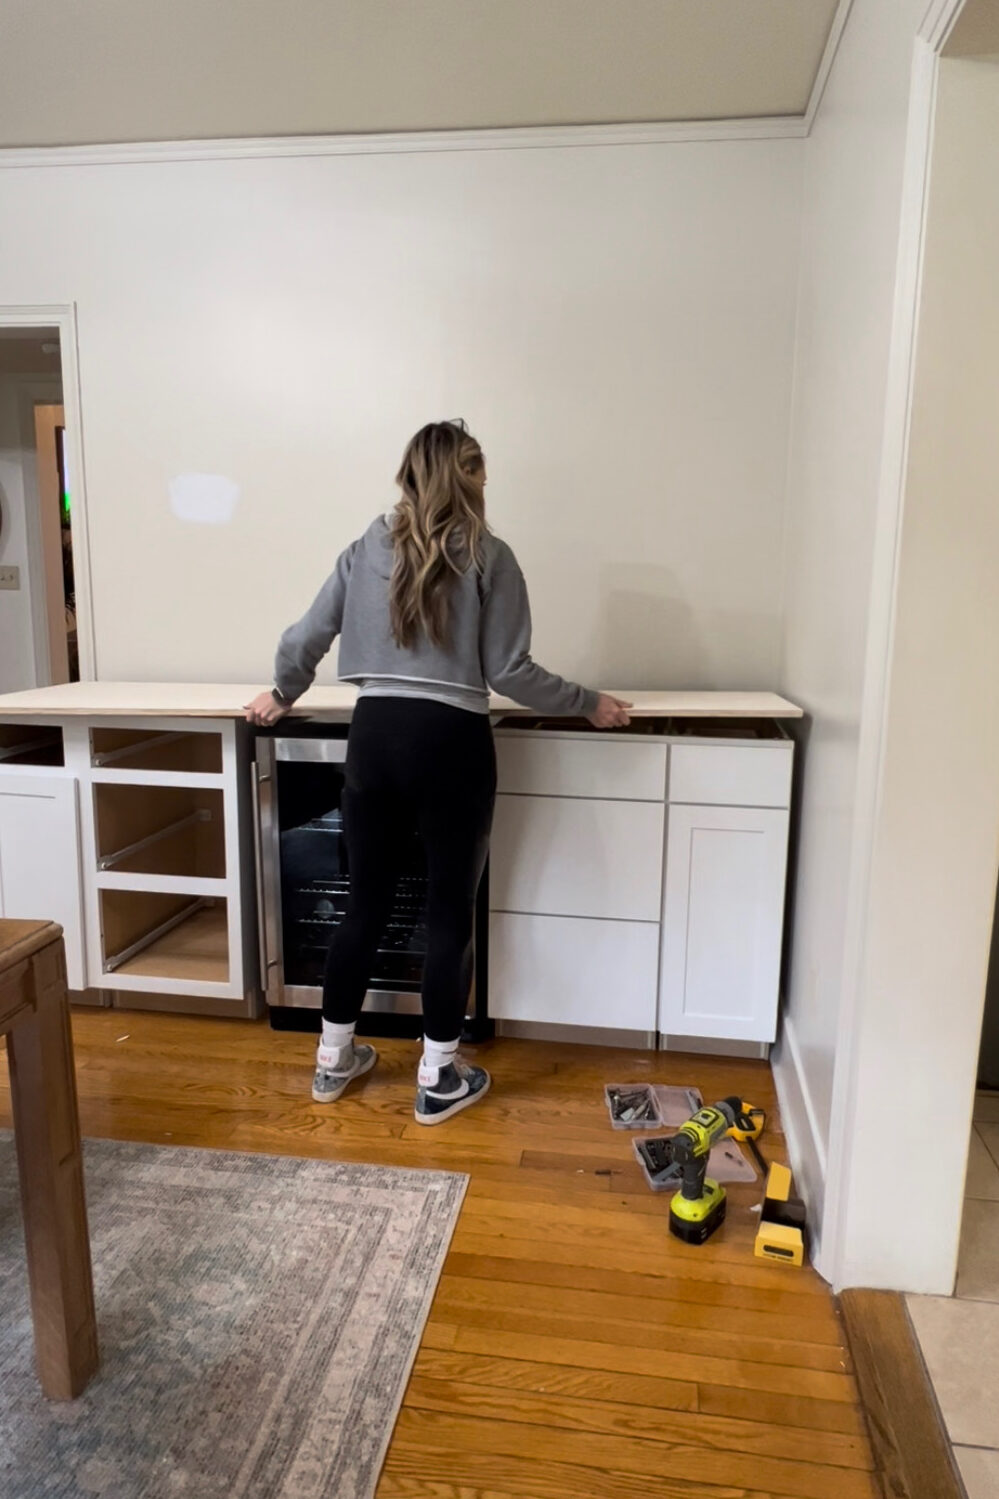
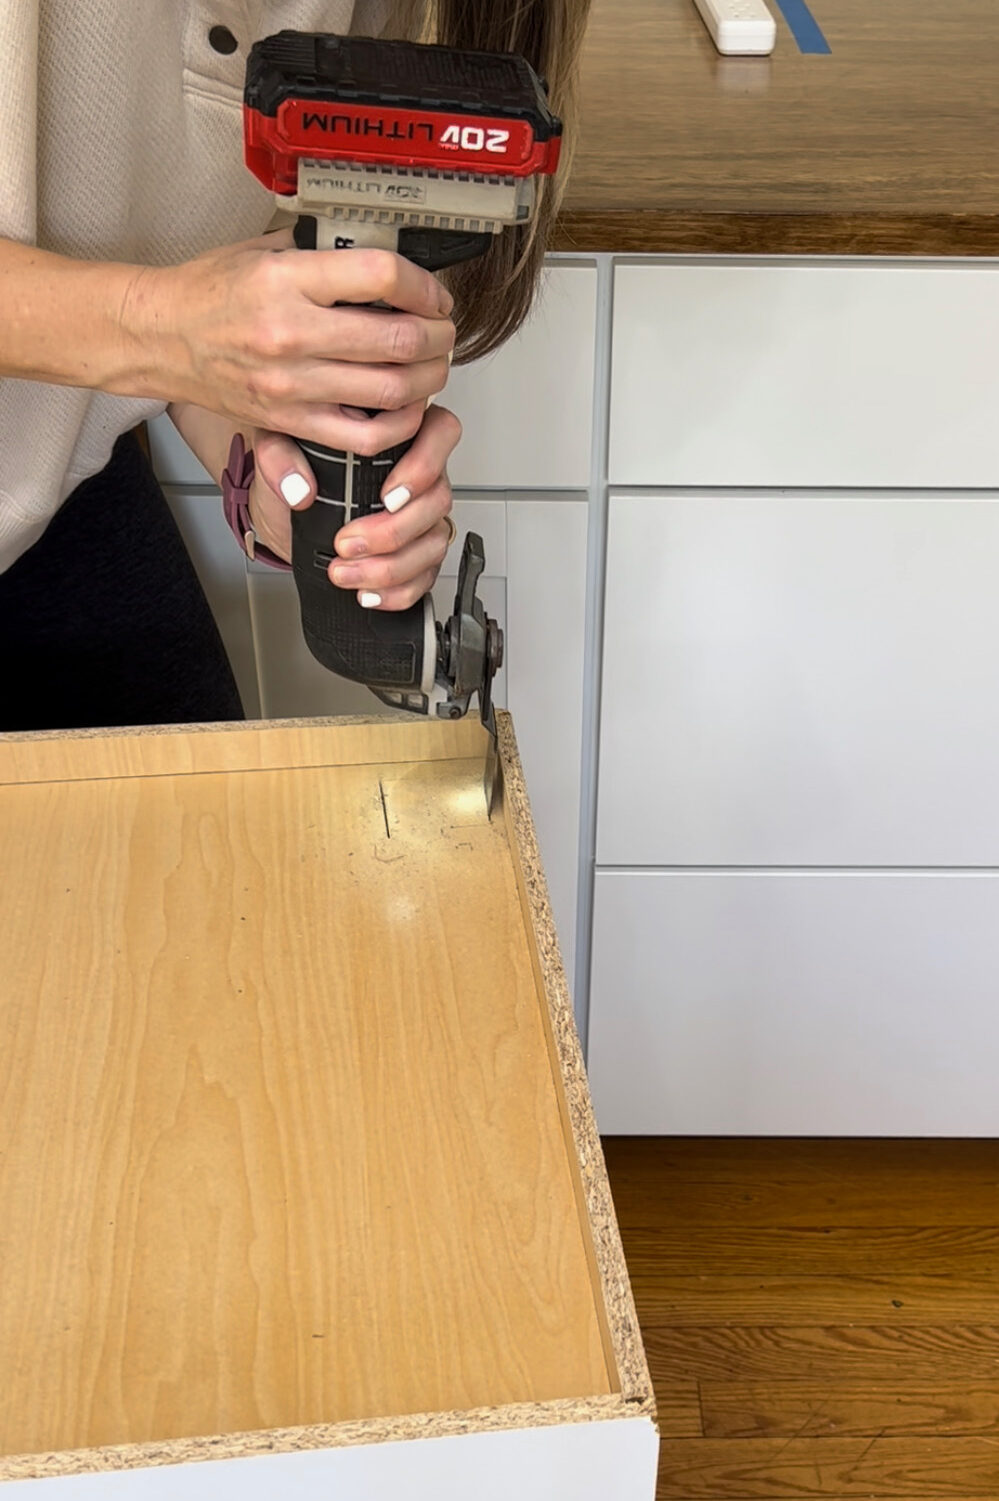
This is when I laid the countertop on the lower cabinets. The countertop was not stained yet, because I wanted to tweak these upper cabinets a bit. I knew I wanted my Keurig in there, so I used my jigsaw to attach the extension cord. I used the multi-tool to pop the outlet through that so my Keuirg and blender can sit in there, I wanted the outlets hidden so it could look better.
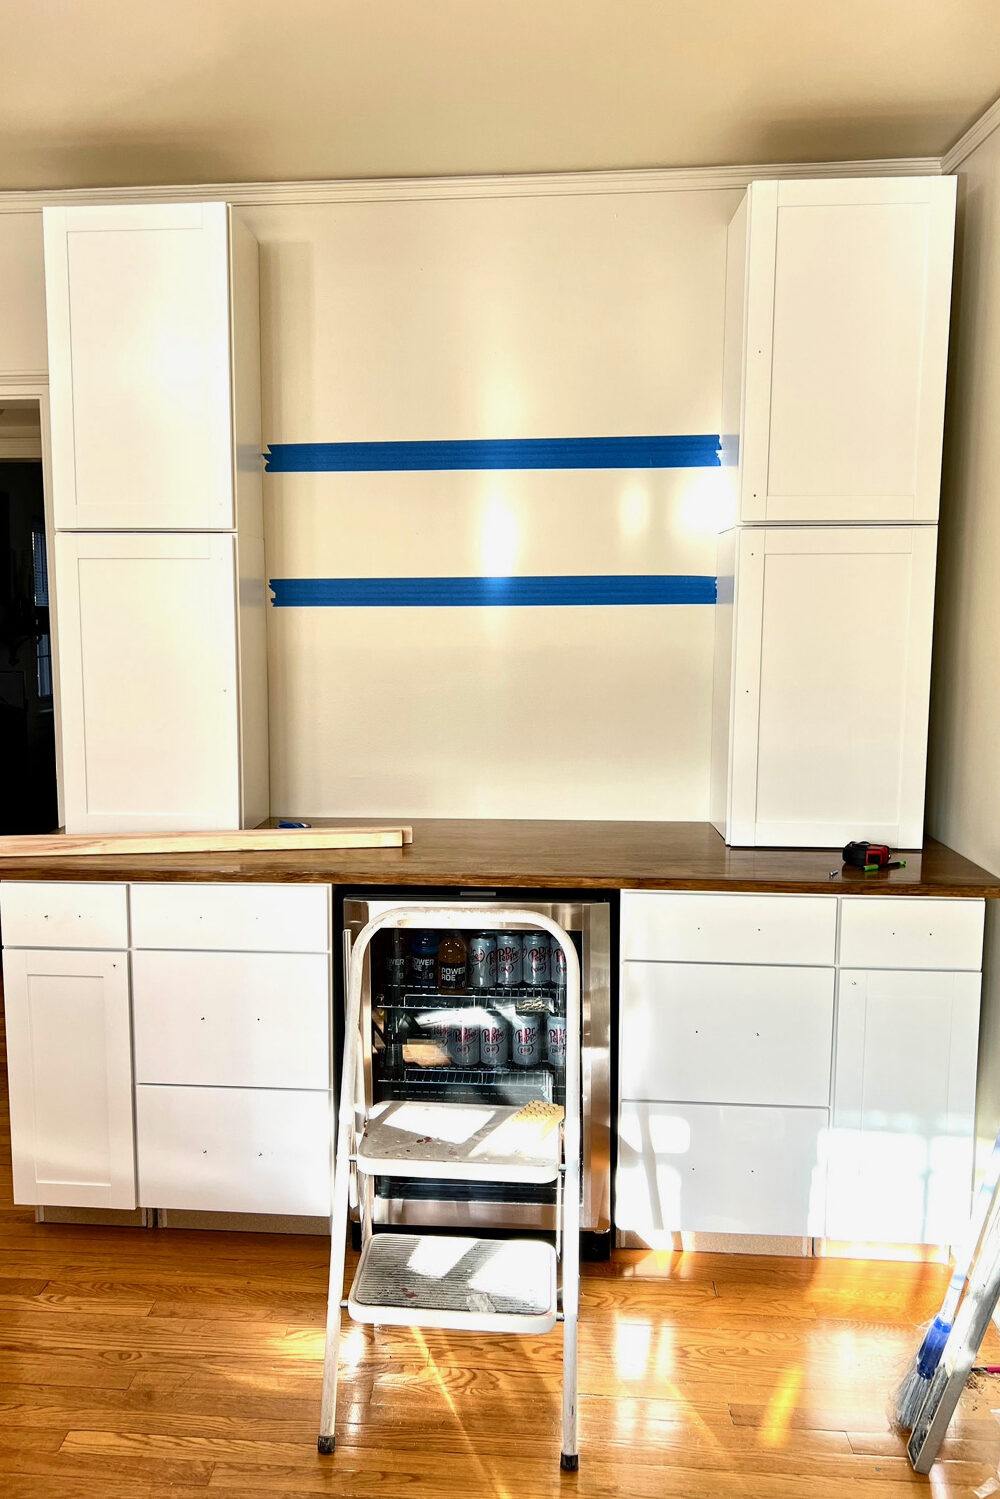
Step 3 – Stain and Secure your remaining cabinets and countertop
Once I had the cutouts made for my cord so that I could have my Keurig and blender plugged in and secured with screws, I stained and finished the countertop and added the top cabinets. (This is also when I finished the floating shelves- which you can see in the next post if you’re interested!)
For the stain, I used this pre-stain wood conditioner. Next, immediately I used one coat of medium walnut. I used this stain and followed with FOUR (yes. Four) coats of this polyacrylic. This process was all about layering, so I added the stains pretty immediately on top of each other.
Once I had it all squared away, I put in my Keurig, my utensil organizer, syrup pump, and espresso cups ready to go. This breakfast bar is a BEAUTY.
I put in the mini fridge, and I was sure to get one with a vent on the front. That is a HUGELY important part of the breakfast bar. Most mini fridges have vents in the back or on the bottom, and with cabinets all around them, that can make it a fire hazard. If the one above is sold out, this amazon fridge would also work!
Hi! You said the cabinets are linked in the post…. Which post might that be? When I clicked the link that I thought would take me directly to the post about the breakfast bar as a whole, it just took me to your general fb page not a specific post. Thank you!! 🙂
Hi!! If you’re looking for the cabinets I used in this post, those are listed under step 1 “Get your Supplies”. There are upper cabinets and lower cabinets listed. If you decide to make it, be sure to let me know! I’m excited.