YOU’LL NEED THE FOLLOWING ITEMS:
BUILDING:
-1×6 scrap cut to 5″
-1×3 scraps (2 cut to 2.5″ and 1 cut to 4″)
-2×2 scraps (2 cut to 1.5″)
-Wood glue
-Screws or brad nails
-Paint
-Chalkboard paint (instructions included for making your own)
-Chalk 😉
STEP 1:
Get all your pieces cut out. I’ve found that not all stores have their pieces milled to the same thickness, so make sure you cut your 2×2’s to be exactly as long as they are wide to make a nice little cube.
They’re typically 1.5″x1.5″, so ideally, you’d cut them to 1.5″ long. But measure just in case. They may actually be 1 9/16 or something really close. It won’t make a huge difference, but you might notice it. See how my one on the bottom is slightly rectangular…? I should have measured before; just assumed mine were 1.5″. Oh, well.
STEP 2: Prime the wood for your calendar
I like to prime my pieces once before putting them together. I think it makes it just a little easier. You can do this step after putting it together if you’d prefer.
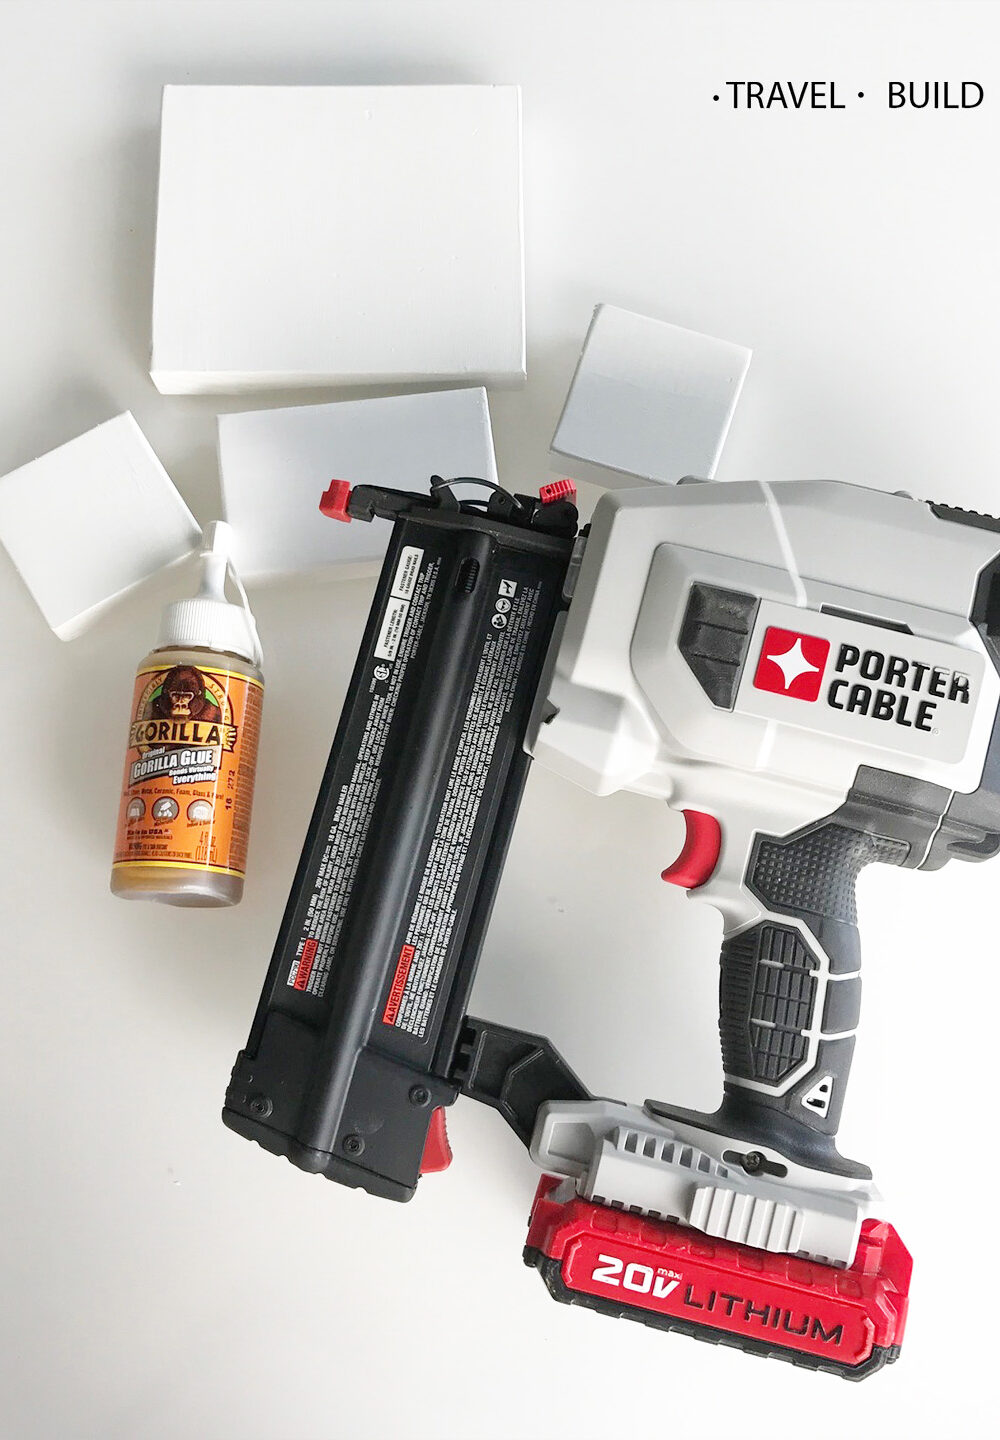
STEP 3: Assemble the wood
This step will depend on your supplies. If you don’t have a nail gun, don’t stress. You can easily use some screws. Just pre-drill your holes, sink them, and cover them with wood putty.
This cordless brad nailer a Christmas gift from my husband, and it’s seriously made my life so much easier. I HATED getting our huge air compressor out whenever I wanted to use the brad nailer. I highly recommend getting one if you’ve been on the fence.
Using my arms as a stabilizer, I propped them on the base, then glued and nailed the back to both the arms and the base first.
Then I moved to the sides and also attached the arms to the base.
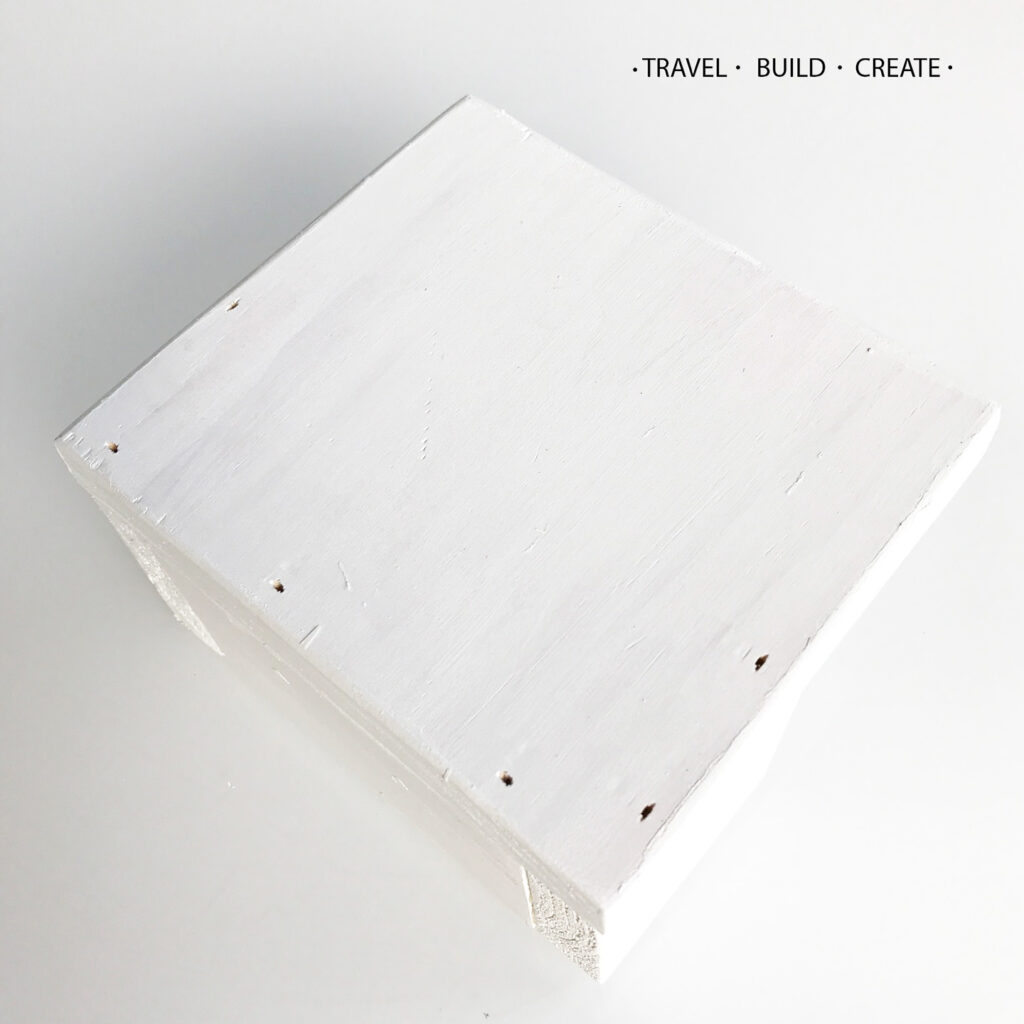
STEP 4: Add the paint to make it a chalkboard
Now’s where you’ll want to fill your nail holes, the sand really well, and paint.
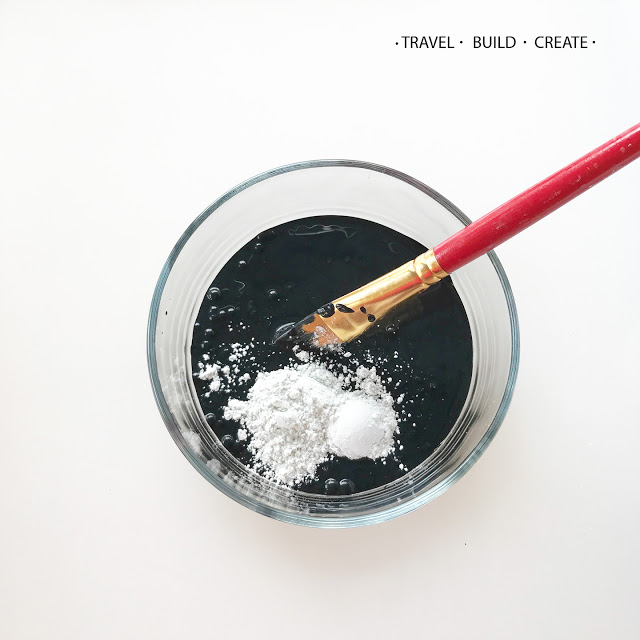
STEP 5: Prep your chalkboard paint
I used a simple recipe I shared on my Attempting Aloha blog over 6 years ago! I love it because it uses basic (cheap!) acrylic craft paints that you can buy in any color!
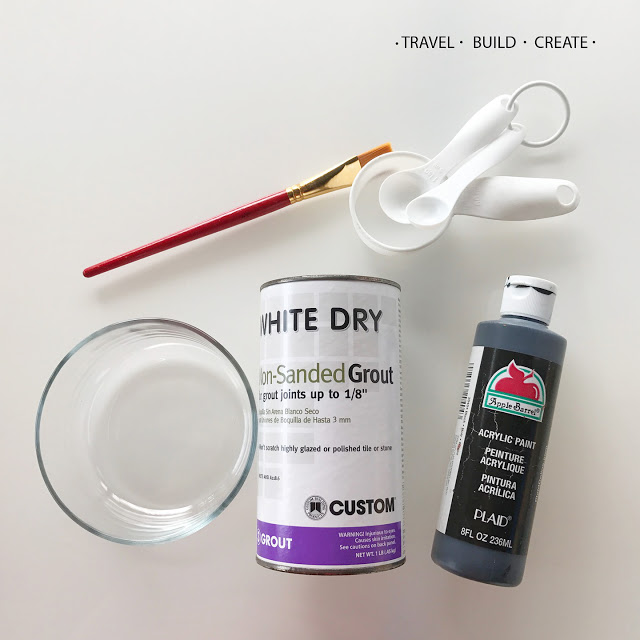
Here’s what you’ll need for the DIY Chalk paint portion of the calendar:
-Non-sanded grout. 1.5 t.
I bought this at a local small home-improvement store for $2, which will probably last forever. Ha!
-Acrylic craft paint in ANY color! 1/4 c.
-Old measuring supplies since it might be hard to get the paint off plastic…optional if you like to live on the edge.
(you may want to half this recipe if only using it to make one calendar)
Mix your unsanded grout and paint together. You can see here that it made quite a bit. I was going to make more than one, so that worked for me. As mentioned above, I’d half it if you only do one calendar.
It will probably be really clumpy, and that’s totally normal. Just mix it until they’re combined, and there aren’t any HUGE lumps.
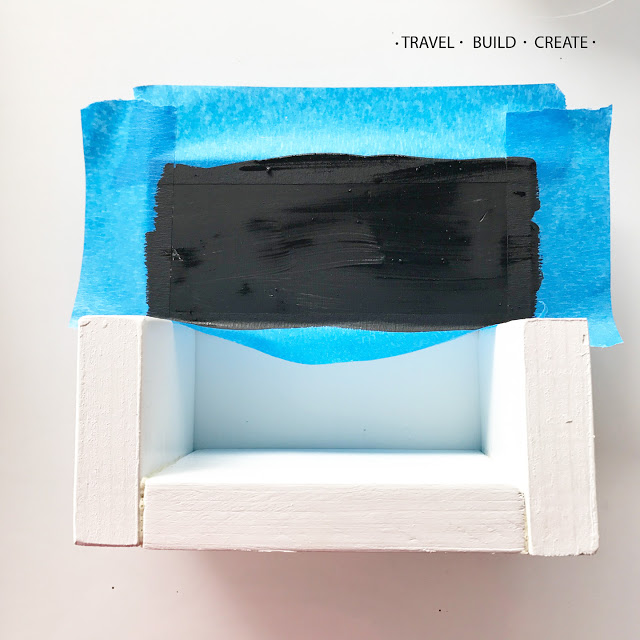
Tape a small border around the edges of your calendar and paint away! I did 3 layers just to be safe.
Step 5: Chalk and erase the chalkboard on the calendar
Once your paint is dry, take a piece of chalk and turn it on its side and rub all over your painted area. After it’s completely covered, erase it, and your chalkboard is ready to go!
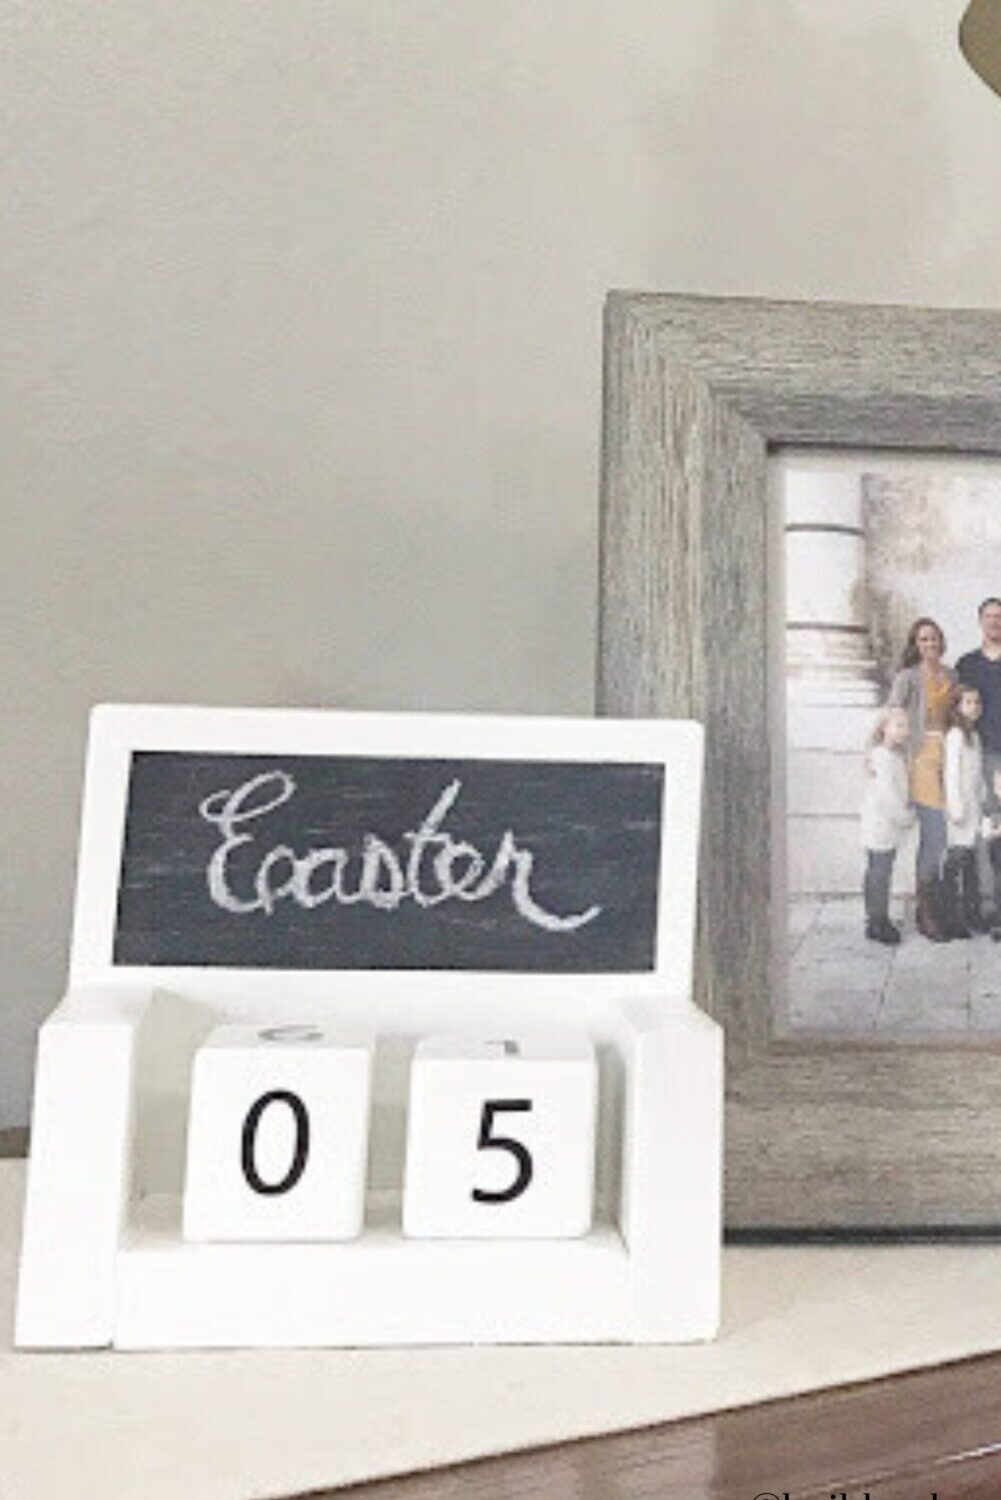
Step 6: Add the “calendar” month, numbers or count down!
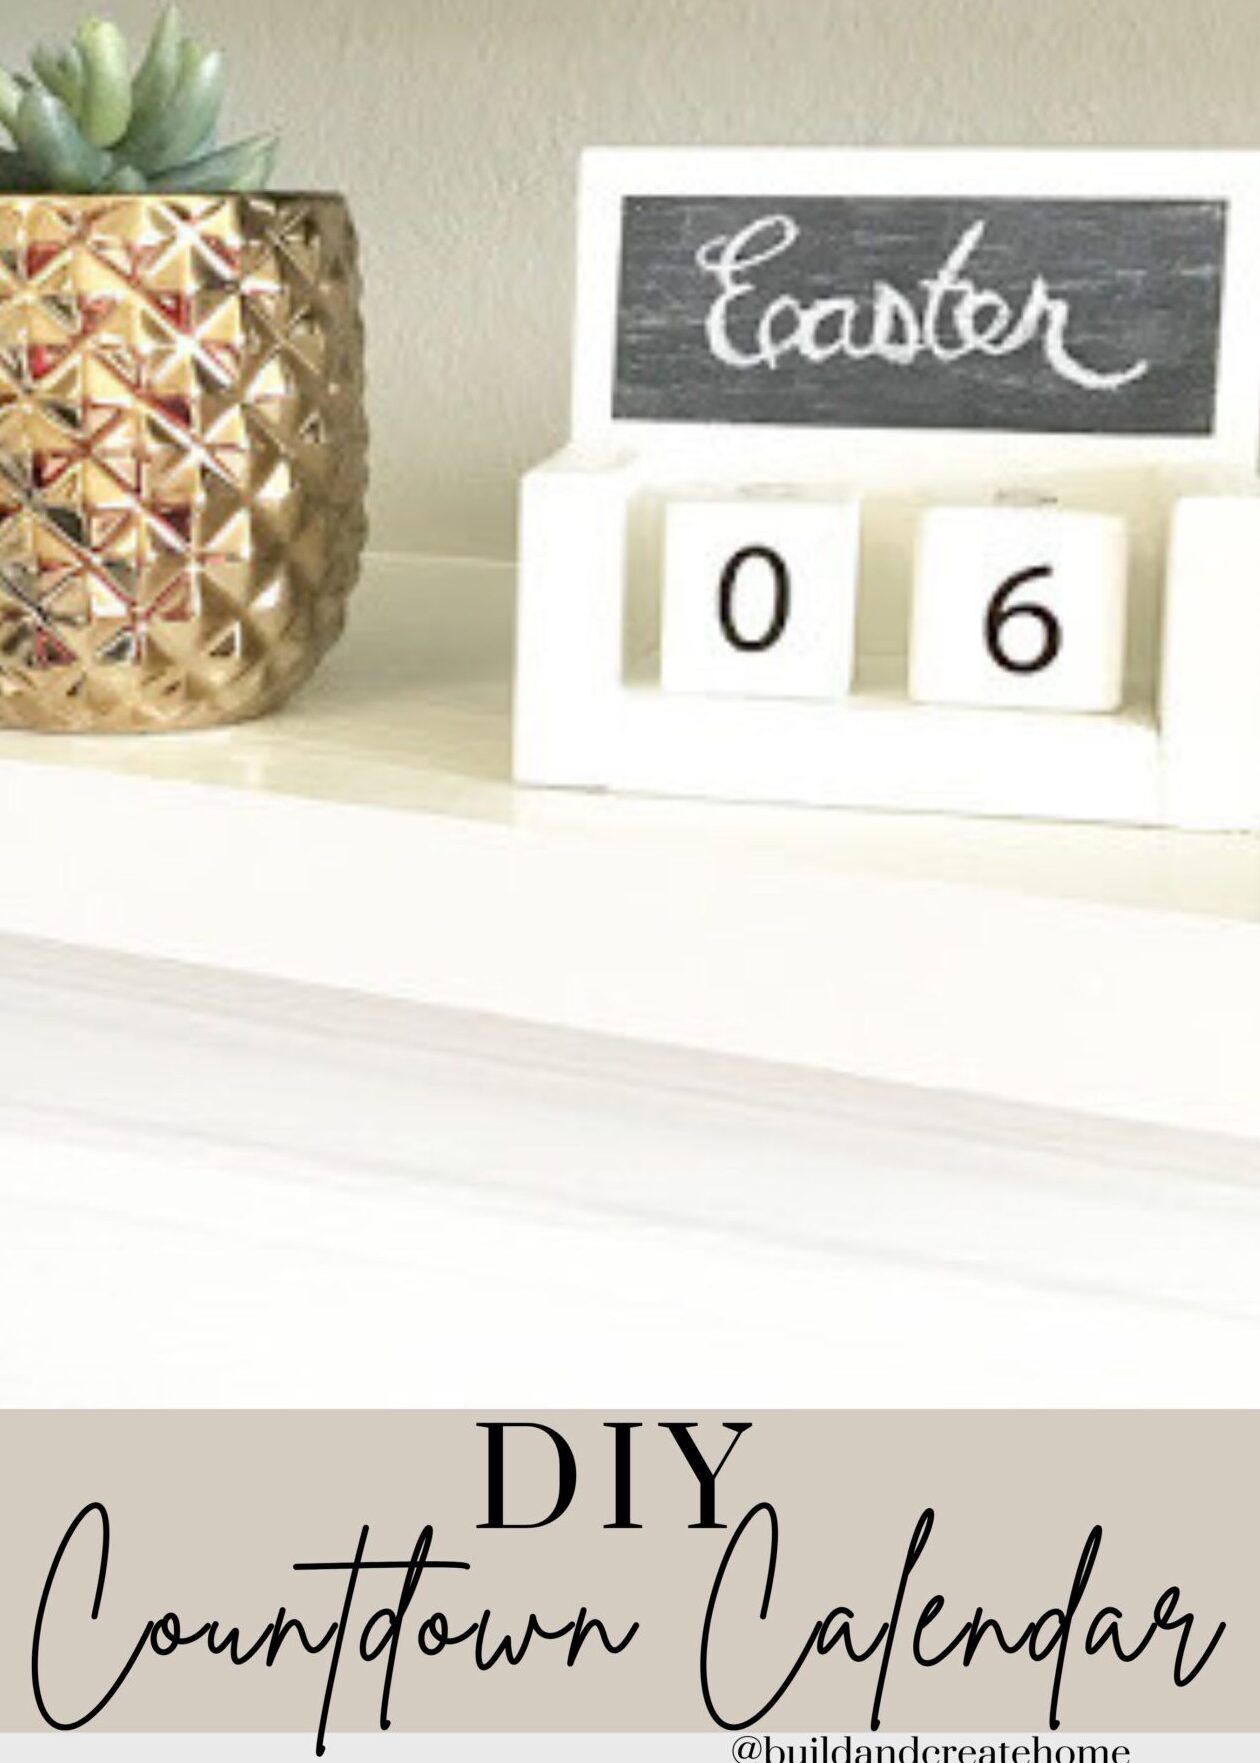
It wouldn’t be a DIY Chalkboard Countdown Calendar Blocks… without the countdown calendar part!
For the two cubes, you’ll be able to count down from 32. You must add a third cube if you want to go any higher than that. Or, if you don’t mind only using one number from 9 down (instead of 09, etc.), you can omit the 0 in the second cube and use a second 3. That will get you up to 39…
Cube 1 will need 0, 1, 2, 3, 4, 5
Cube 2 will need 0, 1, 2, 7, 8, 9/6 (make sure the font you use makes the 9 and 6 look the same if flipped, so they can be used interchangeably)
I have horrible handwriting, so I had to cheat and use my Silhouette Cameo to cut out the letters and paint them in.
2 thoughts on “DIY Chalkboard Countdown Calendar Blocks”