Giving this military family closet makeover was such a fun project, and I loved working on repurposing a hall closet in this military closet makeover series.
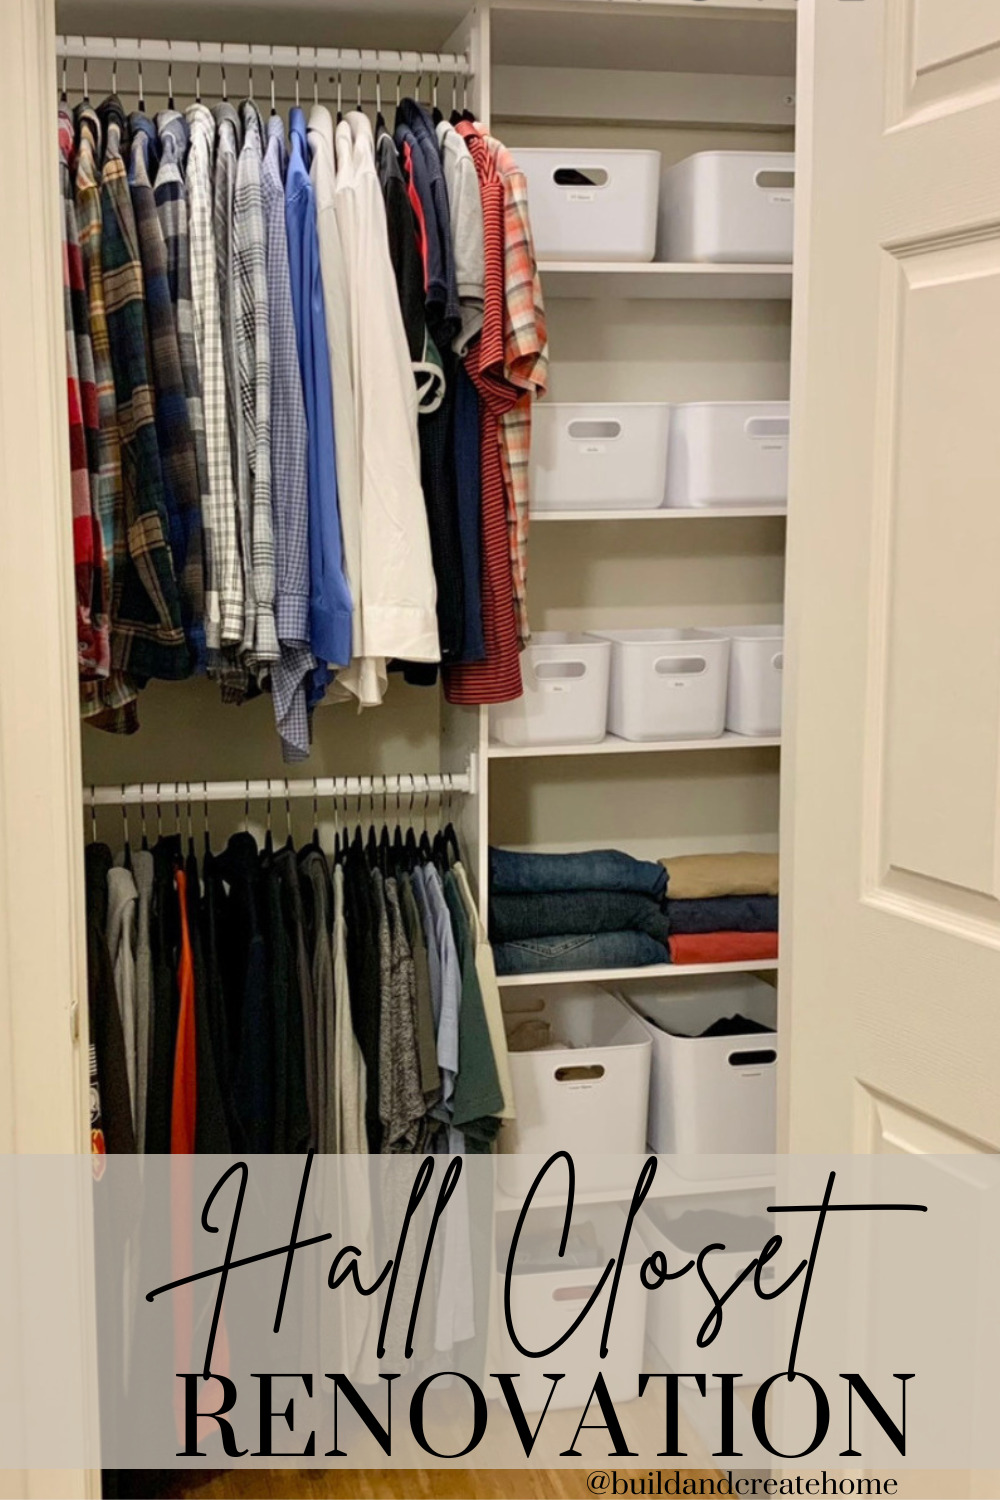
This closet started as a hall closet as storage for the kiddos. Most of what was in the closet were things that were full of kid items (parents, we’ve all been there), and they decided when we were renovating each kiddo’s closet we would add storage into their spaces for their future clothes. That freed up this hall closet to allow me to do a military closet makeover for the husband!
Materials Needed for a Hall Closet Makeover:
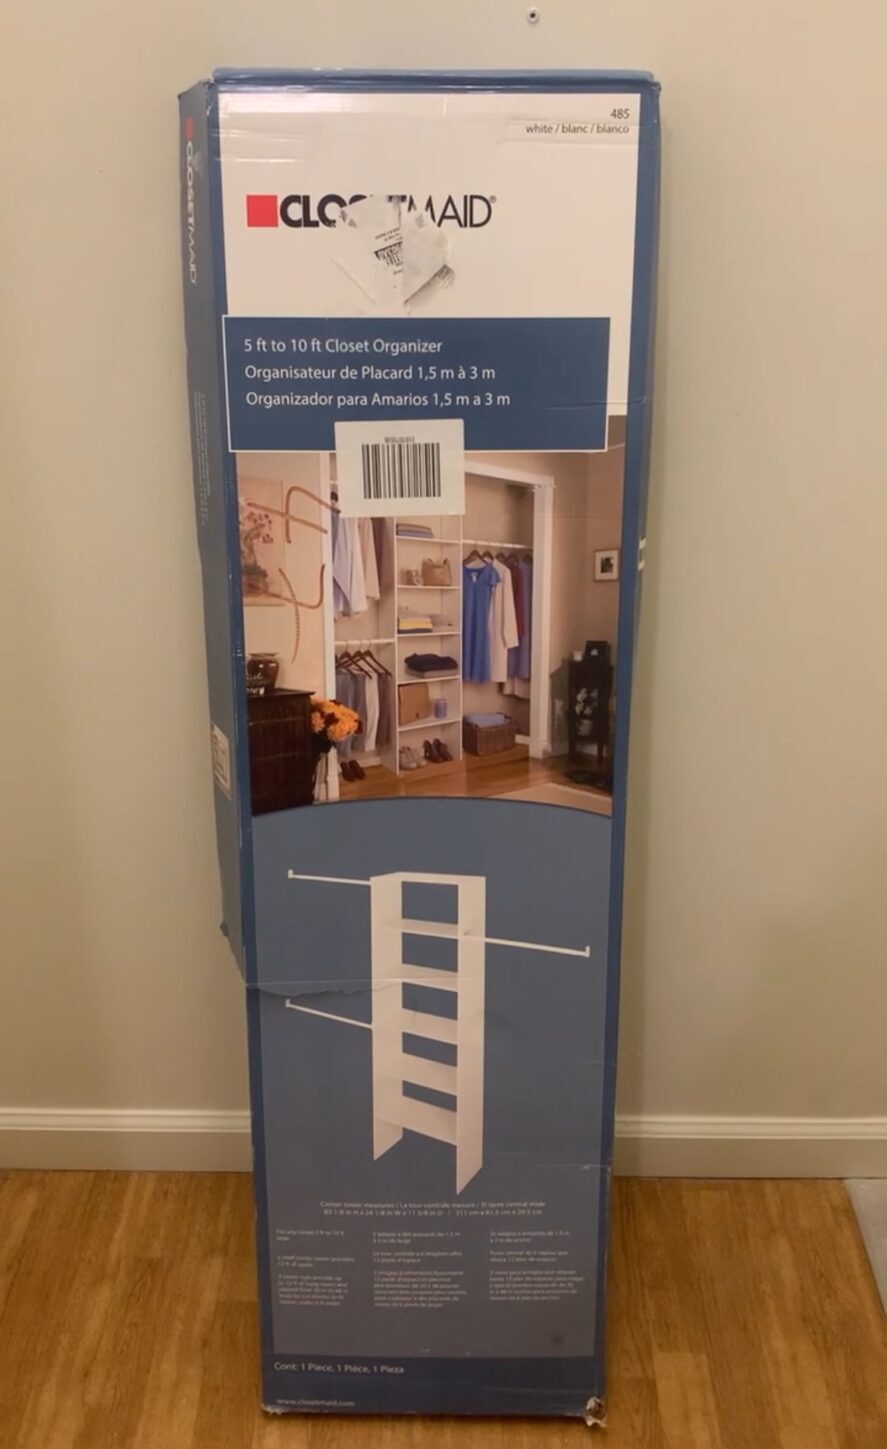
-Shelving units (I lucked out and found my closet units on base- which saved a lot of money. I got them from Military Exchange for 89.00- but if you don’t have access to a military base- I’ll link some options at the bottom of this page for similar units)
-1 Piece Melamine (8 ft)
-1×4 (approx 10 ft)
Tools Needed for a Hall Closet Makeover:
-drill
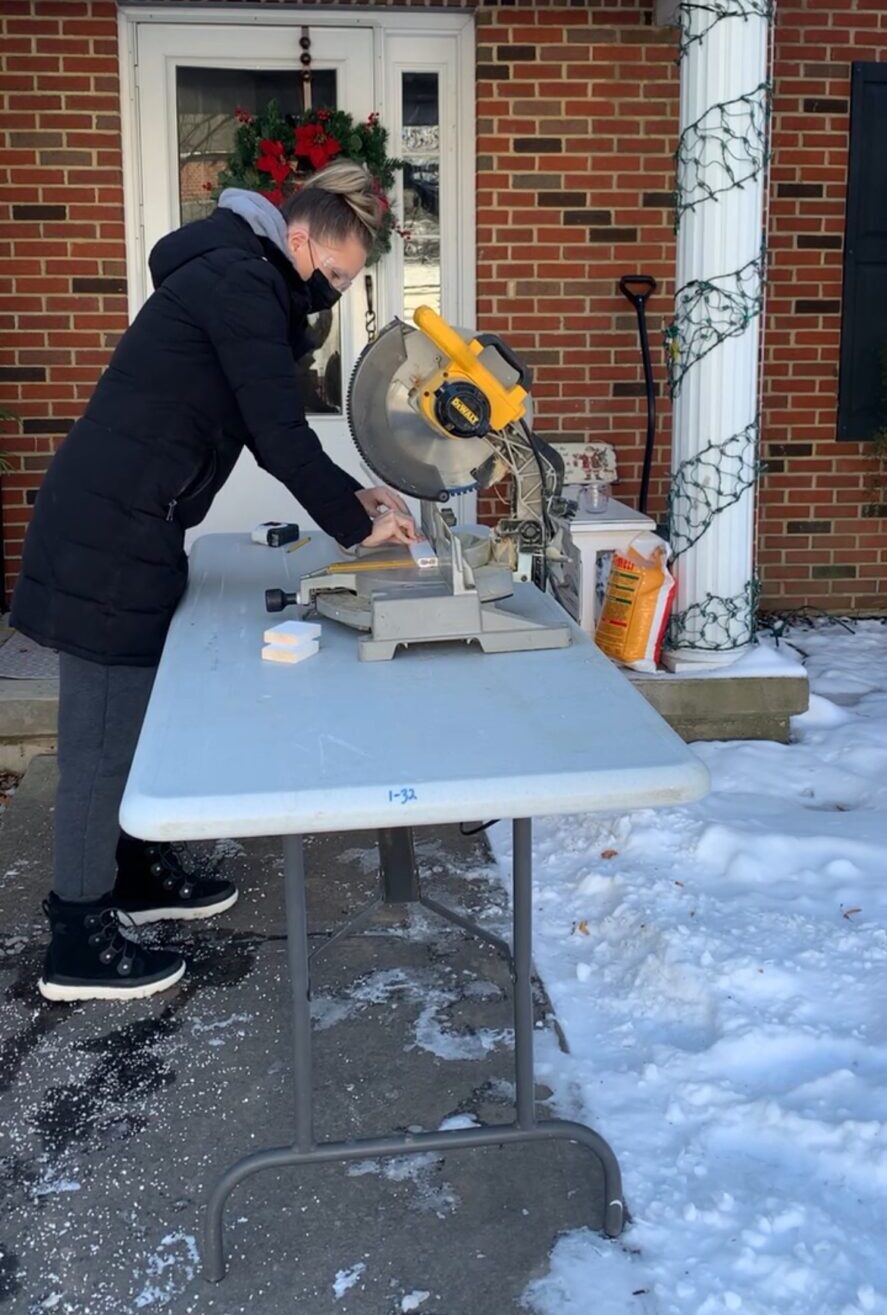
-saw- for cutting 1×4 (if you don’t have access to a saw, your local hardware store will cut your 1×4 for you)
*This post contains affiliate links. Please see the disclosures page for any concerns)
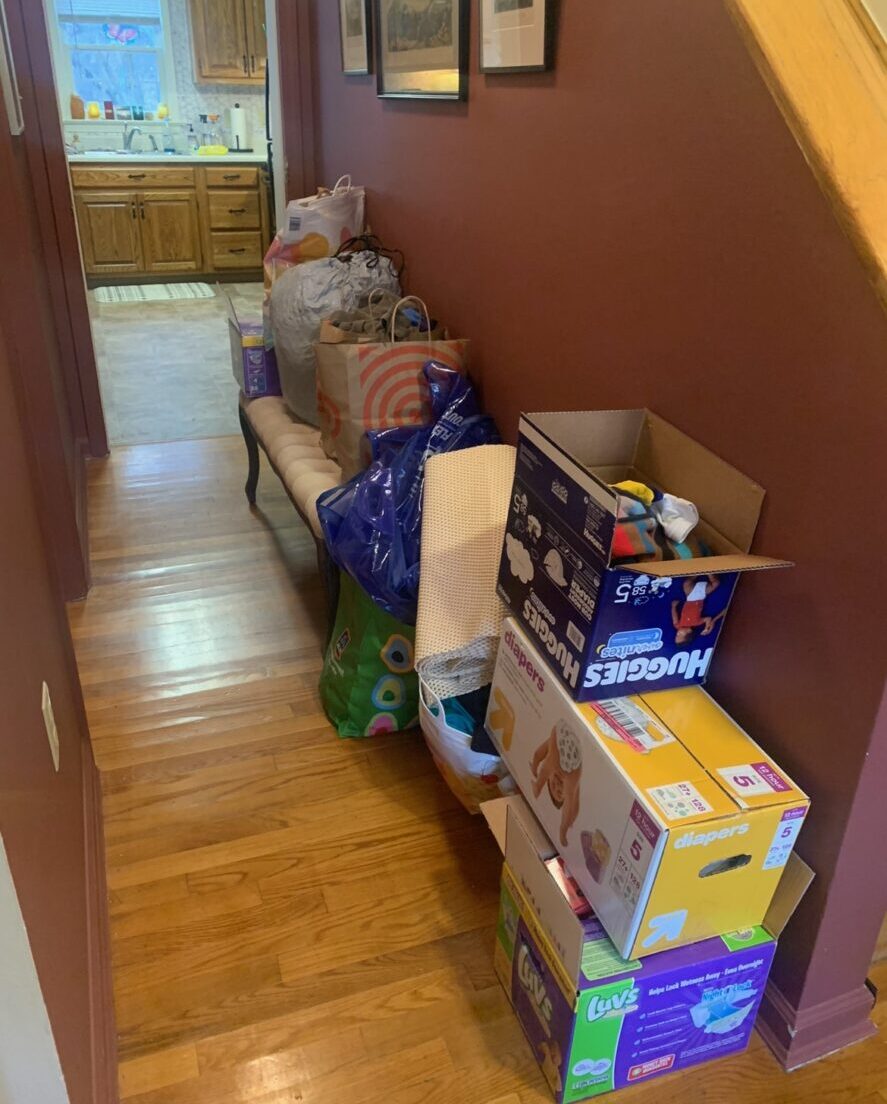
Step 1: Purge your hall closet
As I said, this hall closet was originally holding things for kids, so our whole reorg started with a simple game of “do we need this”?
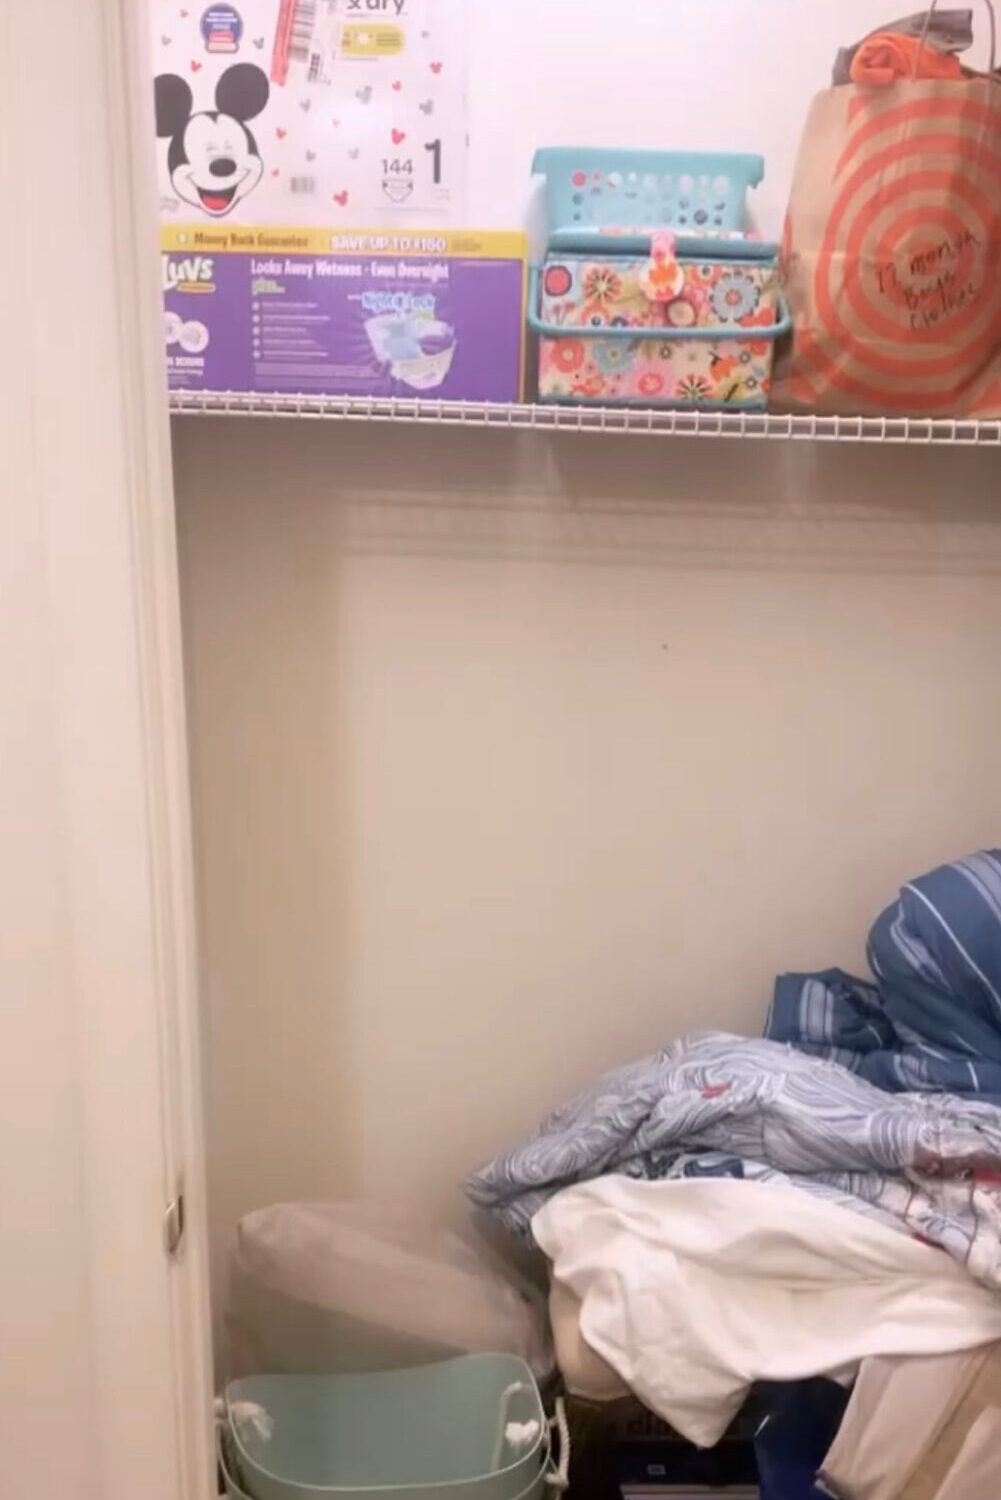
Once we got the items pared down to just the essentials, we started eyeballing what we had left and what potential closet they would be stored in. That cleared out space and gave me a better idea of what storage would be needed in future closet makeovers.
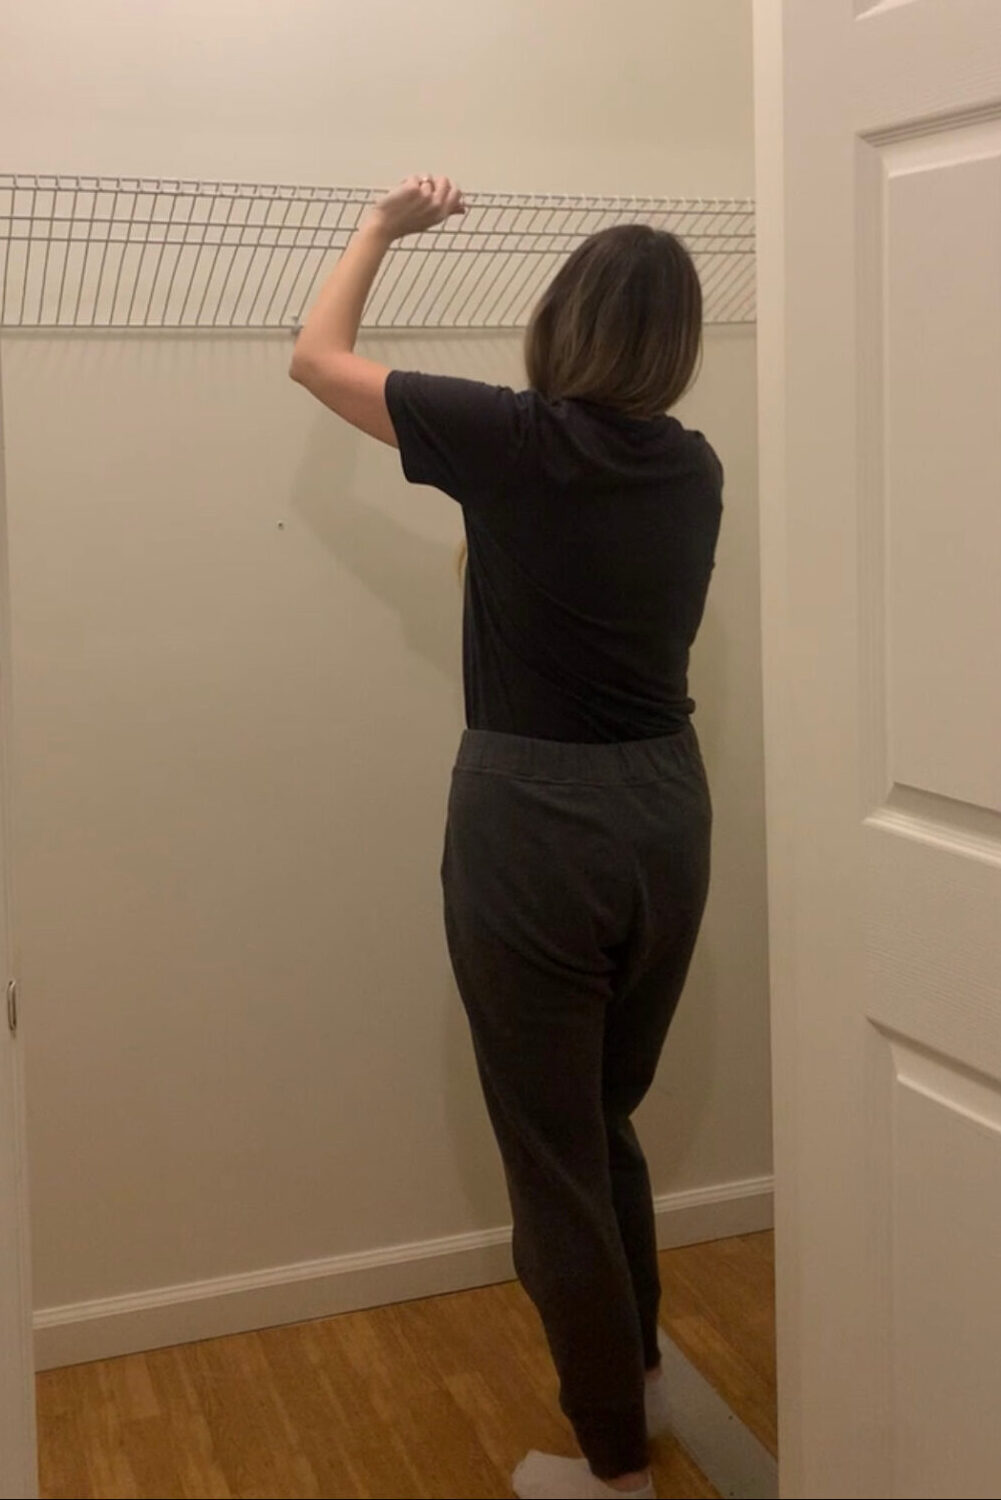
Step 2: Measure and find closet units
The husband’s repurposed hall closet was 3ft deep by 8 ft long- standard 8-foot ceilings, so I knew what unit sizes I would need. I unscrewed the wire rack I knew I would not be using and got to work assembling the shelving unit and placing that inside the closet.
 Reminder: This unit was bought on base. But here are some units that are available elsewhere and are similarly priced:
- closet maid tracks
- closet maid shelves and bars
- closet maid stackable shelves
- closet maid track wire system
- closet maid wood closet organizer
Step 3: Adding a top shelf for closet storage
We needed even more storage, so we added an extra shelf to the closet unit. This is where the 1×4 and melamine. This is a type of wood that is already treated and laminate. It went on top of our units. But I needed to be sure it was secure. So I got 1×4 and cut them to fit each wall in the closet.
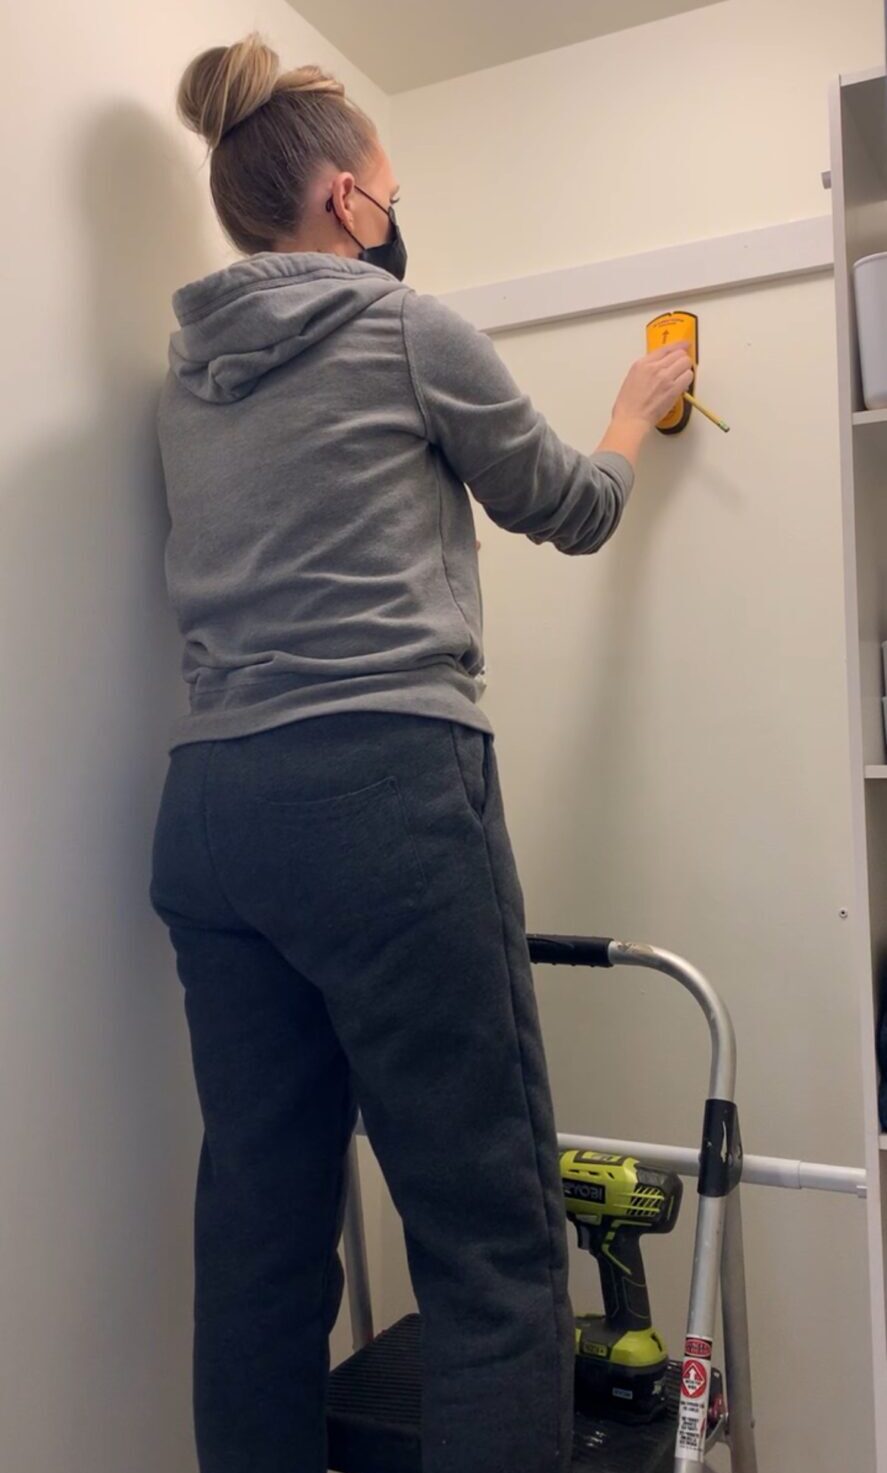
I made sure they were screwed into studs. This is the support for this piece. Very important. If you don’t own a stud finder… you need one!
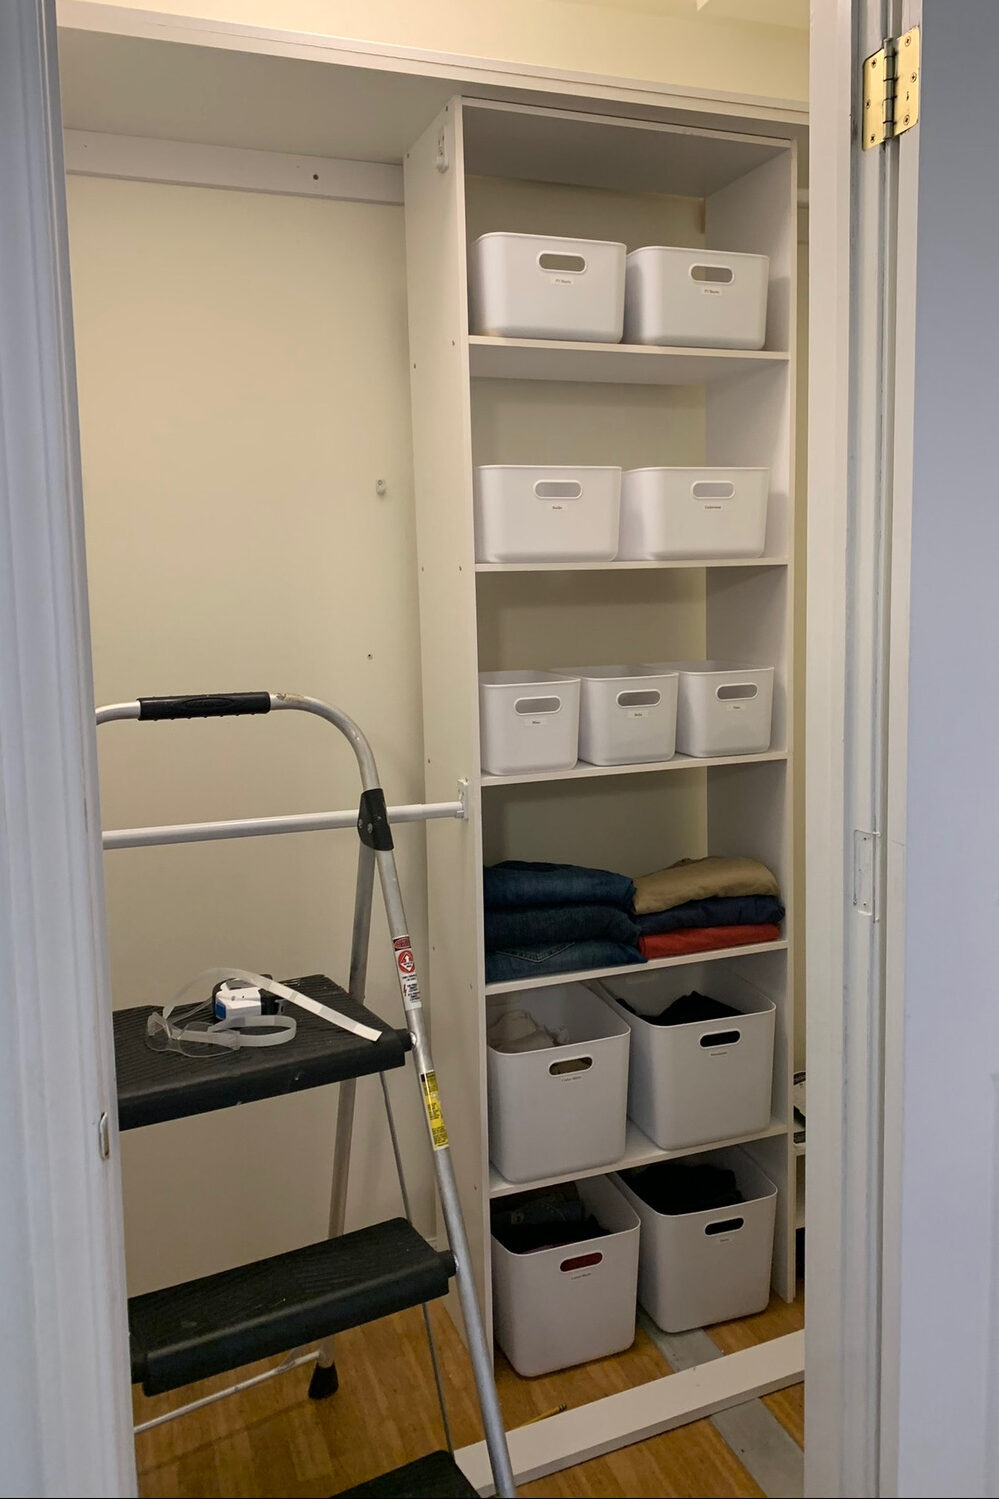
Once the 1×4 boards were in the wall, I attached the shelf to that and wanted to make sure it was secured so it could hold the storage baskets we needed!
Speaking of storage… LOVE these baskets to add even more storage and keep that closet looking clean. The smaller white tubs were from Walmart, and the etched ones were from Target.
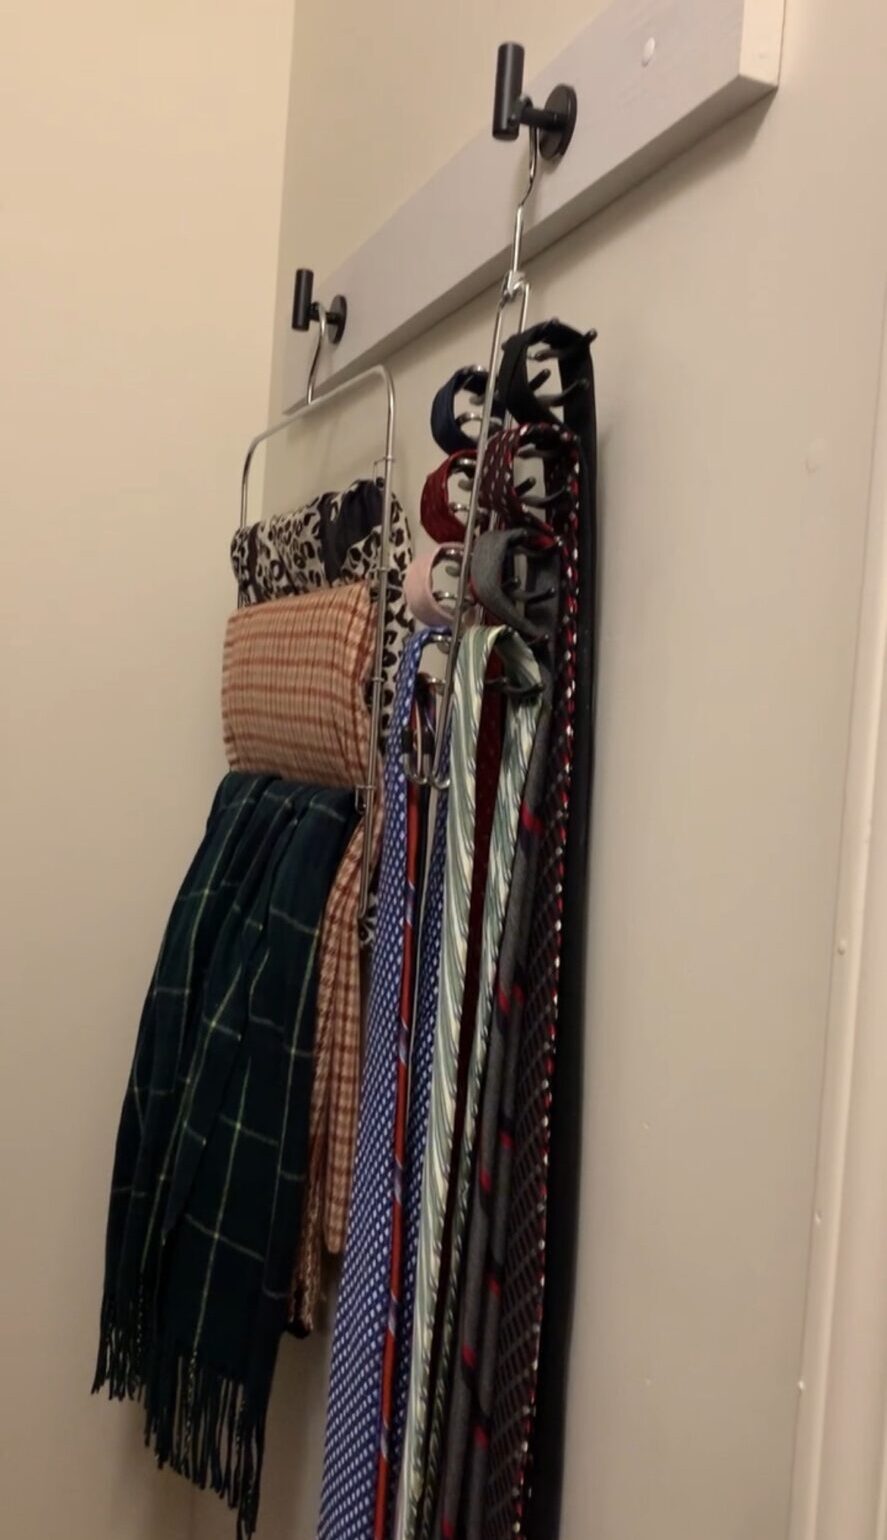
My client also had these tie hangers, which saved so much room in repurposing the hall closet in this military closet makeover series. I ended up attaching them to the last 1×4 that I had secured onto the wall.
Looking for other closet inspiration? Try: