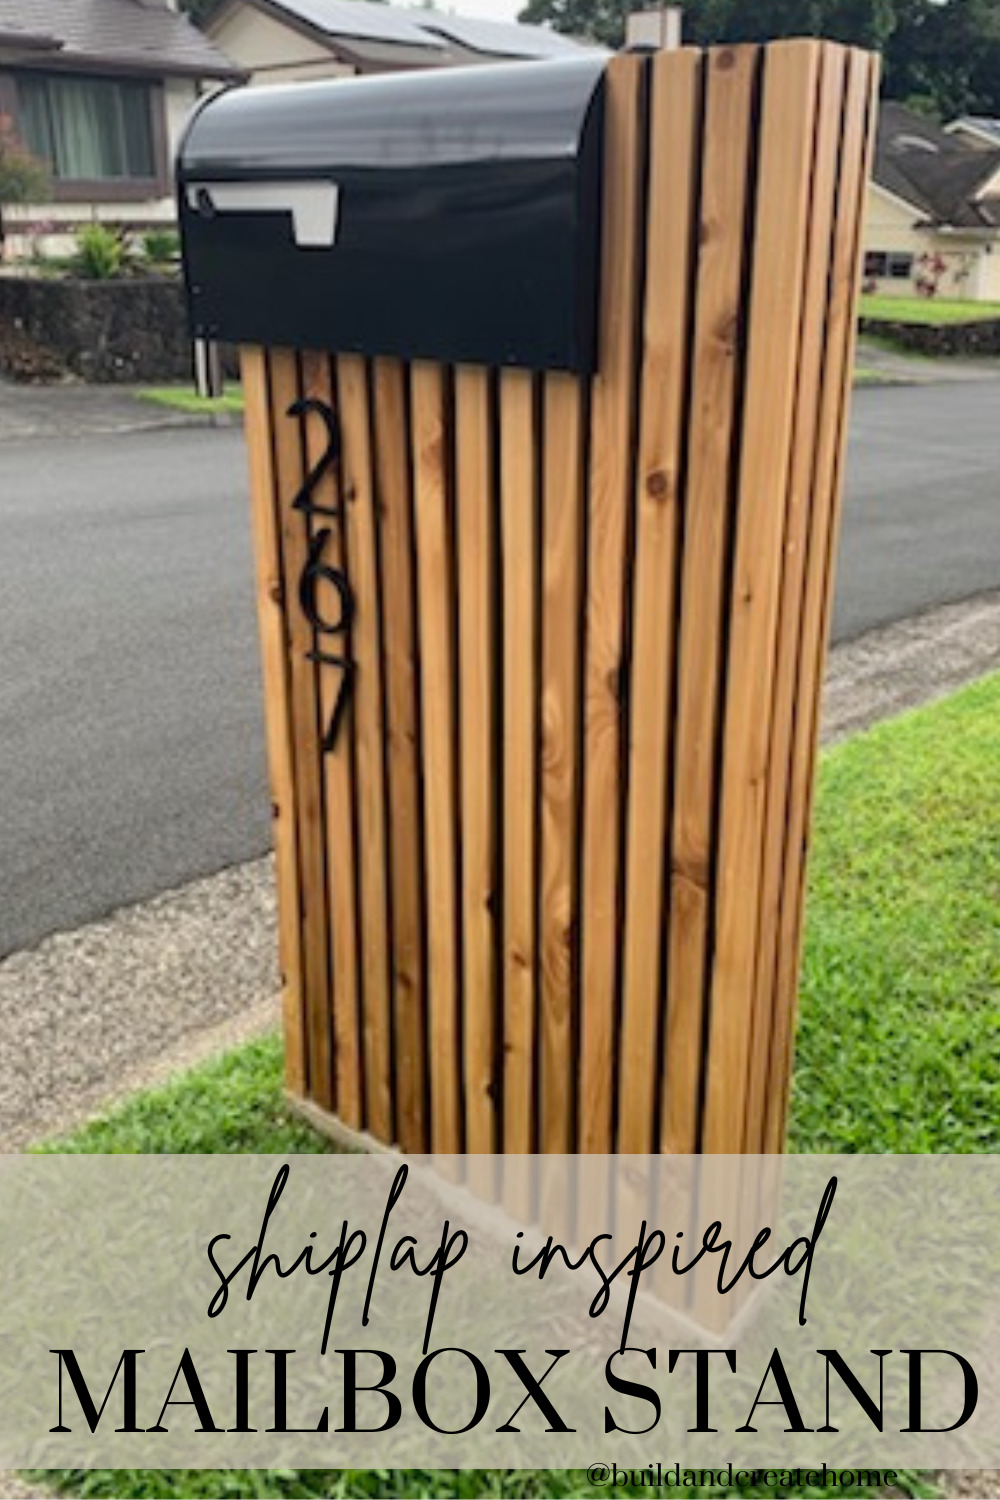
A few years ago when living in Hawaii, we discovered the salty sea air had been doing a number on our mailbox. The old post deteriorated after years of enduring the salt air and humidity of Hawaii. It was time for something new and modern anyway! So when my friends at @HARTtoolsusa asked me to join them in an outdoor project, I knew exactly what needed to be done! Tell me what you think of this Shiplap Mailbox Stand DIY! I think the final design is modern and classy. I dig it.
This post will contain affiliate links, so please see my disclosure page.
Supplies needed to make DIY Shiplap Mailbox Stand:
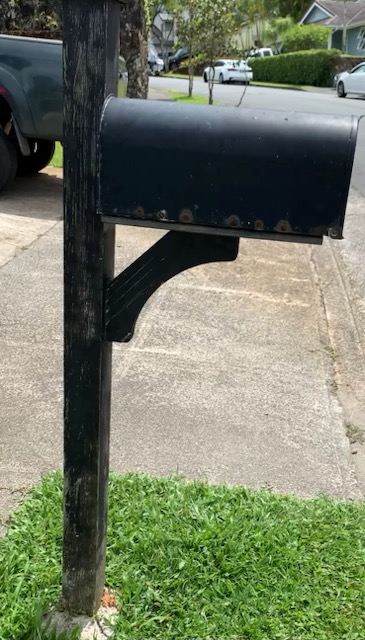
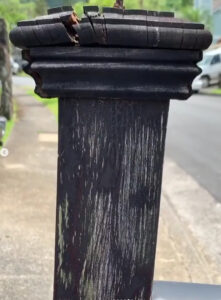
Step 1- Remove Your Old Mailbox Stand:
Our stand was rotten, and the bolts were rusted. We decided to start completely from scratch and put a completely new post and mailbox in.
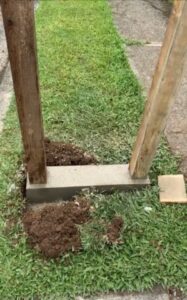
Step 2: Dig Holes and Place Your Mailbox Stand:
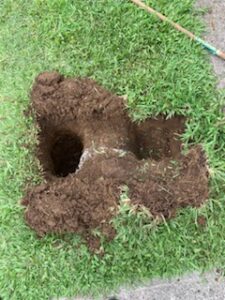
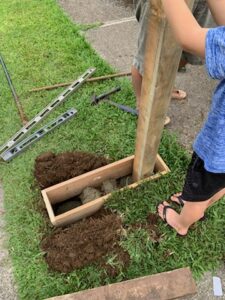
Once I removed the old stand, I dug two new holes to put in the new posts. I made a very basic frame to go around both out of 1x4s cut to the appropriate size. I put the post in the hole (with the help of my son as post holder- peep his flip flops!)
Once the stand was in the hole I added a bit of quick-dry concrete to be sure the base was stable.
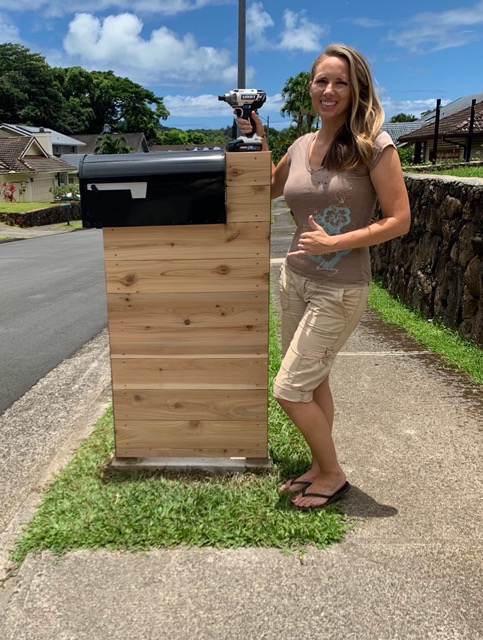
Step 3 – Add The Frame to Your Mailbox Stand:
I used wood cut to the height specifications of my mailbox- so be sure to measure the exact height of your stand. You can tell by the picture here that I didn’t have a curb to account for. However, since most streets have a curb, the standard mailbox height is 42 inches above ground level. So, the total height is around 45 inches; 42 inches from the ground, plus the few inches added by the curb.
Originally, I put the frame up as four solid sides. And while I liked the look of it, I knew I wanted to add some trim to give it that shiplap look.
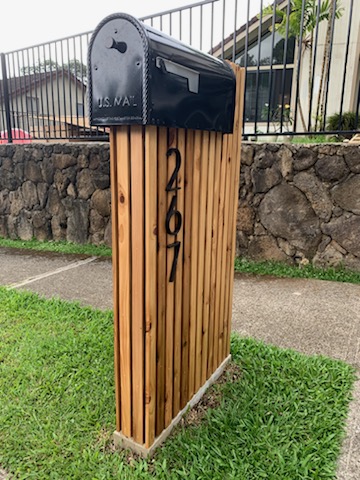
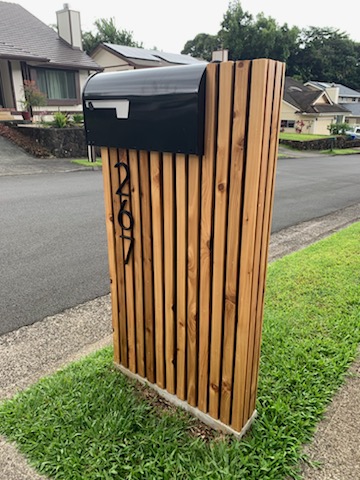
The last thing I did was add house numbers to the side of the mailbox to make it pop, and felt so happy with how it came out!
For more DIY projects, check these out!
- DIY Stocking Display
- DIY Office Built-Ins
- DIY Breakfast Bar Floating Shelves
- DIY “Magnetic” Frames
- DIY Test Tube Vase Holders
- DIY Stove Cover