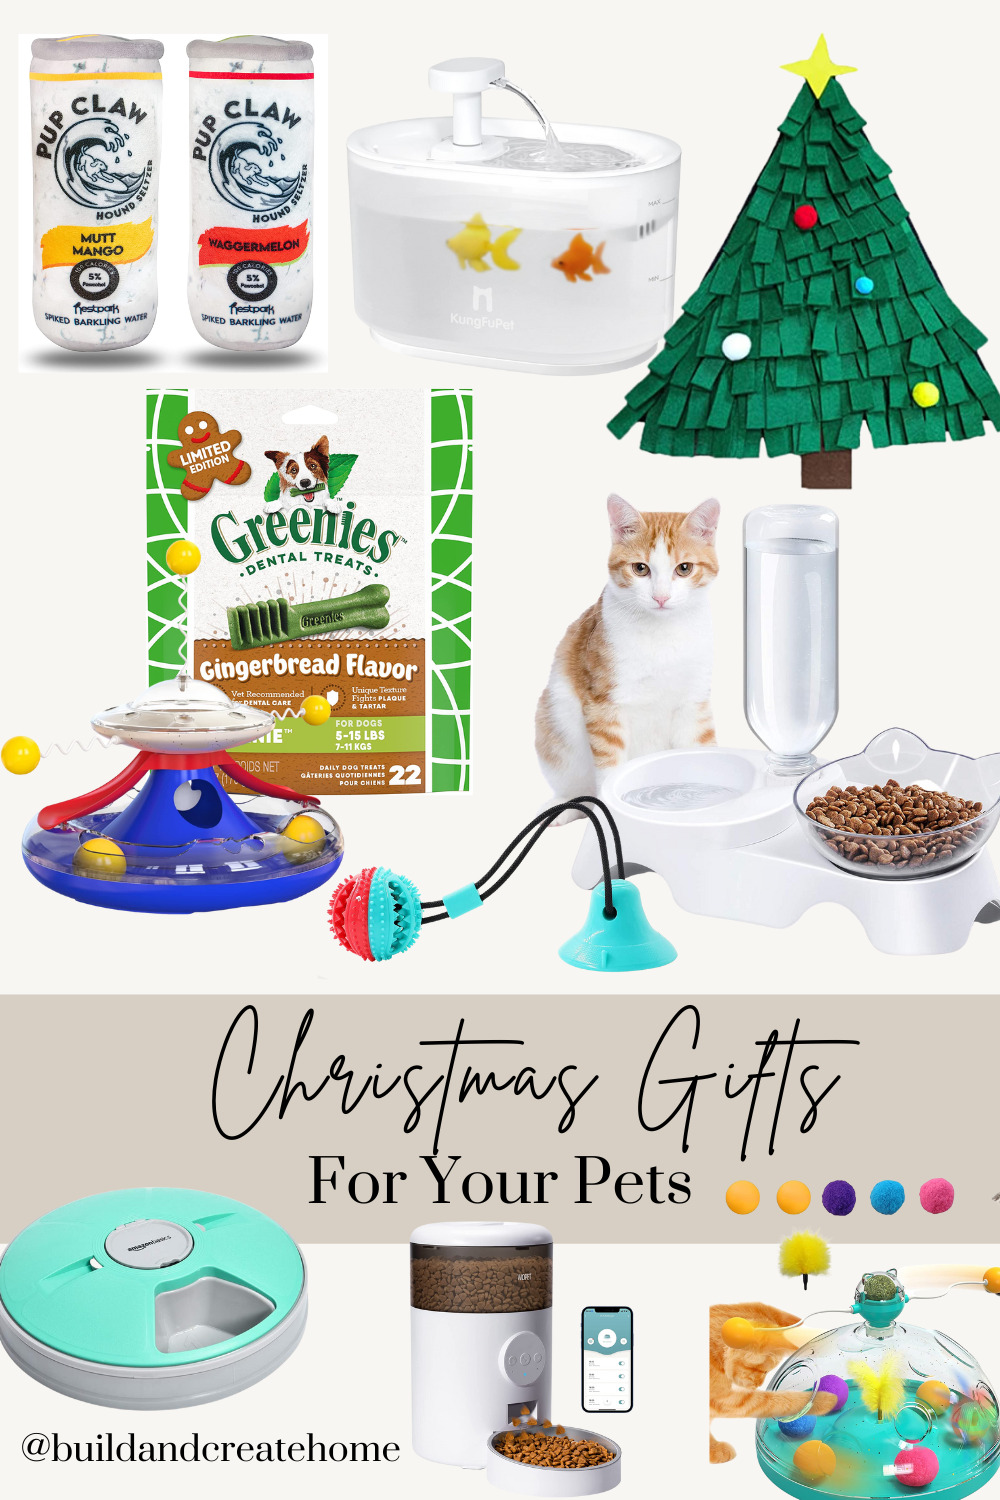
Here are 15 Gift Ideas for Pets because Santa Paws is coming to town! The holidays are here, and we can’t leave out our furry friends. It’s not too late to fill their stockings too.
Double Dog and Cat Bowls
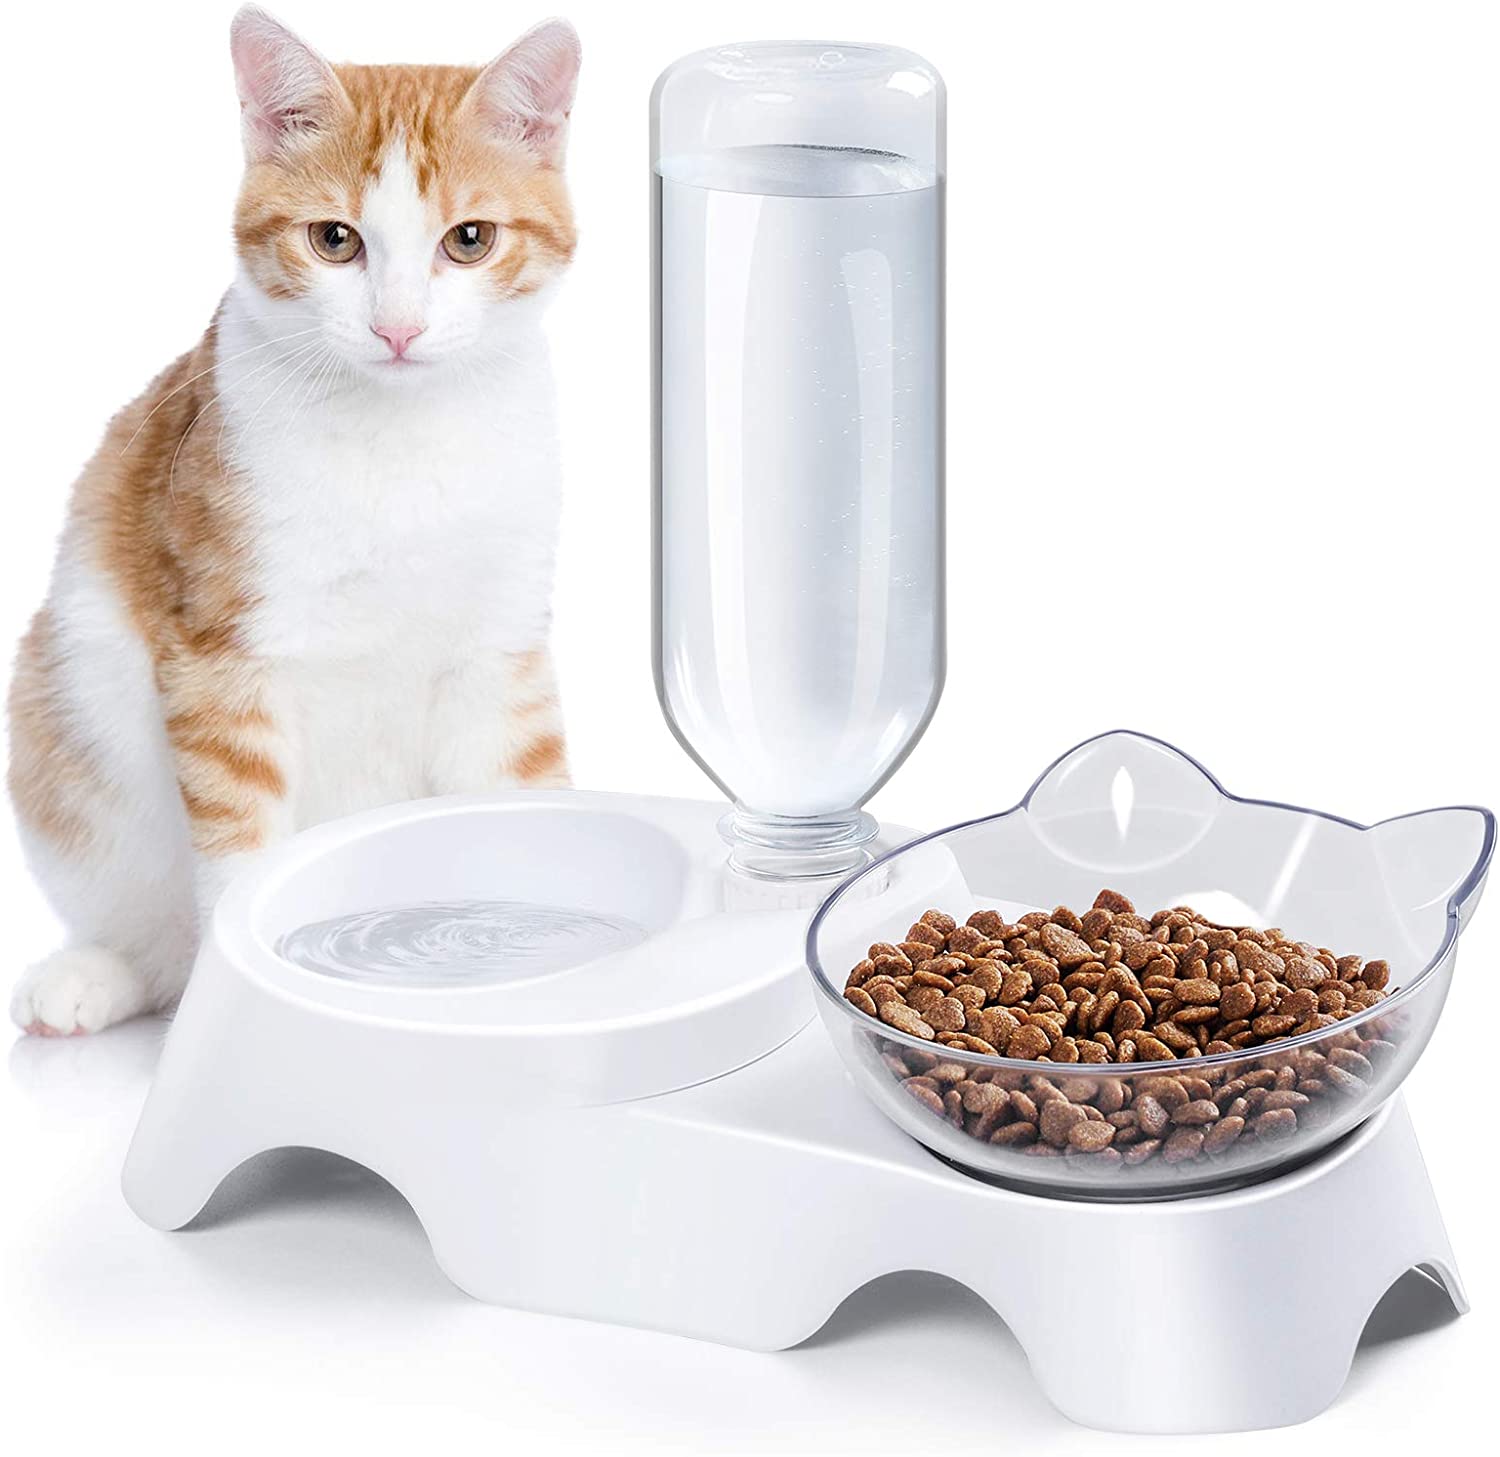
This dual feeder is perfect for small and medium pets. One food bowl and one water bowl with a water bottle for an automatic refill! This dish is also special because it has a tilted platform, so it’s in the perfect position for older kitties and puppies to get their food without hurting their necks!
Smartphone Controlled Feeder
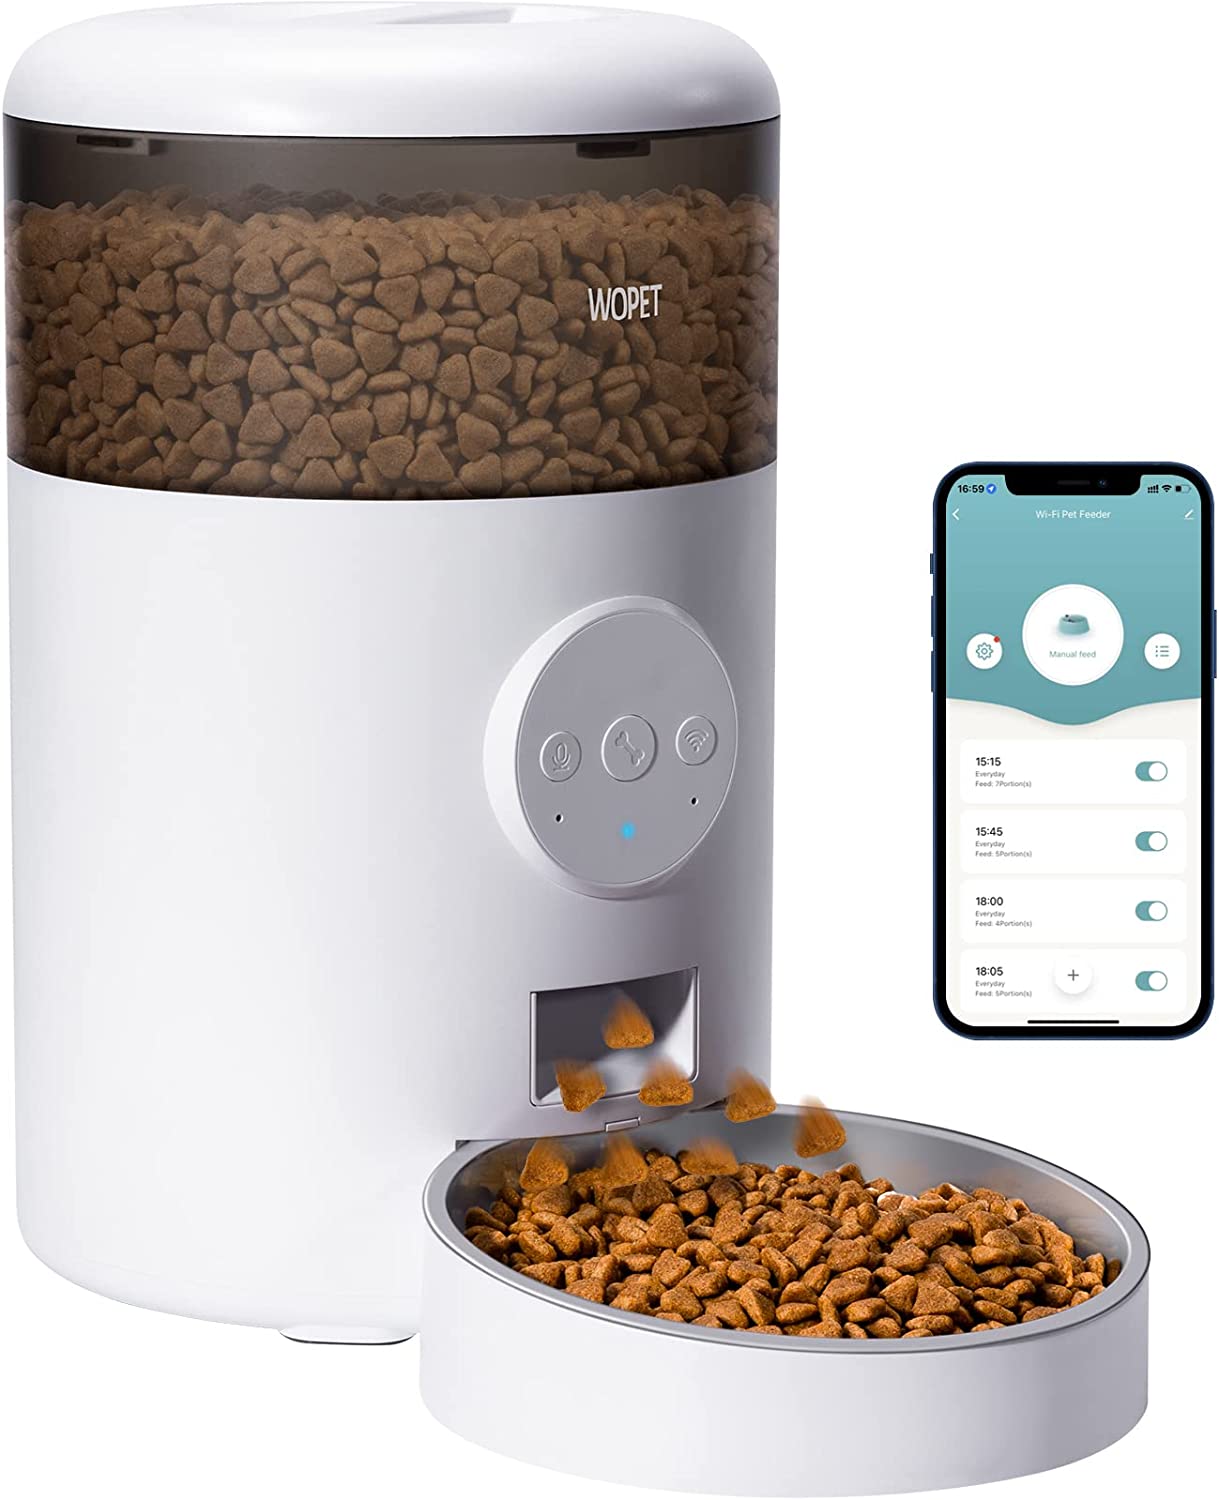
The perfect gift for tech-savvy pet parents. This smartphone-controlled food bowl can hold up to 15 meals! It will feed your pet regularly so travel parents and those who work long days don’t have to worry. The most fun part of this… right before the food is dispensed you can record a 10-second voice recording.
Automatic timed Pet Feeder
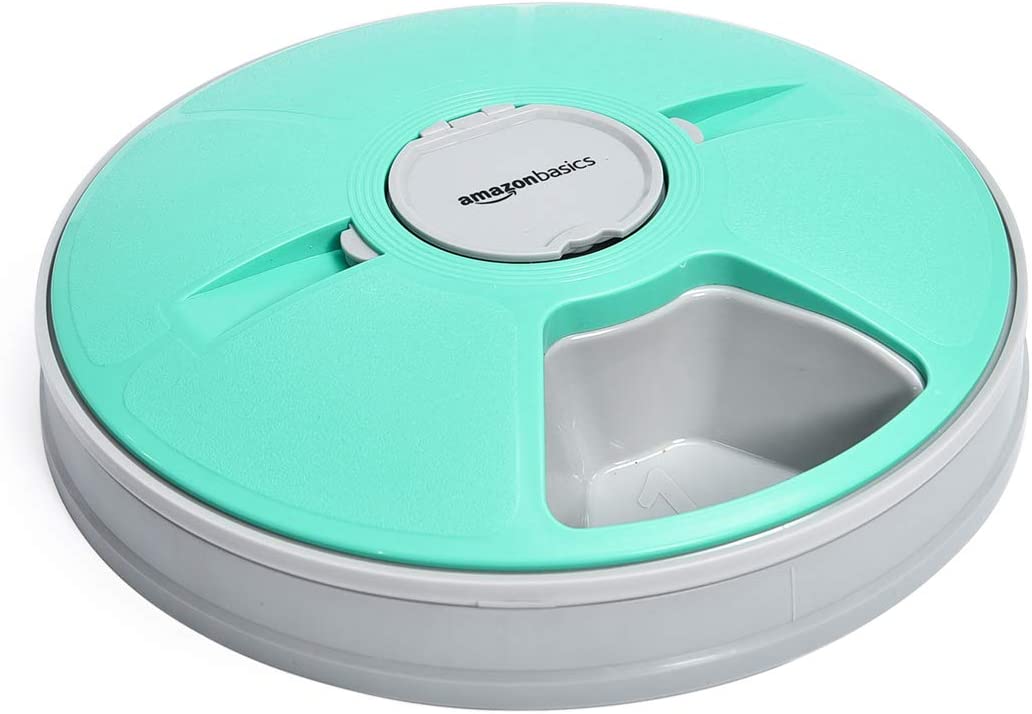
This pet feeder is also amazing for working pet owners but isn’t linked to your smartphone. An affordable, battery-operated pet food dispenser. It takes AA batteries and has 6 cells you can fill with food or treats!
Puppy Chew Toys
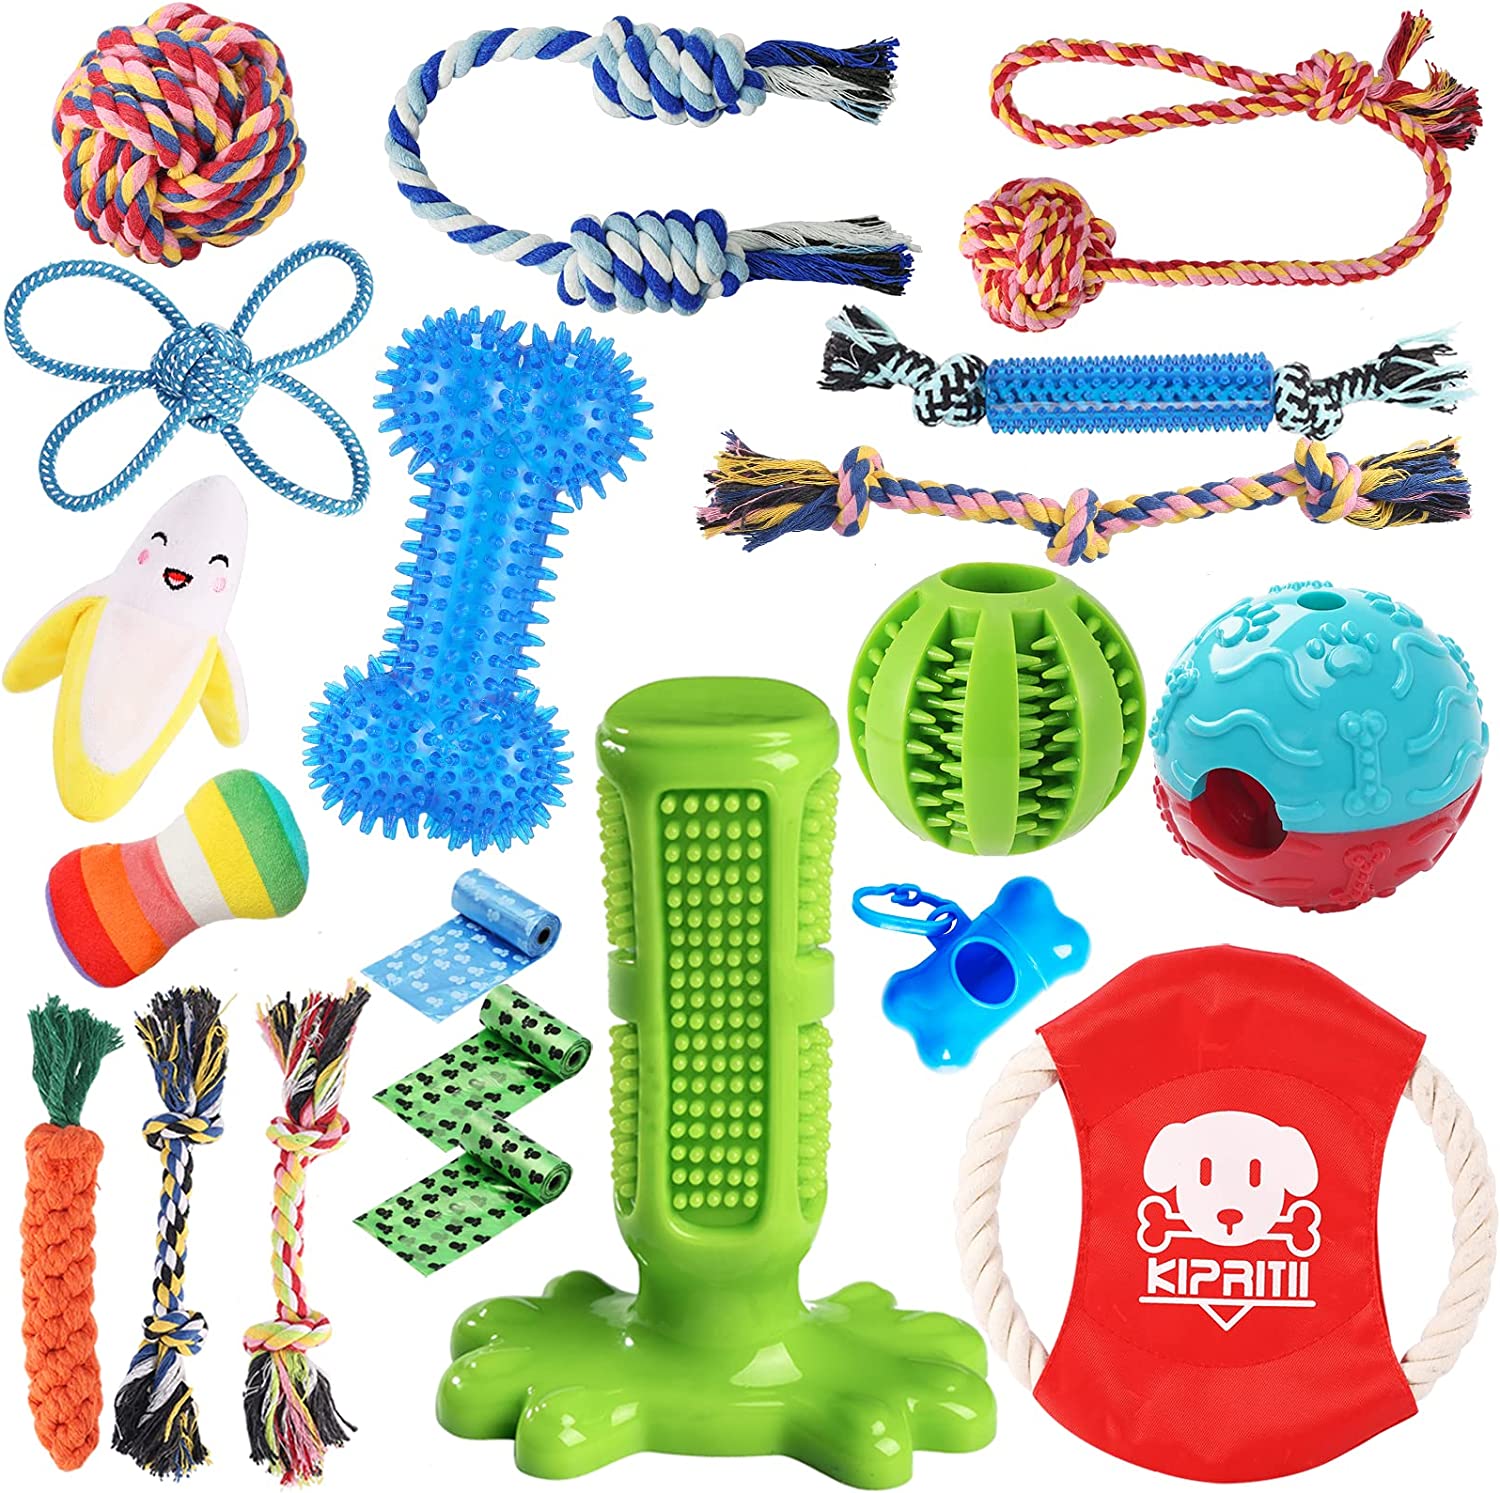
My table legs would have thanked me if I had gotten this for our dog when he came home in July. So would my chair legs. And my kid’s shoes…. and the wall of our laundry room… The point is- puppies chew, and these are the PERFECT gifts for your pooch babies. It’s a 20-pack that includes 9 ropes, 2 dog treat balls, 1 rubber dog toothbrush stick, a banana toy, a flying disc toy and includes poop bags as a gift!
Interactive Cat Windmill and Food Dispenser
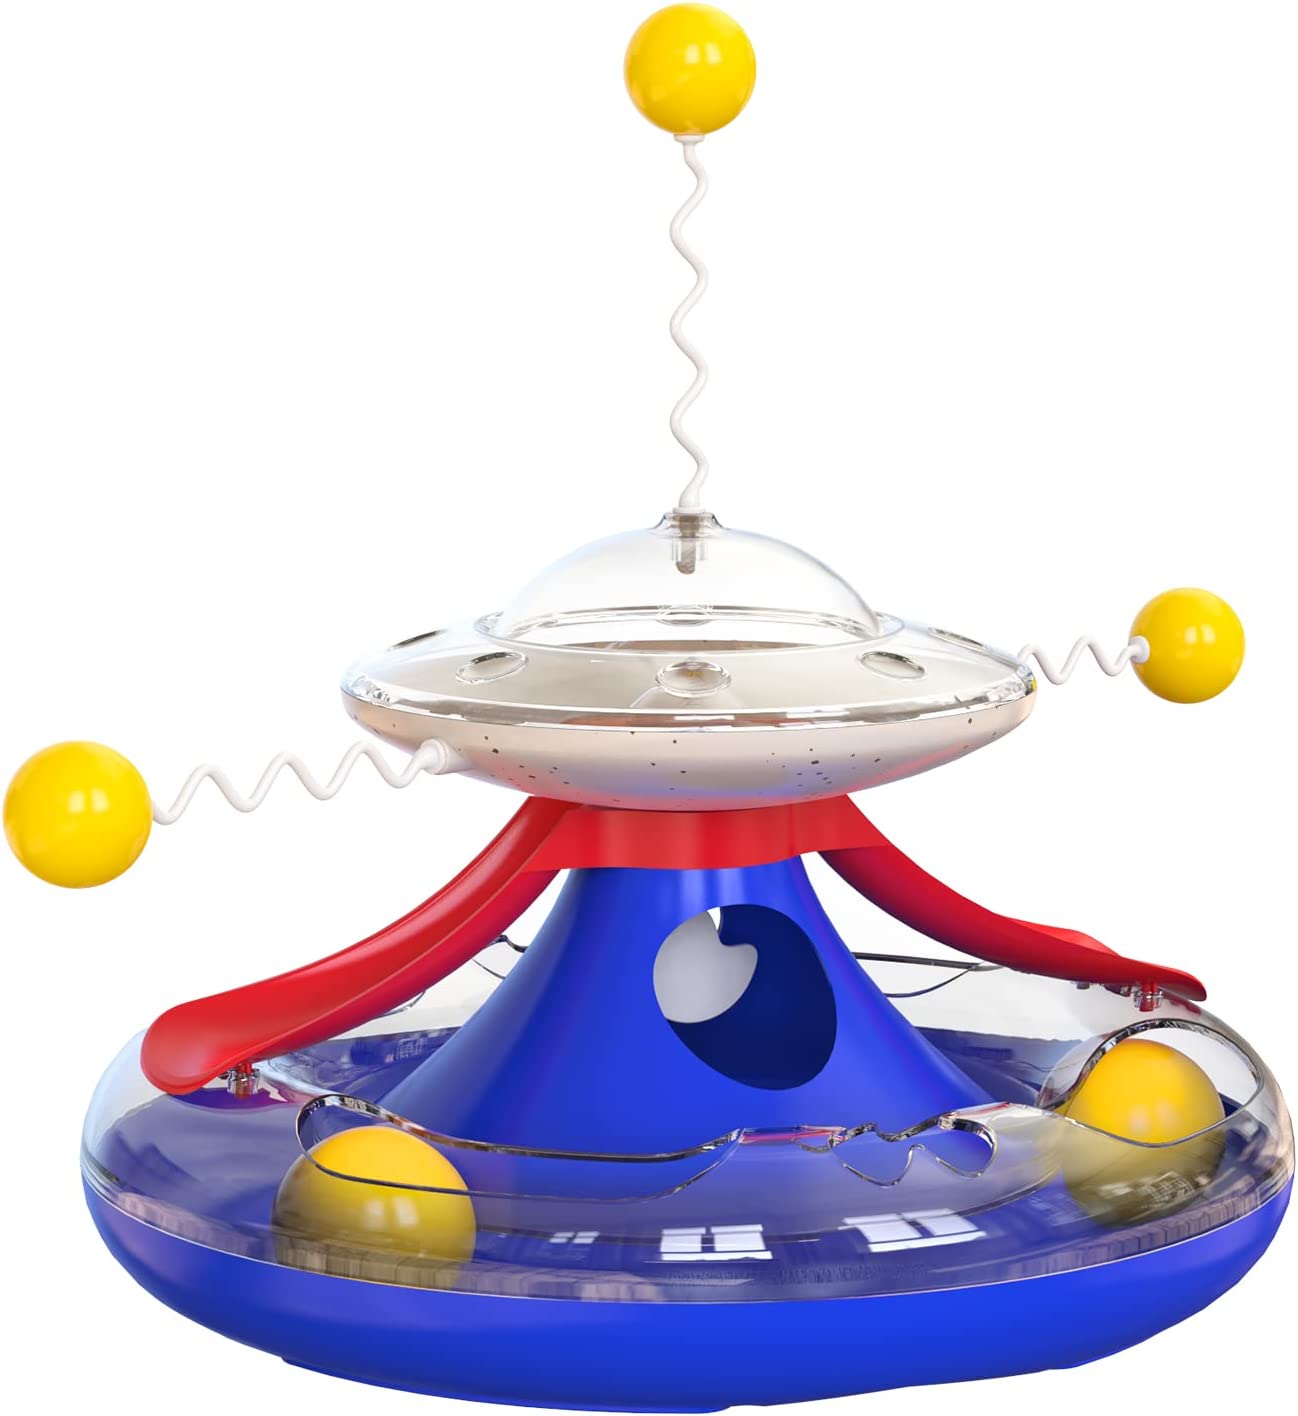
A puzzle for cats to amuse themselves with TWO layers of action. The trackballs will give your cat hours of amusement, with the added benefit of you getting to watch your little kitty hunt and play. It can also be filled with treats, so when the cat rotates the platter- a treat pops out!
Interactive Cat Toy with Feathers and Catnip
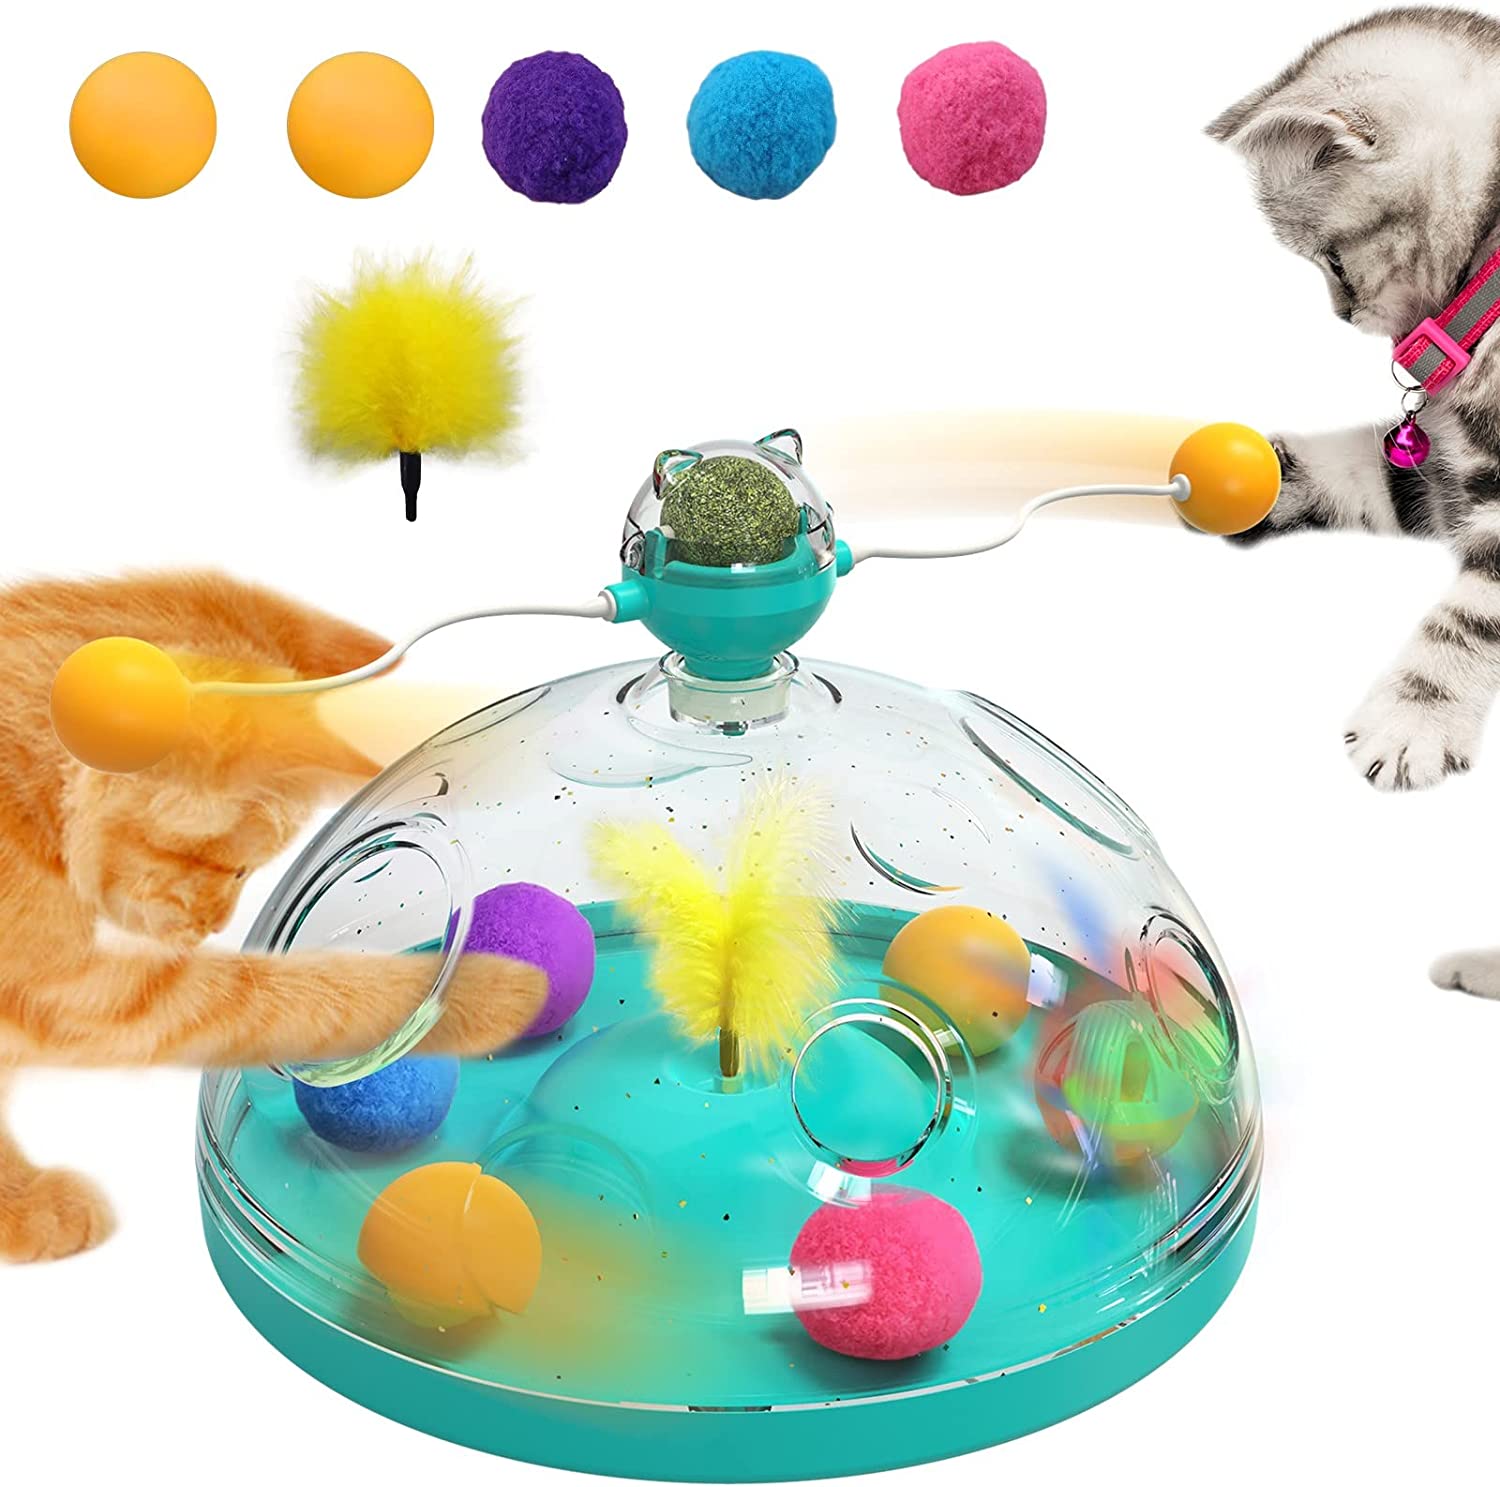
If you’ve ever seen a cat after they had catnip… you’ll understand it’s the phrase “it’s like catnip”. They are so obsessed with it, and it’s highly entertaining. The feathers, the holes for them to bat their toys, added with the cat nip makes this such a good toy for curious kitties.
Automatic Moving Ball Multi Pack
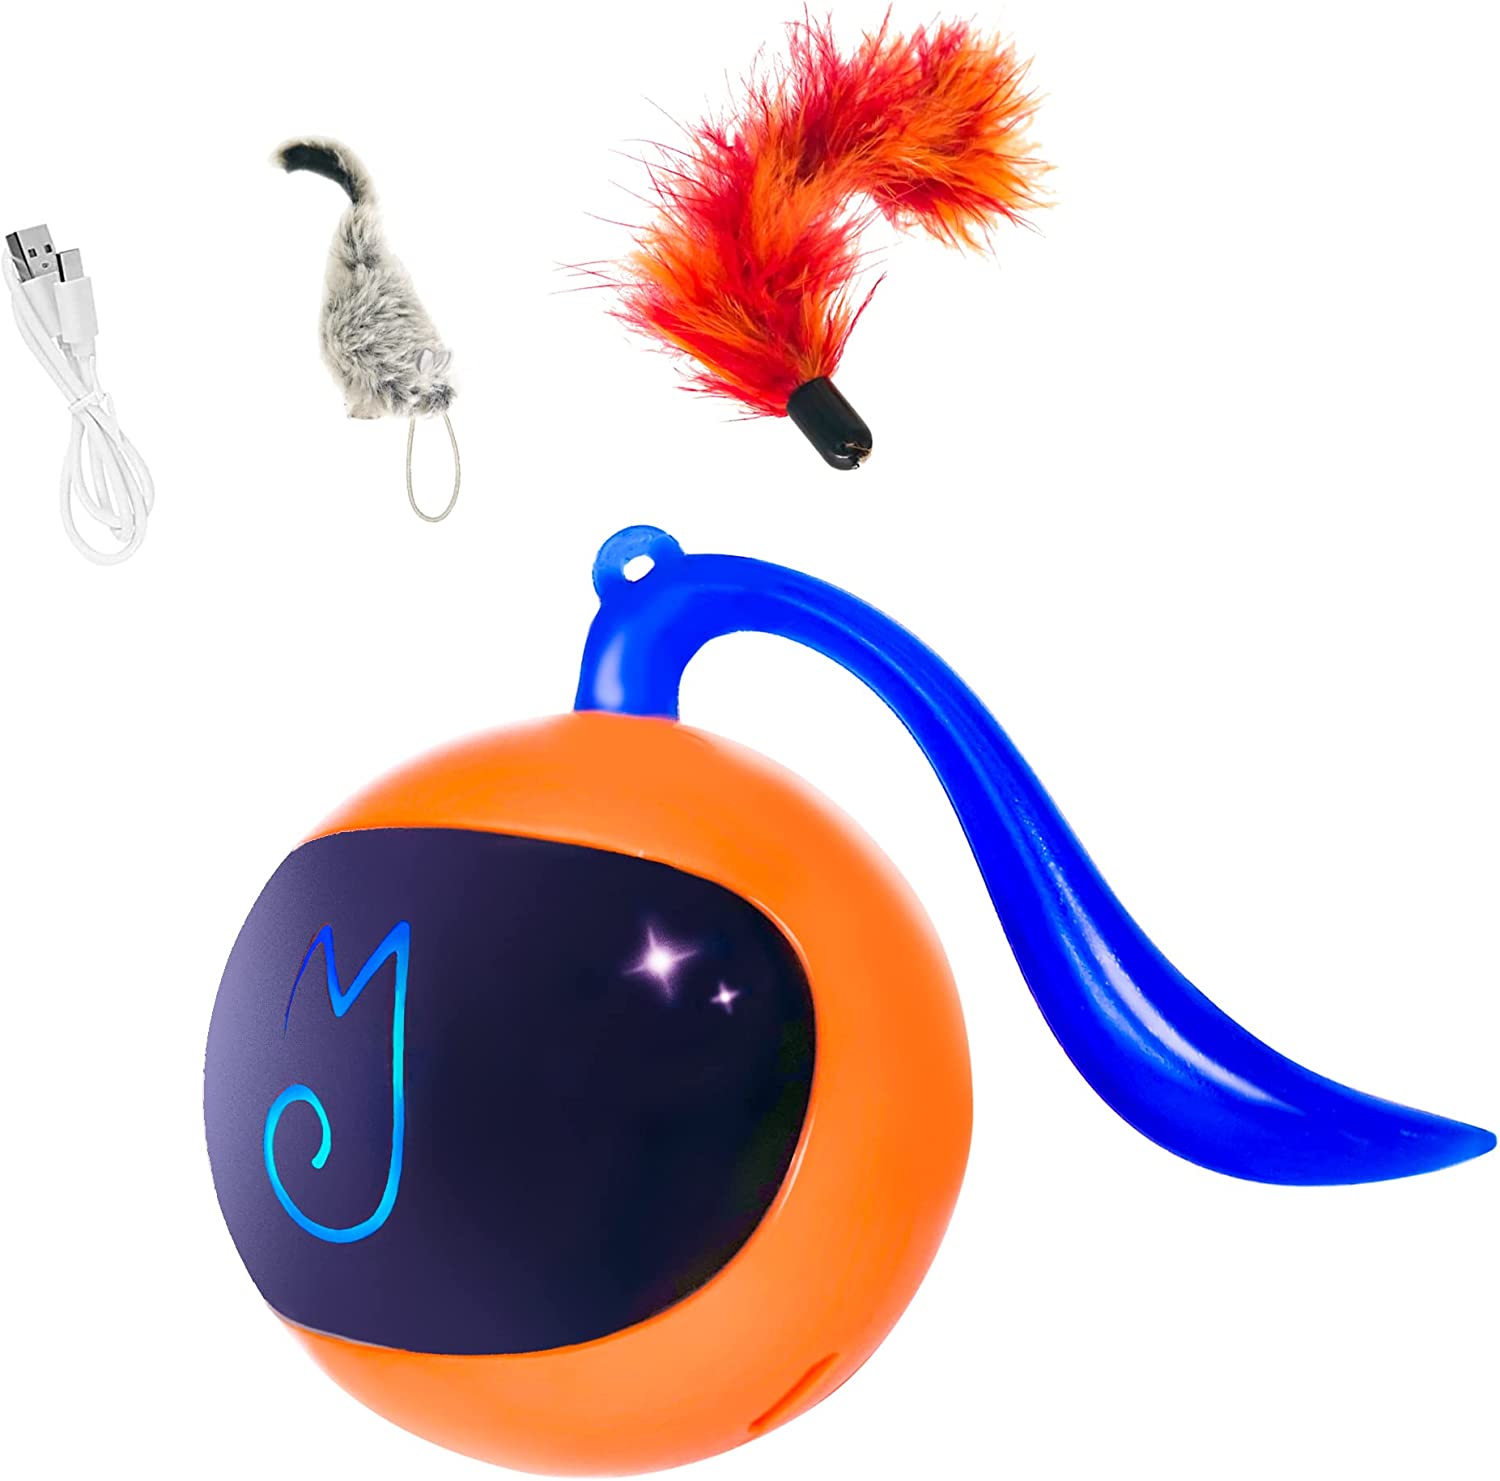
The only thing I love more than playing with my pets is buying something battery-operated that will play with my pets for me. This multi-pack will for sure keep those cats occupied. The coolest part is that there are motion sensors in the toys that allow them to move and stop automatically. Truly a hands-off toy!
Large Water Dispenser for Dogs and Cats
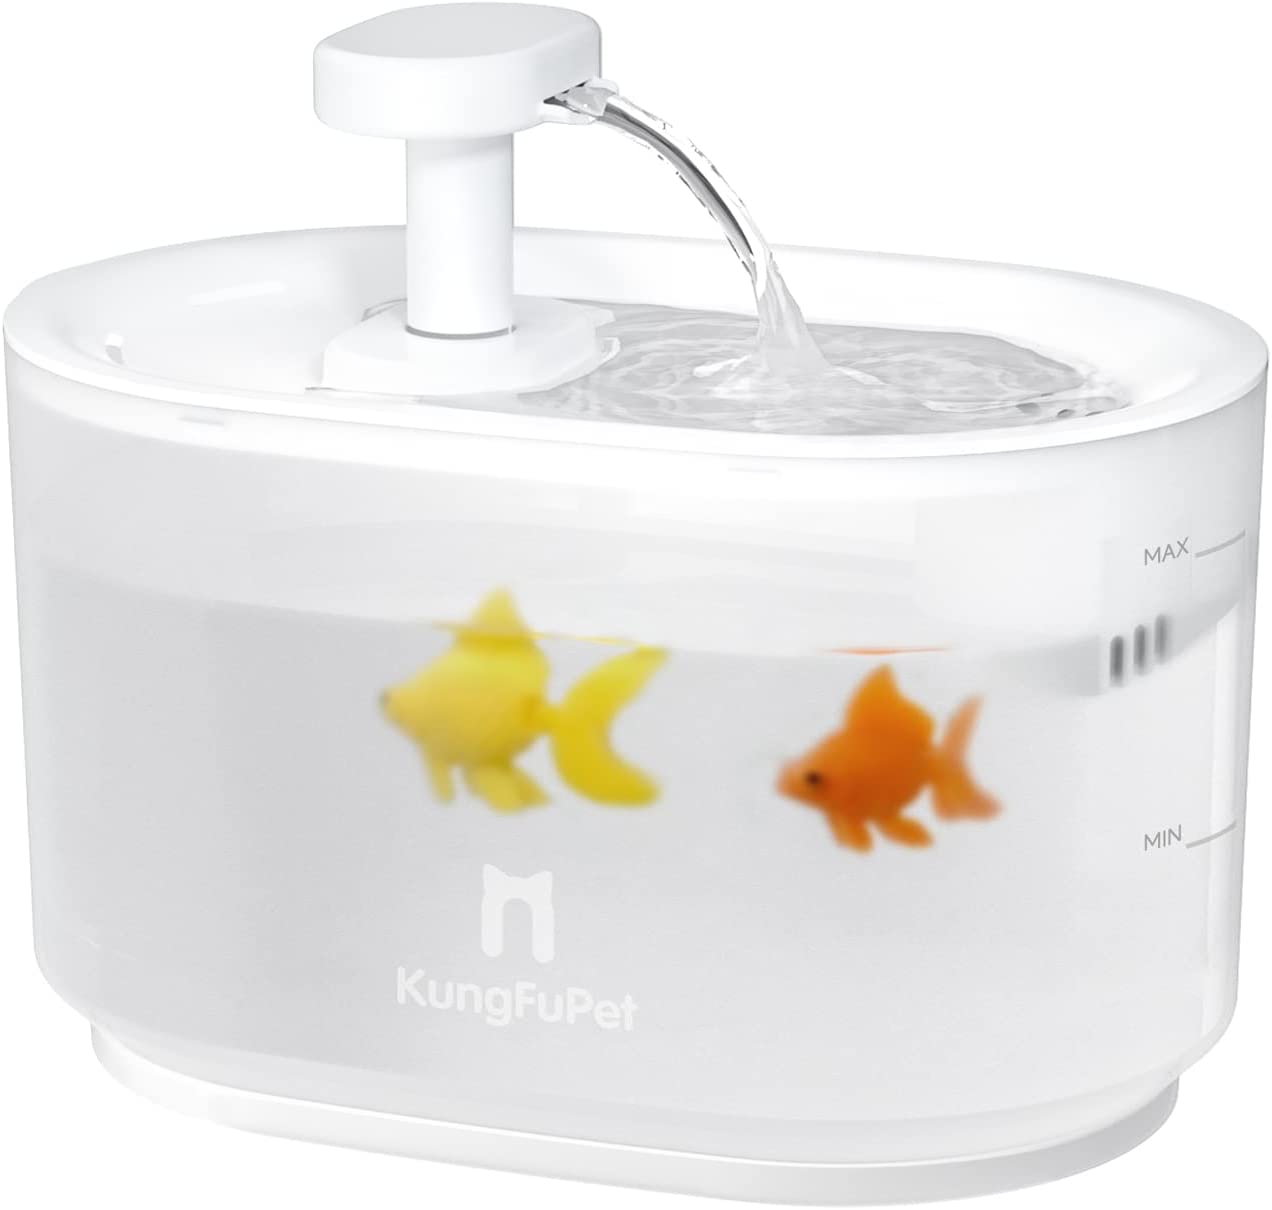
180 ounces of water with a wireless pump will make a safe and convenient fountain for one or multiple pets! It needs to be plugged in to work, and once running it has a purification filter that will keep your pets hydrated and safe. When there isn’t enough water in the bowl, the pump will automatically shut off! And it comes with a one-year warranty, so if it breaks or you’re unsatisfied… no sweat.
Pup Claw Dog Toys (With a squeaker)
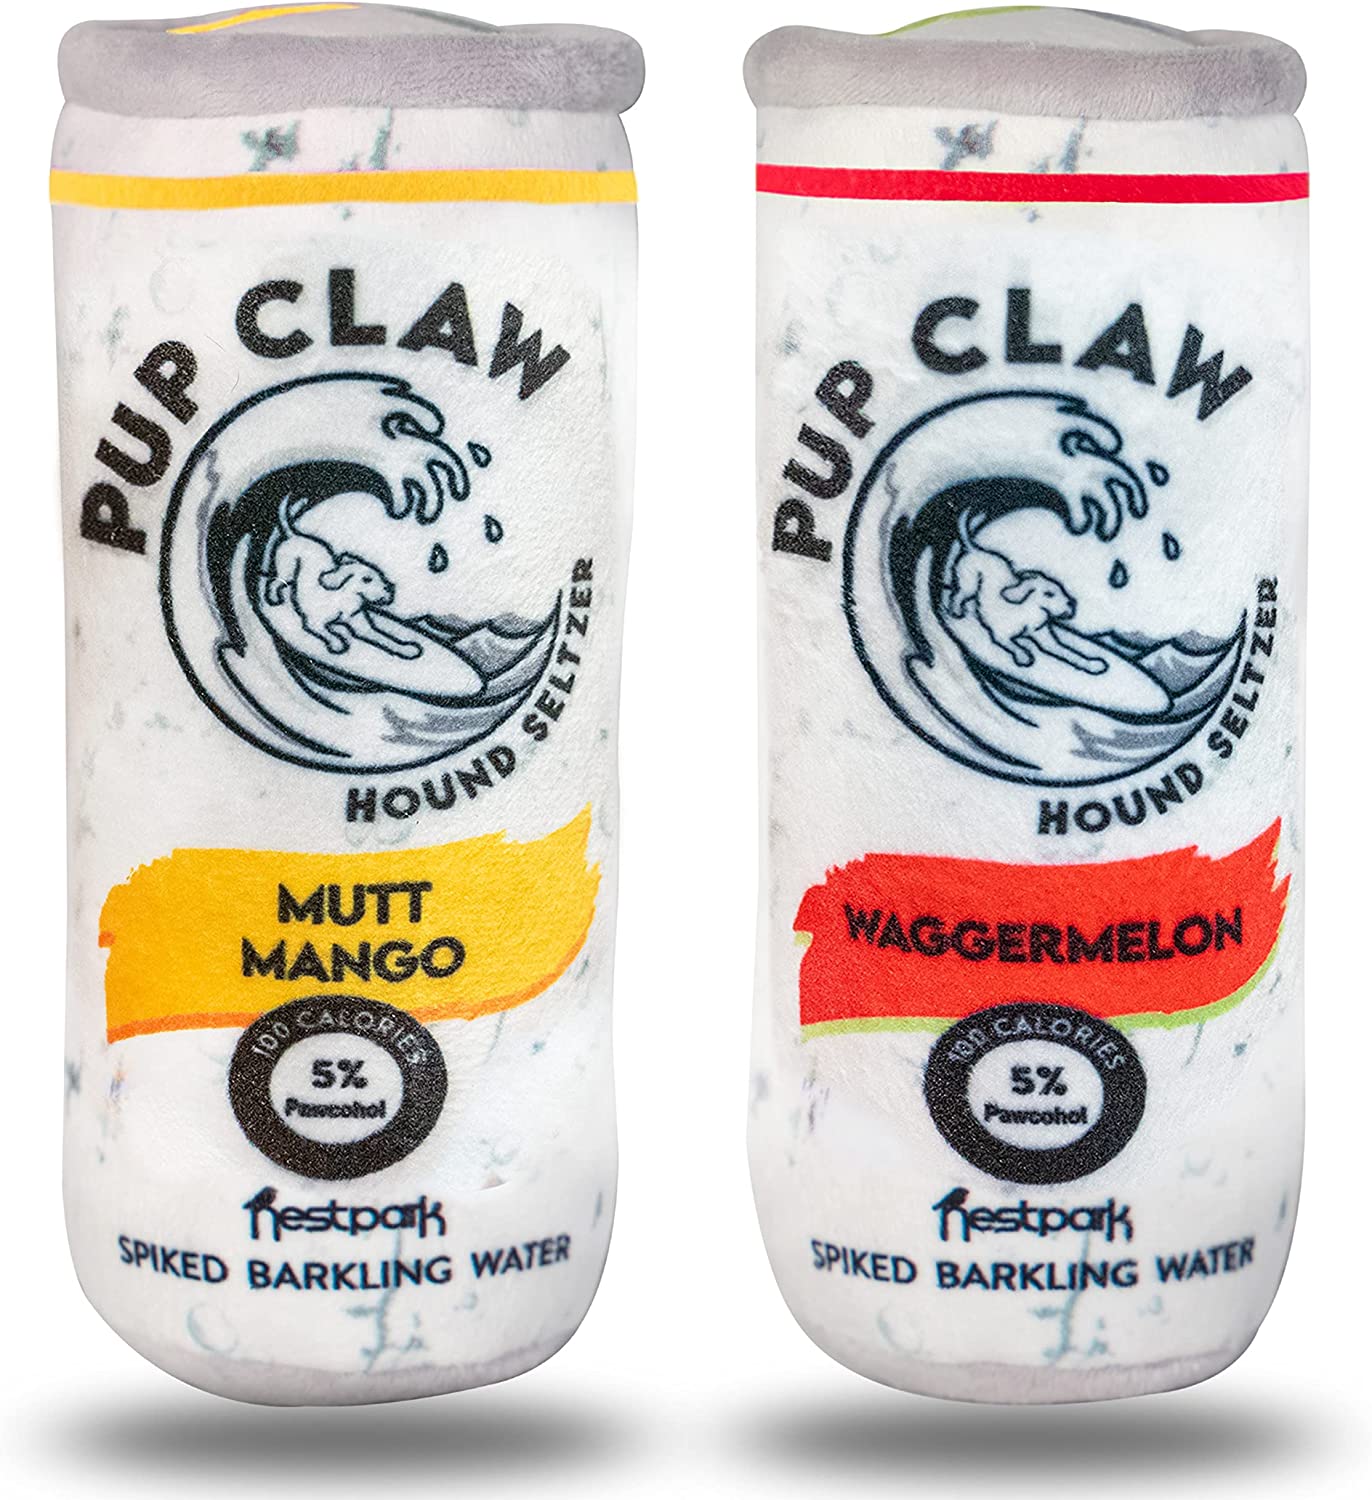
Do I even need to tell you why this one is both an amazing and hilarious gift? A tiny puppy seltzer?! Waggermelon? Mutt mango? Stop. It’s too much. Take my money.
Dog Rope with Suction Cup for Aggressive Chewers
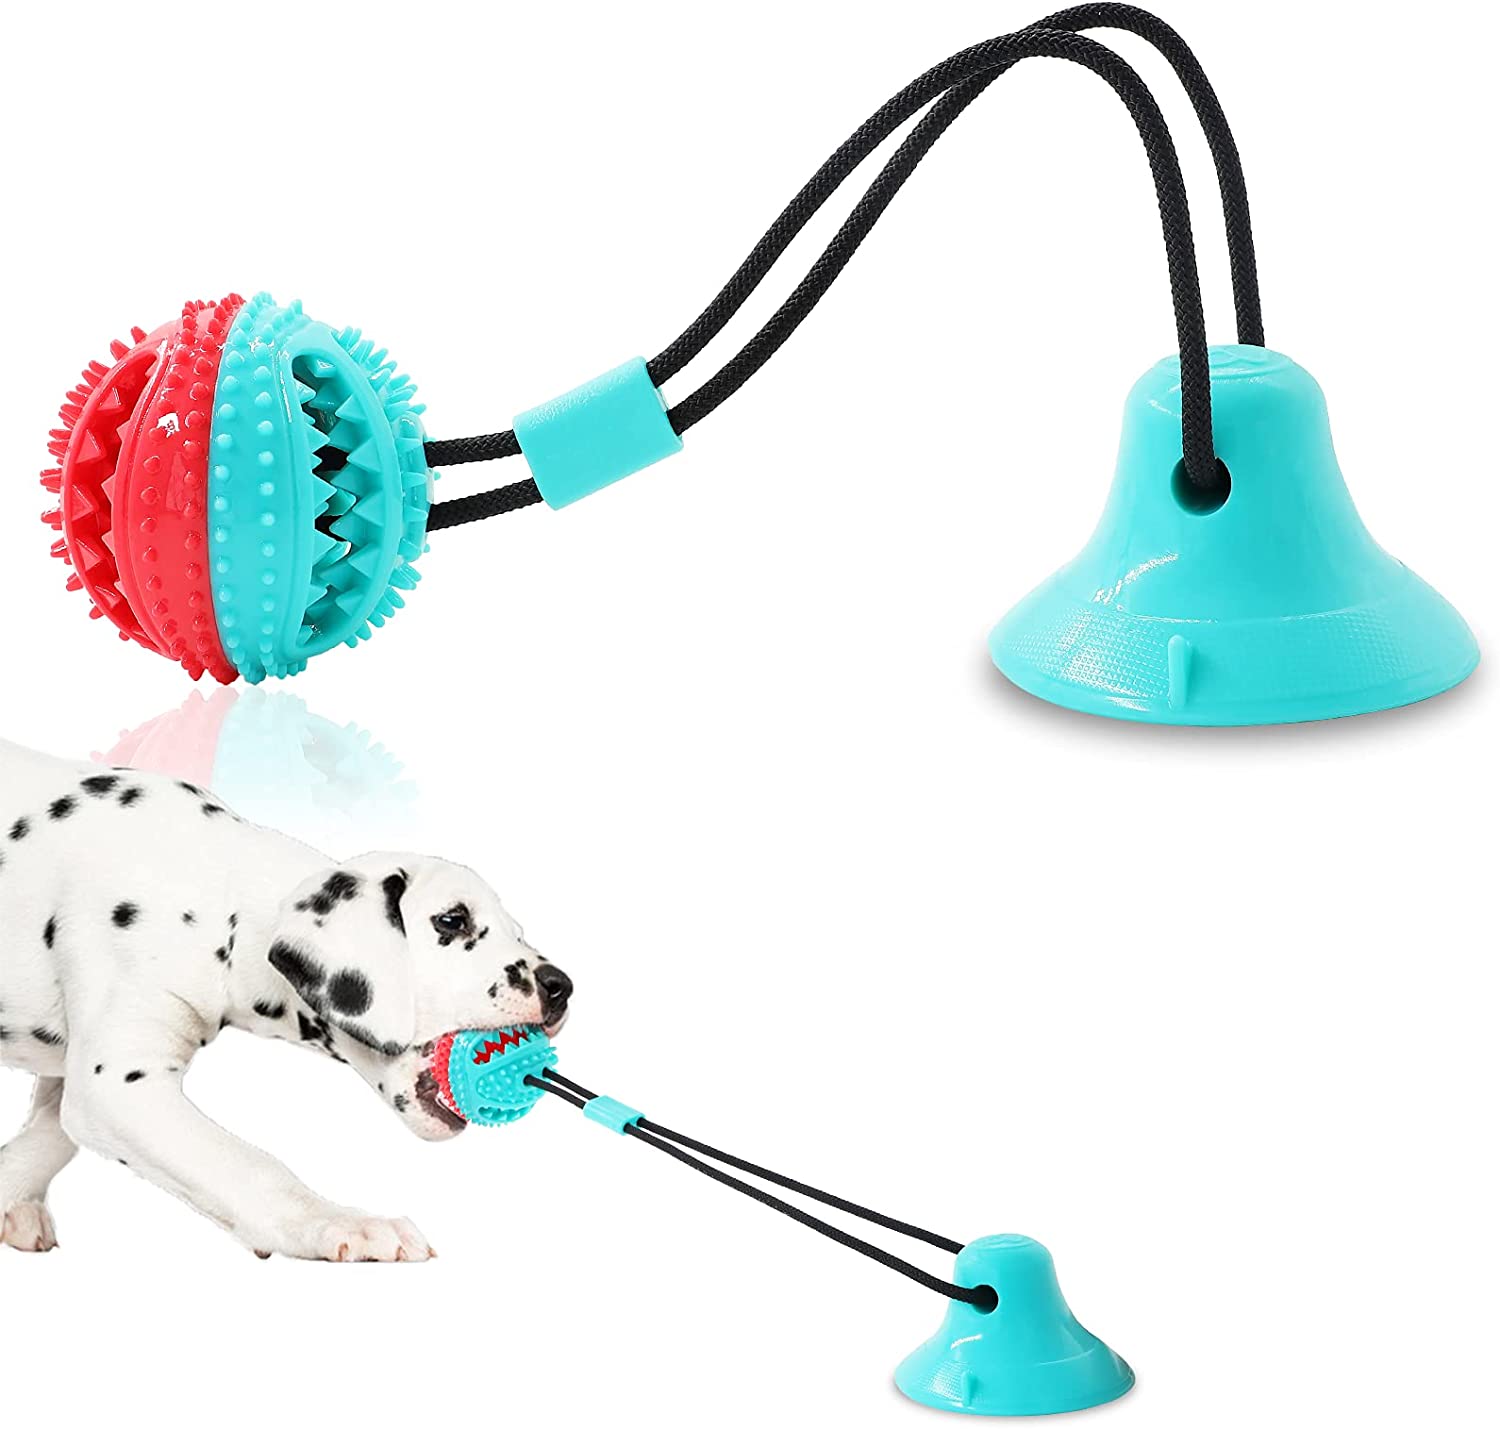
The suction cup on the bottom is just what the dog-tor ordered. (That was a lot and I know it. But I am leaning into it.) I love that they can literally tire themselves out with this one. It’s durable and cleans the dog’s teeth while it stimulating them with internal sounds when shaken! You can even fill it will dog food or treats to encourage play!
Outdoor Playpen with Cover!
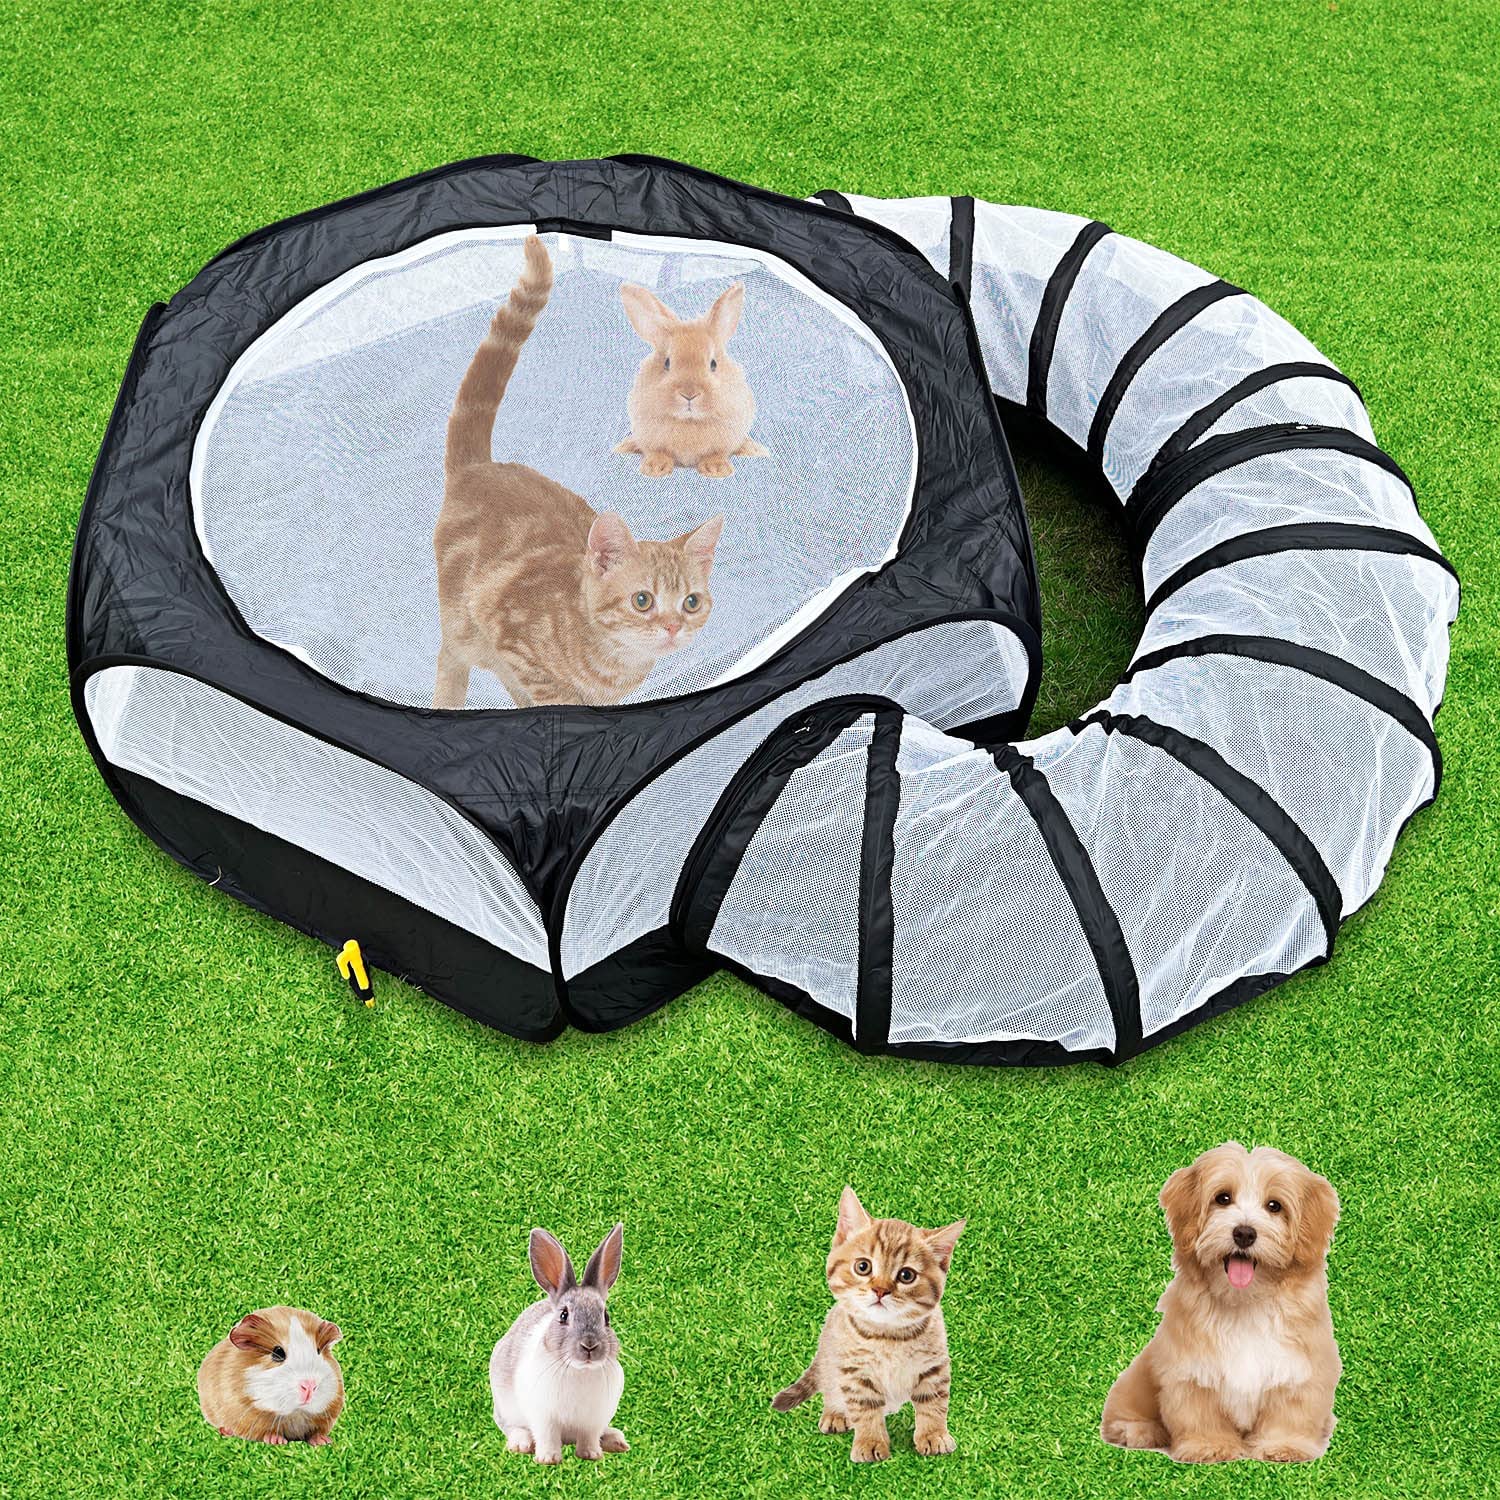
Cats, bunnies, hamsters, hedgehogs, chinchillas, tiny dogs… This one covers the small pet spectrum! Give your little pet some outdoor time with this portable yard fence. It is waterproof, easy to fold, and covered with a zipper! It’s a good way to take your little babies with you camping or to the park or beach!
Greenies Gingerbread Dog Treats
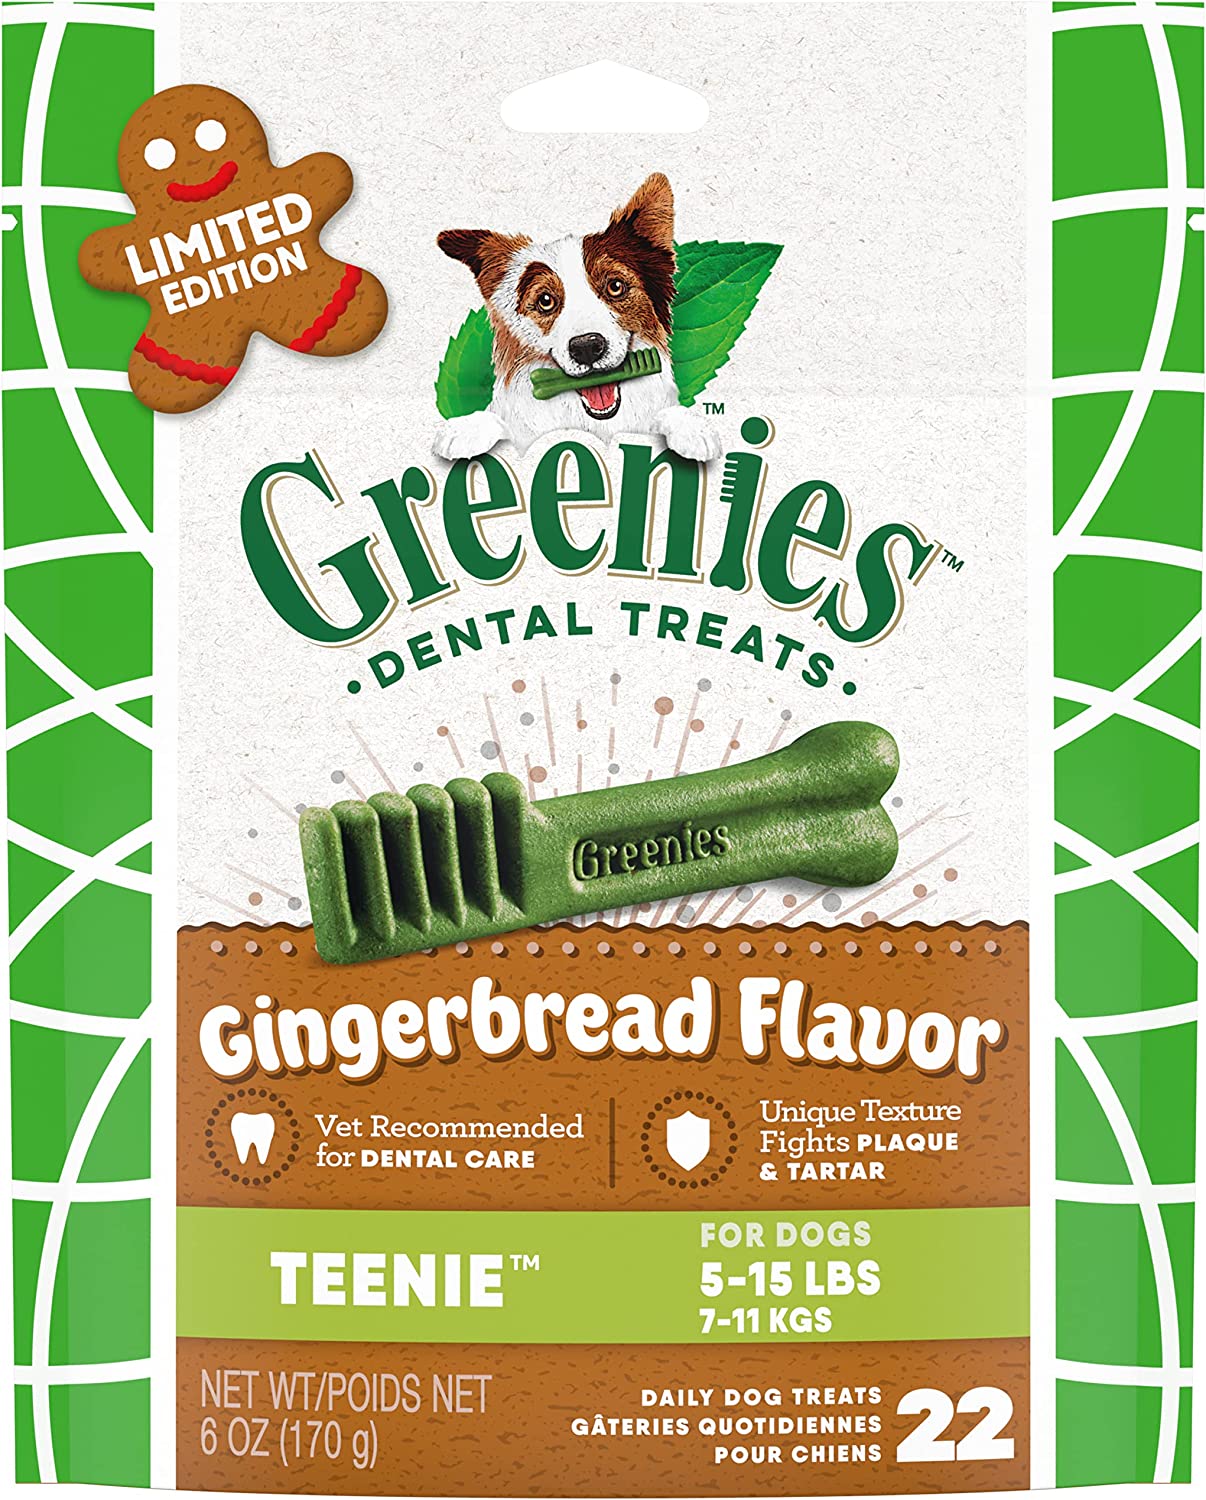
Even your pet deserves a seasonal flavor, and these Greenies give them just that. No, not peppermint mocha flavored (thank goodness, please don’t caffeinate my dog) but the classic Christmas taste of Gingerbread. These are available in teenie, small and large. So every dog gets the portion control they need- something I am still working on in the holidays. This brand is also known to fight plaque so it’s a gift that tricks them into being healthy.
Foraging Mat for Dogs and Cats

The cutest little Christmas tree I have seen that is a secret dog and cat puzzle! Animals love foraging and sniffing out treats, so you’re encouraging them to do that in one of the hundred little places to hide under this foraging mat. Plus… it’s machine washable. The true Christmas miracle.
Snuffle Mat Feeding Game
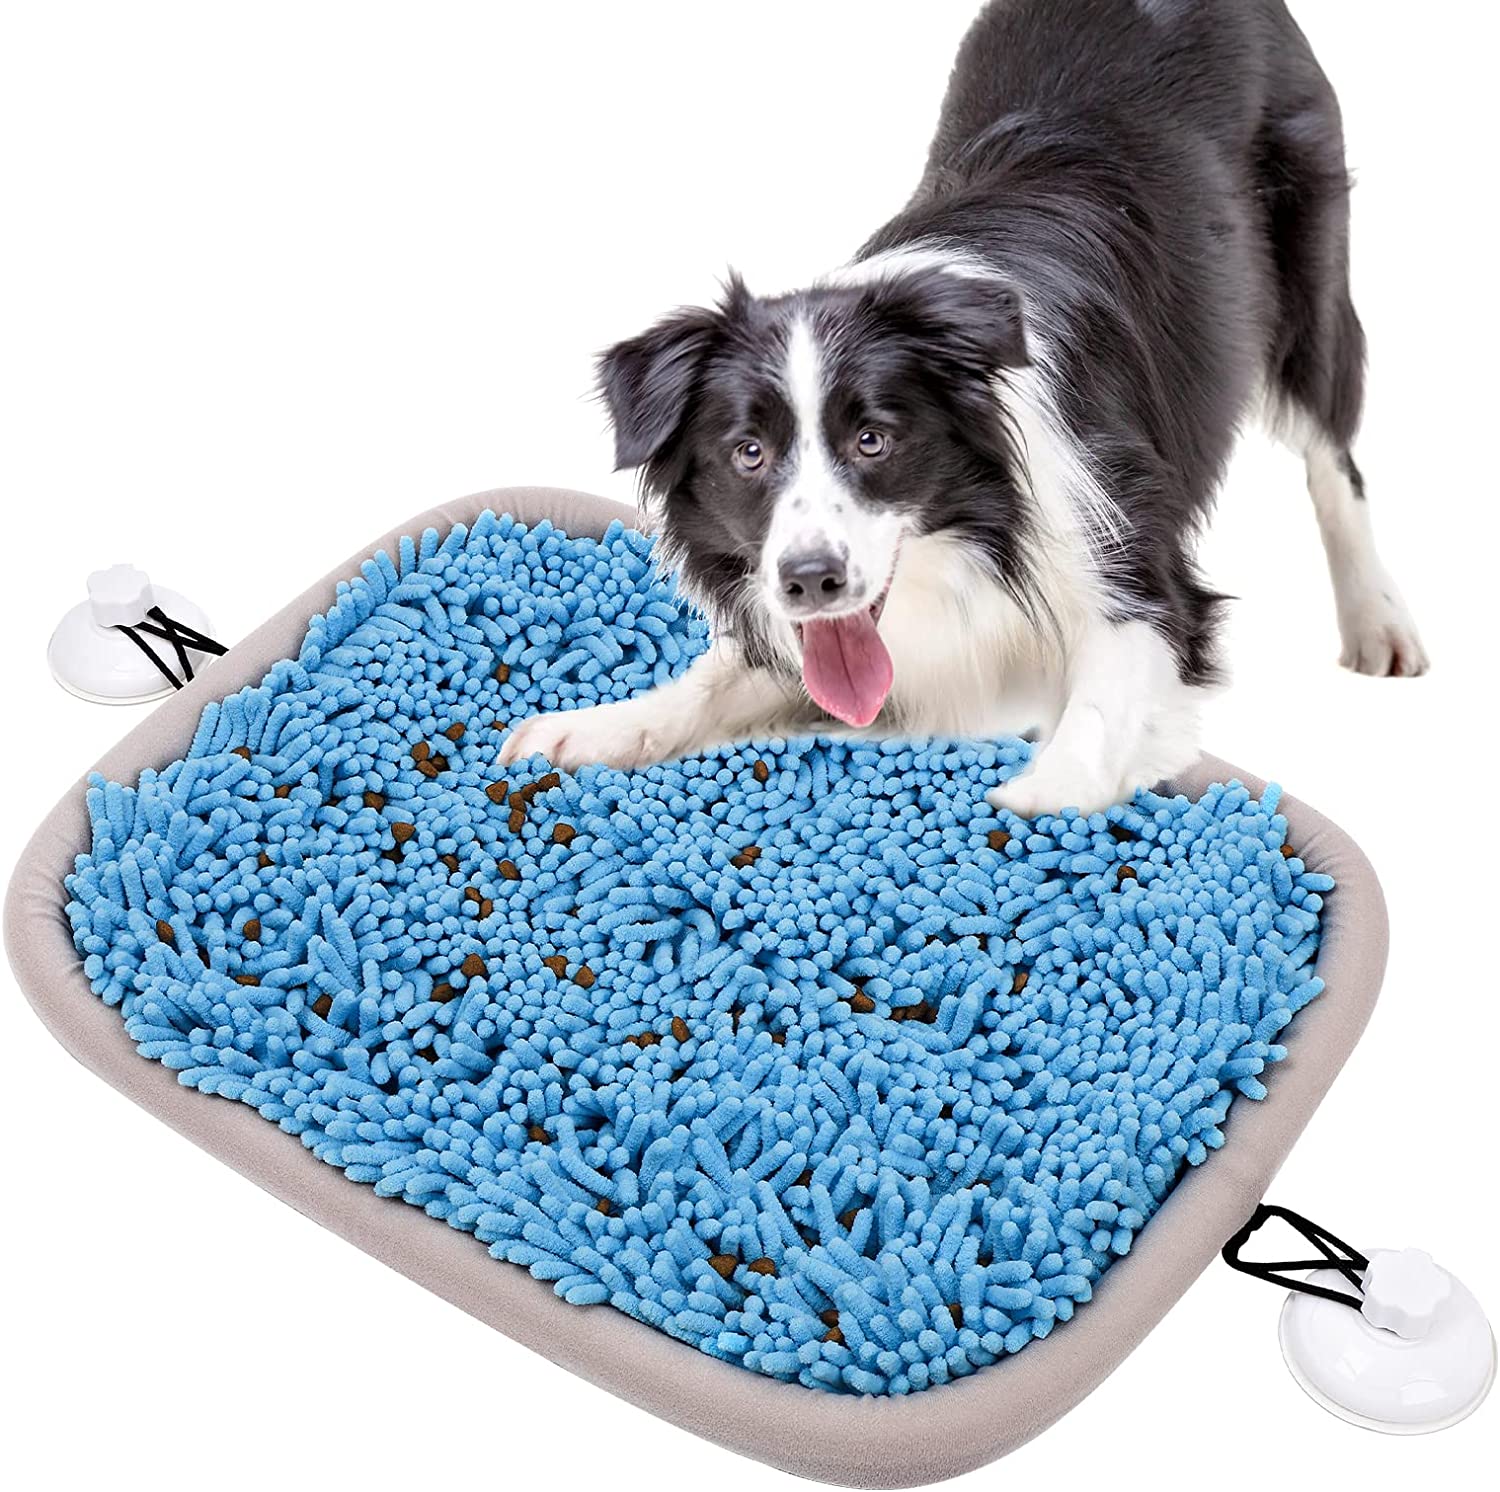
I really don’t know if I love that it gets out energy by encouraging foraging, or if I love that it is called a “snuffle mat”. When they’re bored, they can sometimes dig into things they shouldn’t but this mat helps prevent needless frustration by giving them somewhere to target that energy. Plus, the suction cups help keep it in place so treats aren’t flung everywhere!
We all know pets are like part of the family! I hope you got some great ideas on how to make them feel loved this Holiday season.
Need some other Christmas Content? I’ve got you!


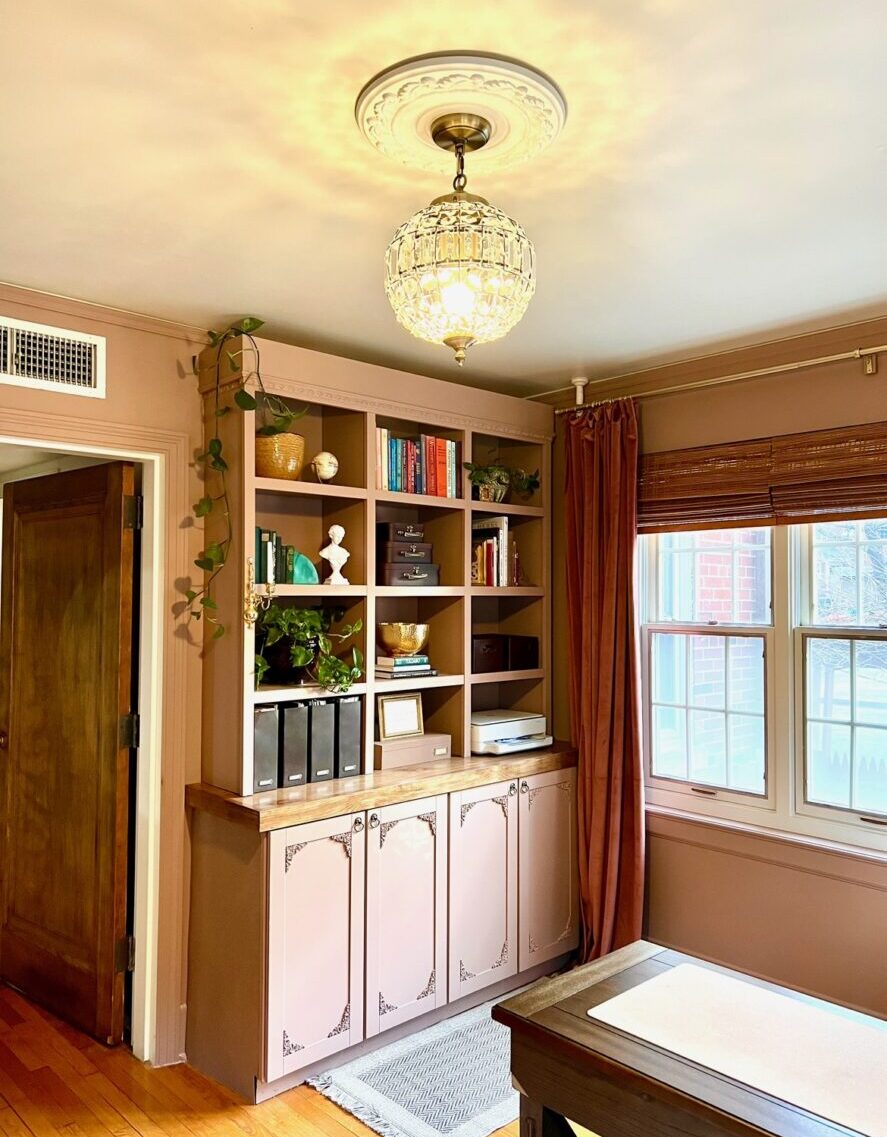
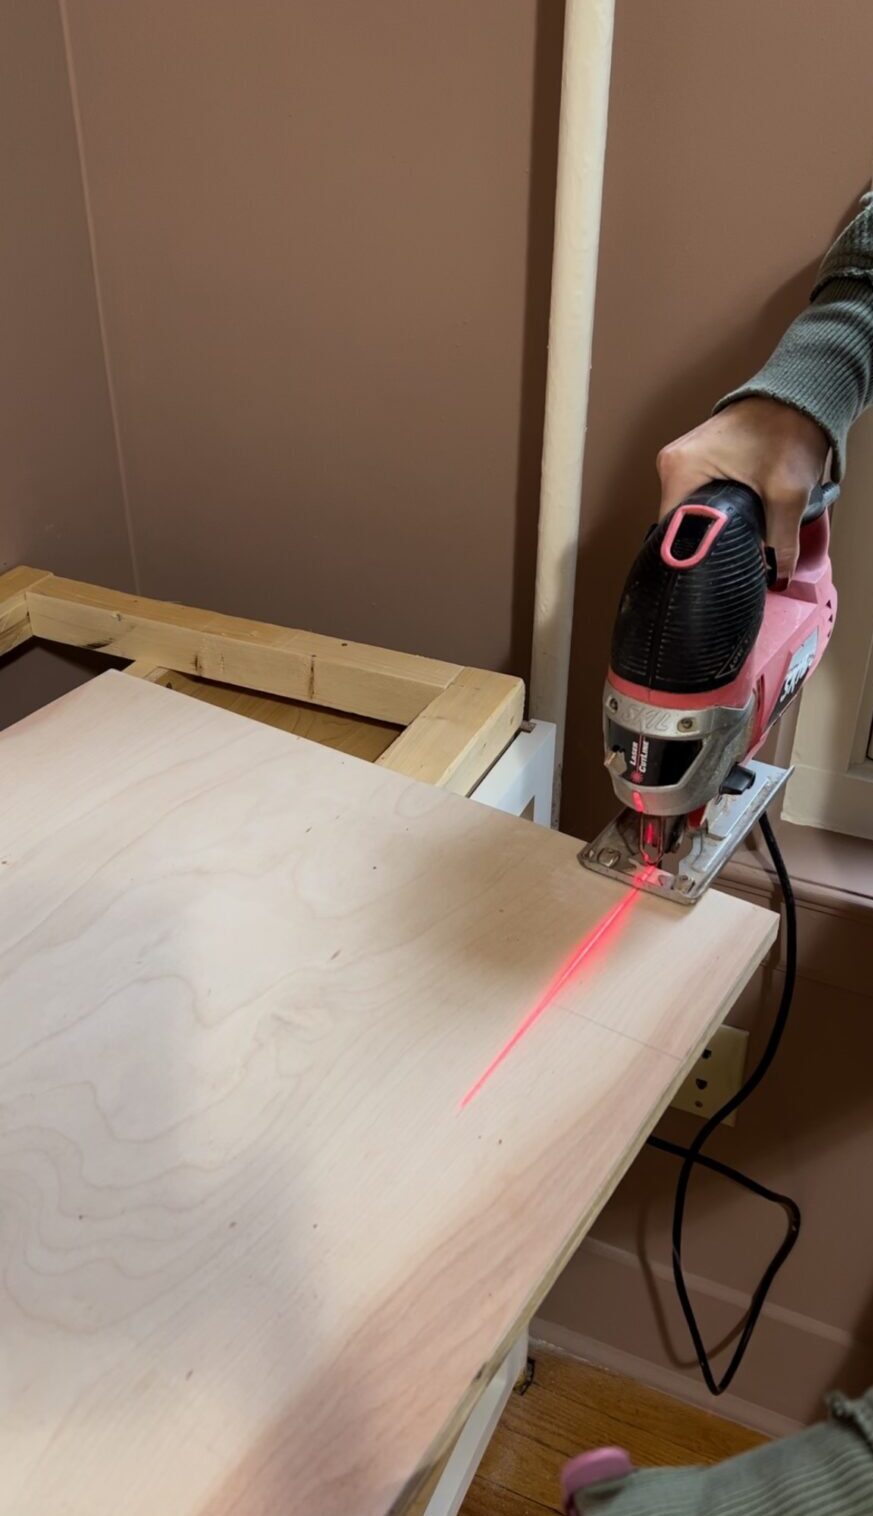
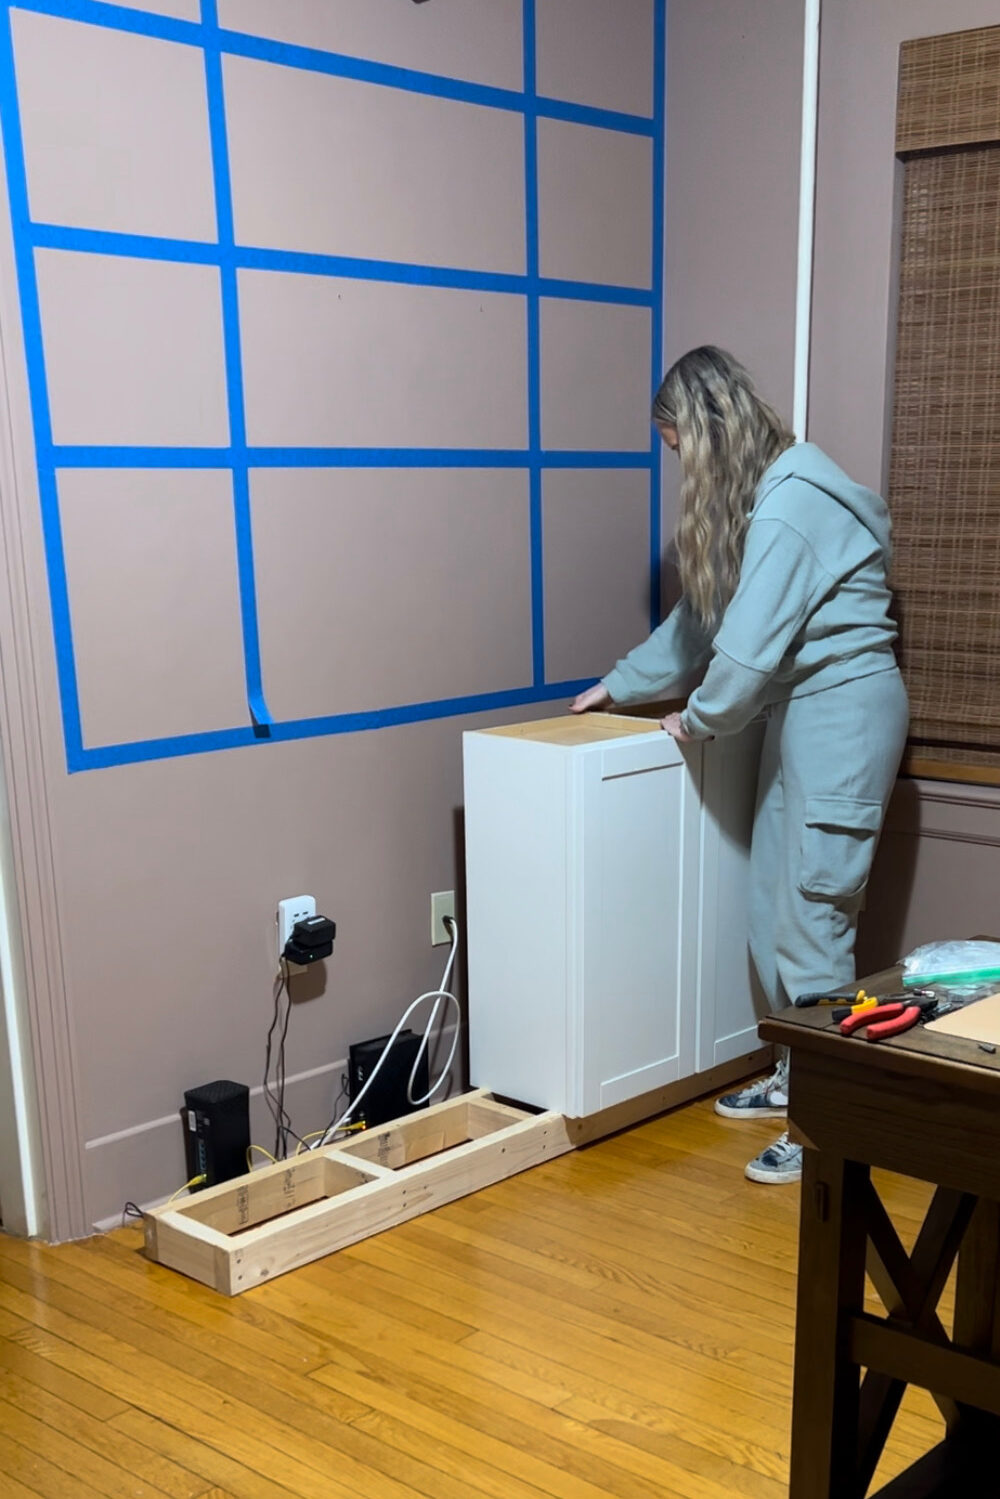
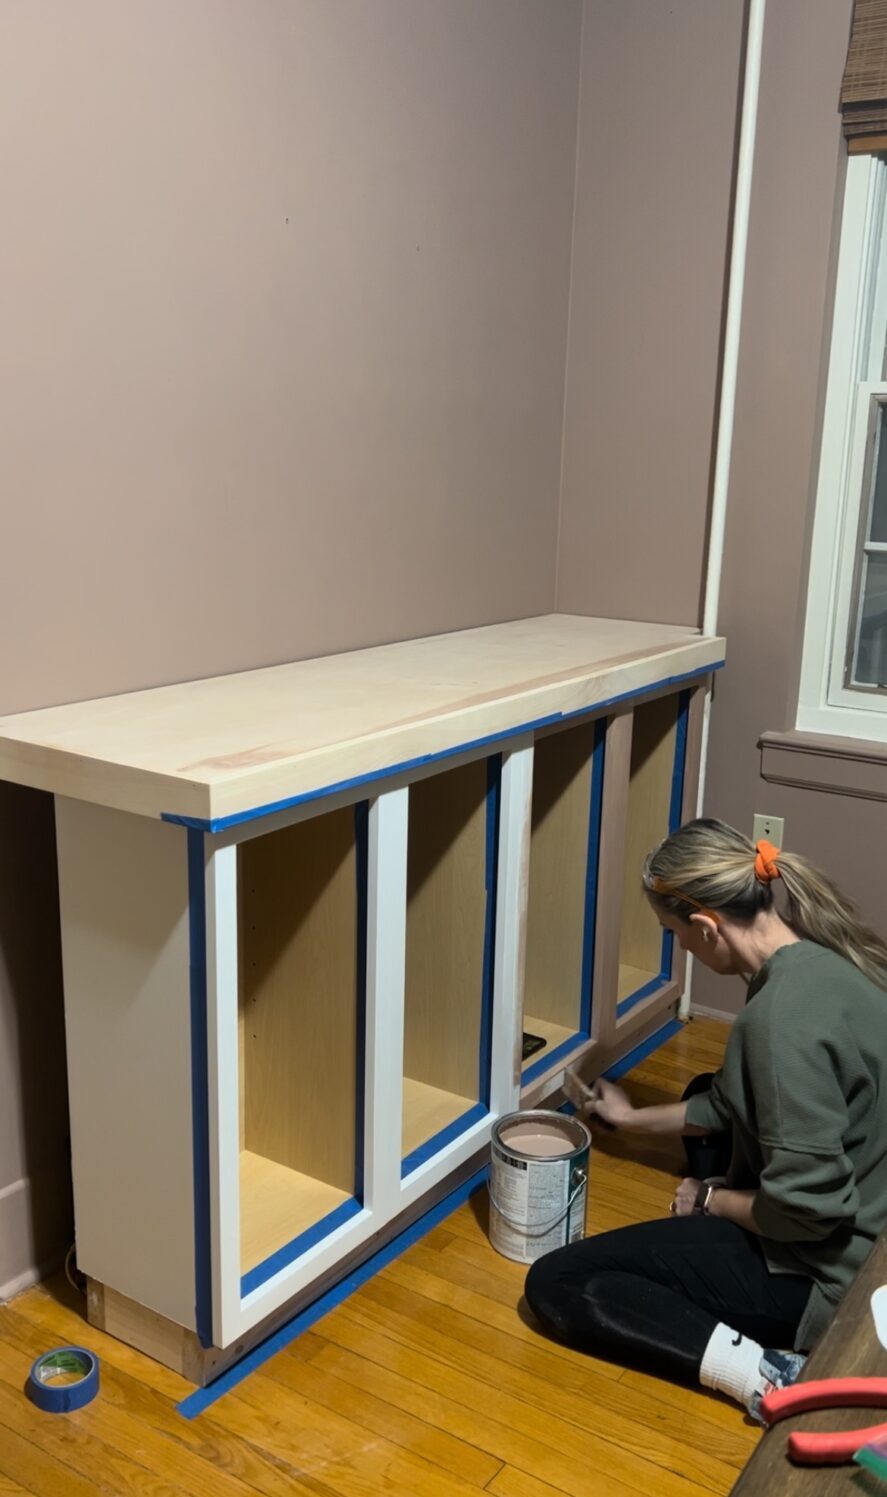


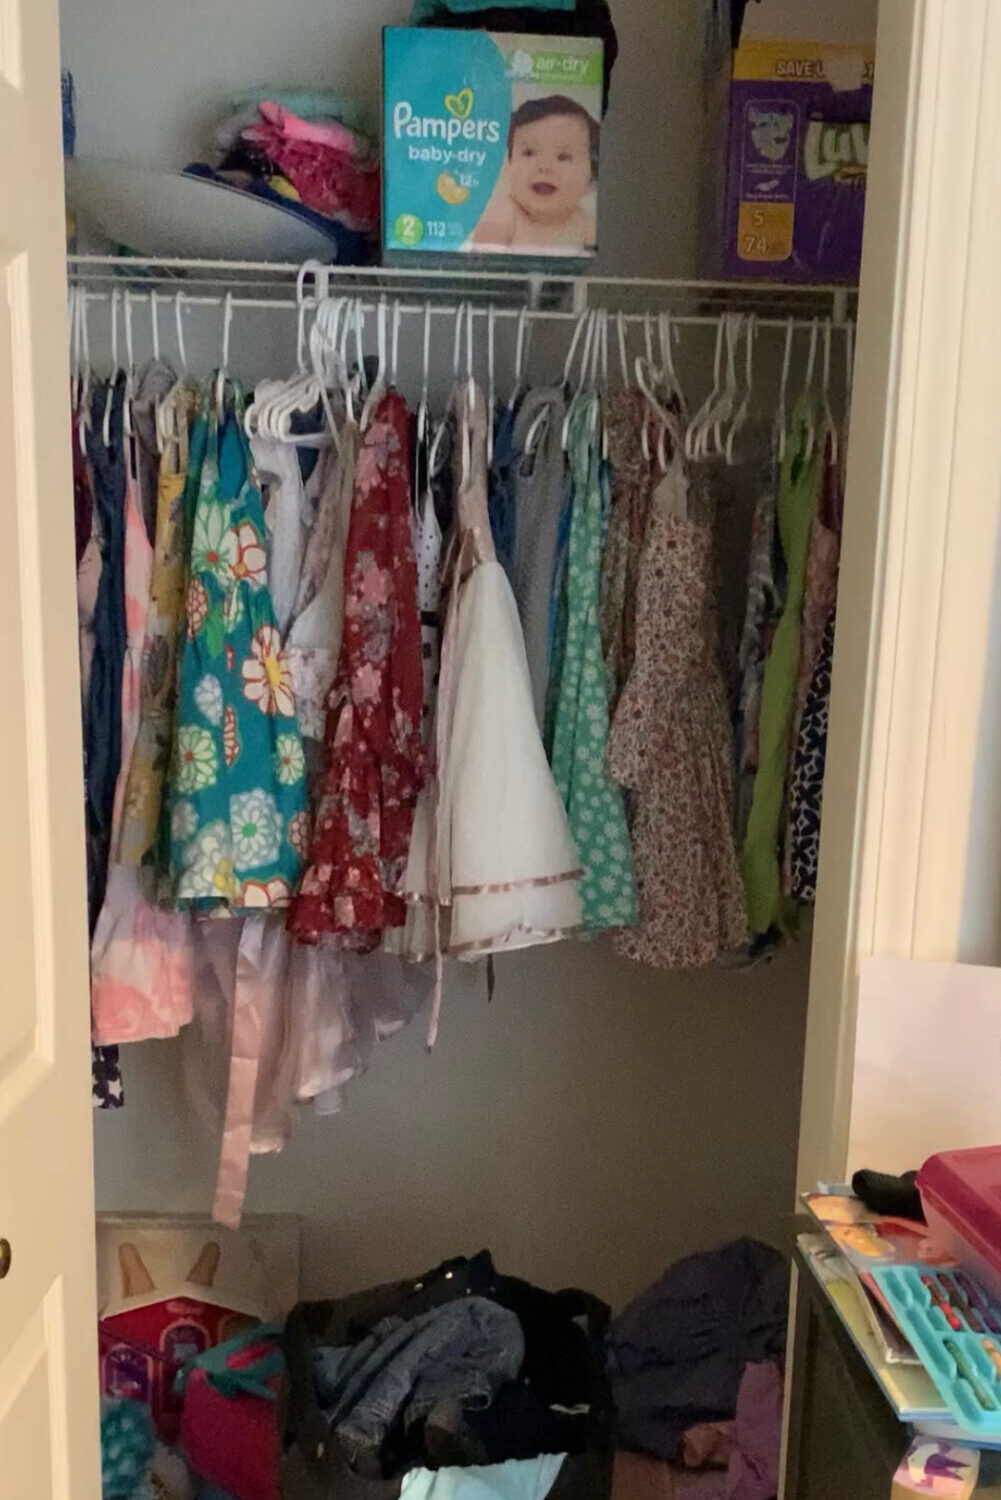
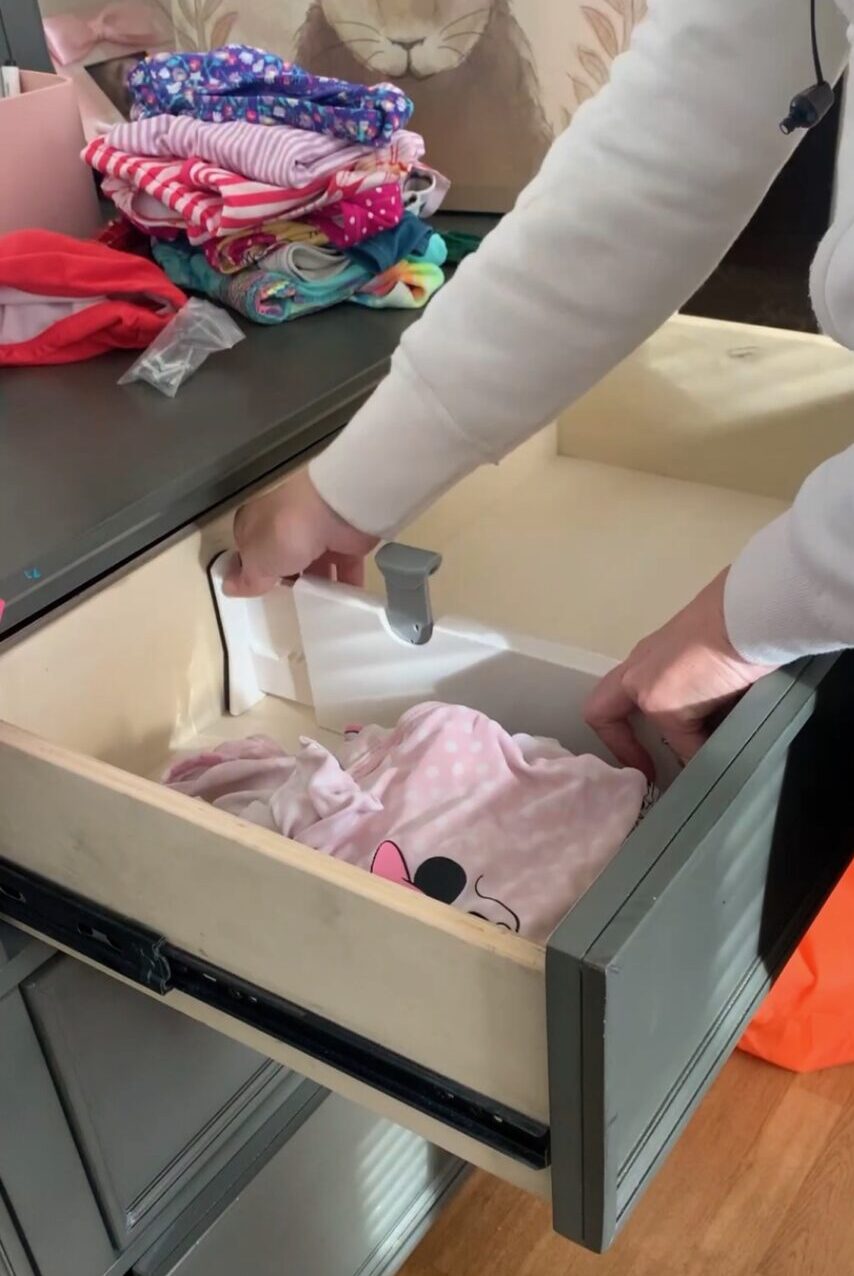
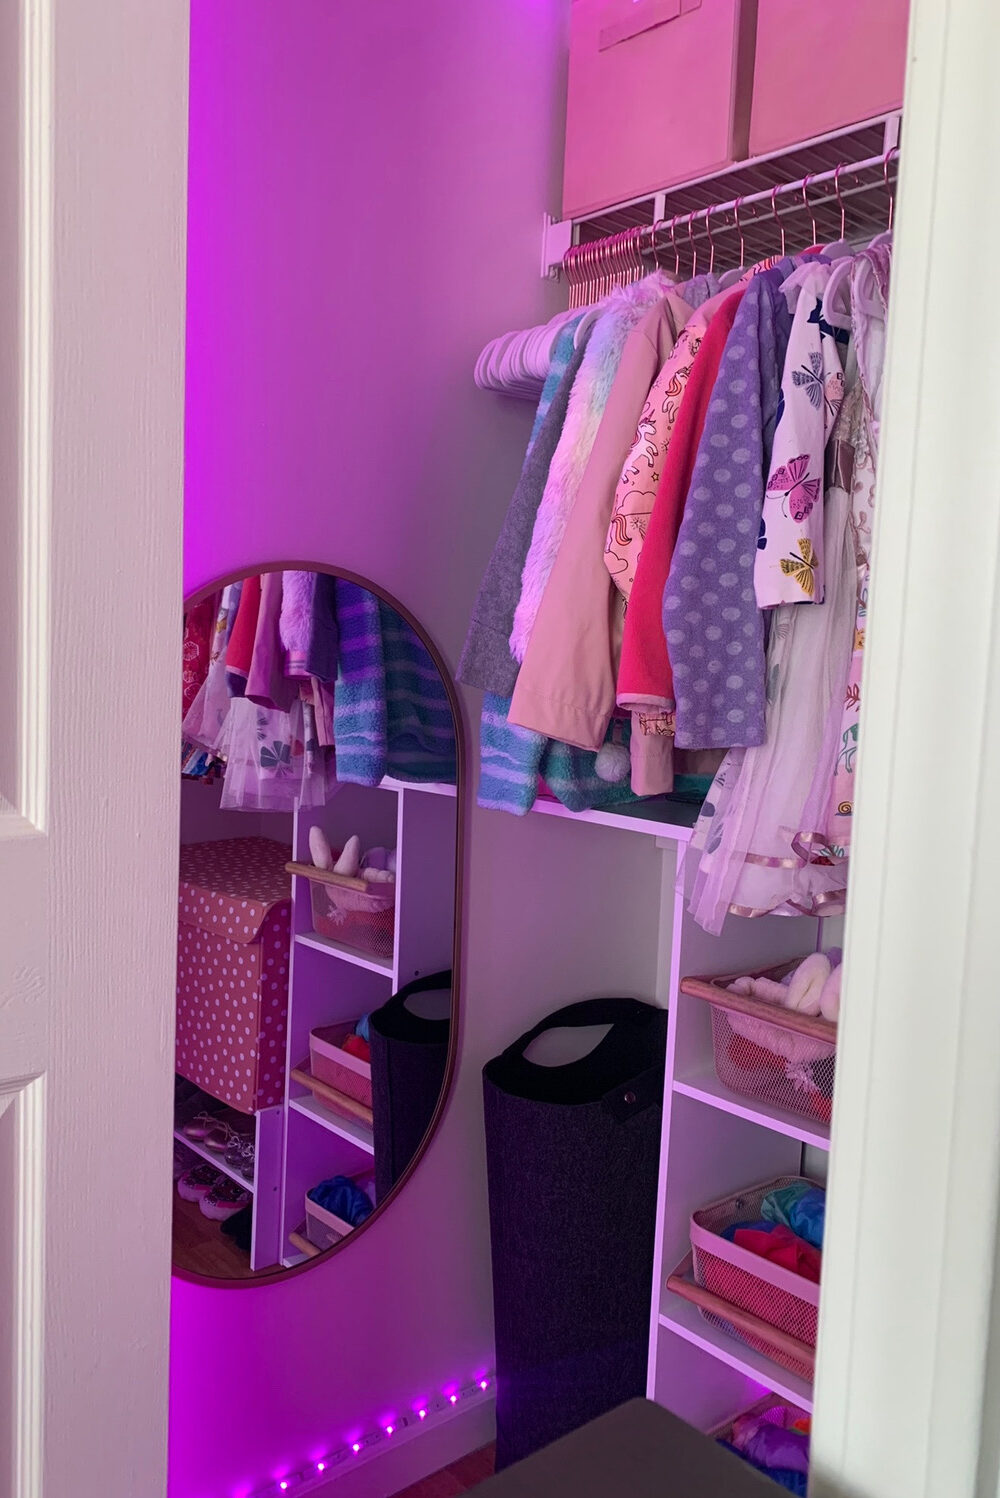
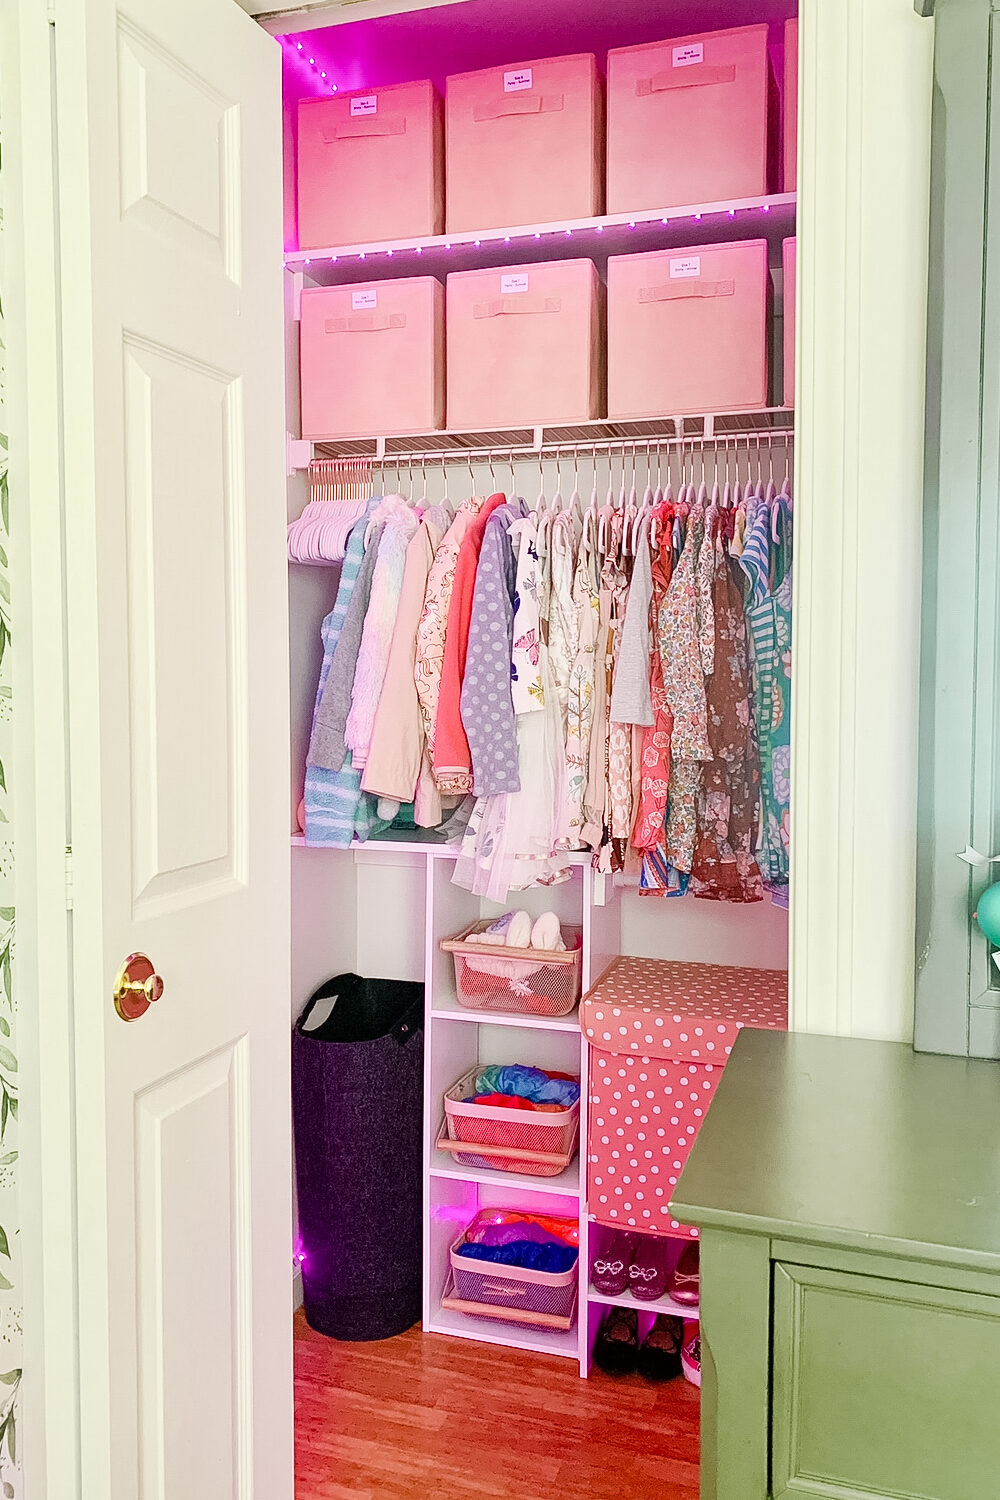
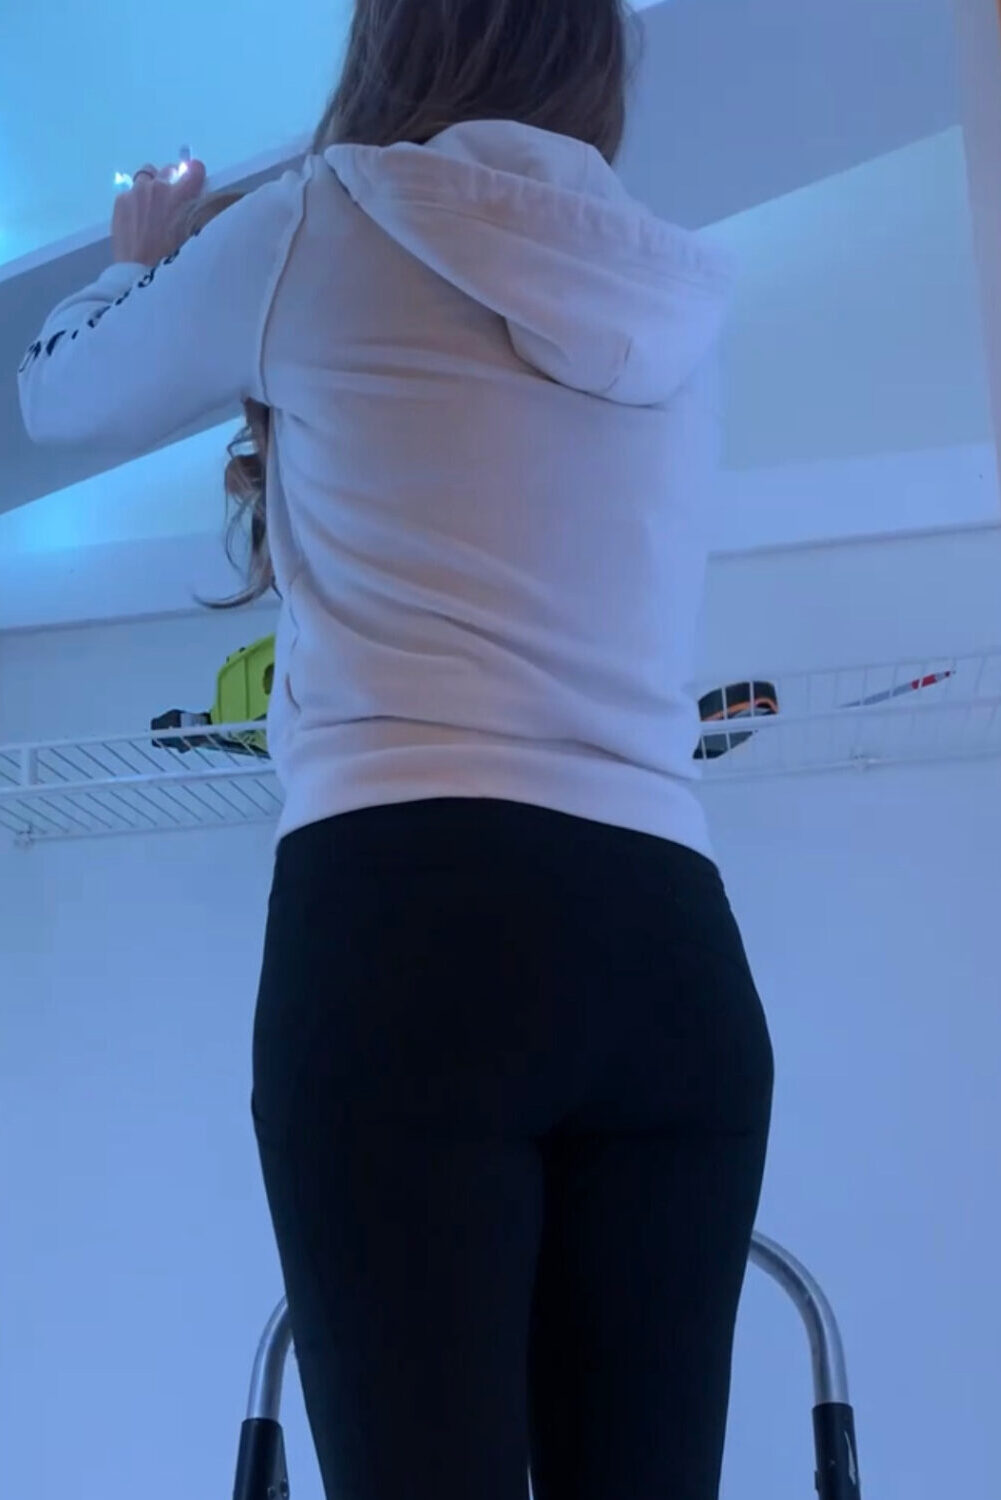
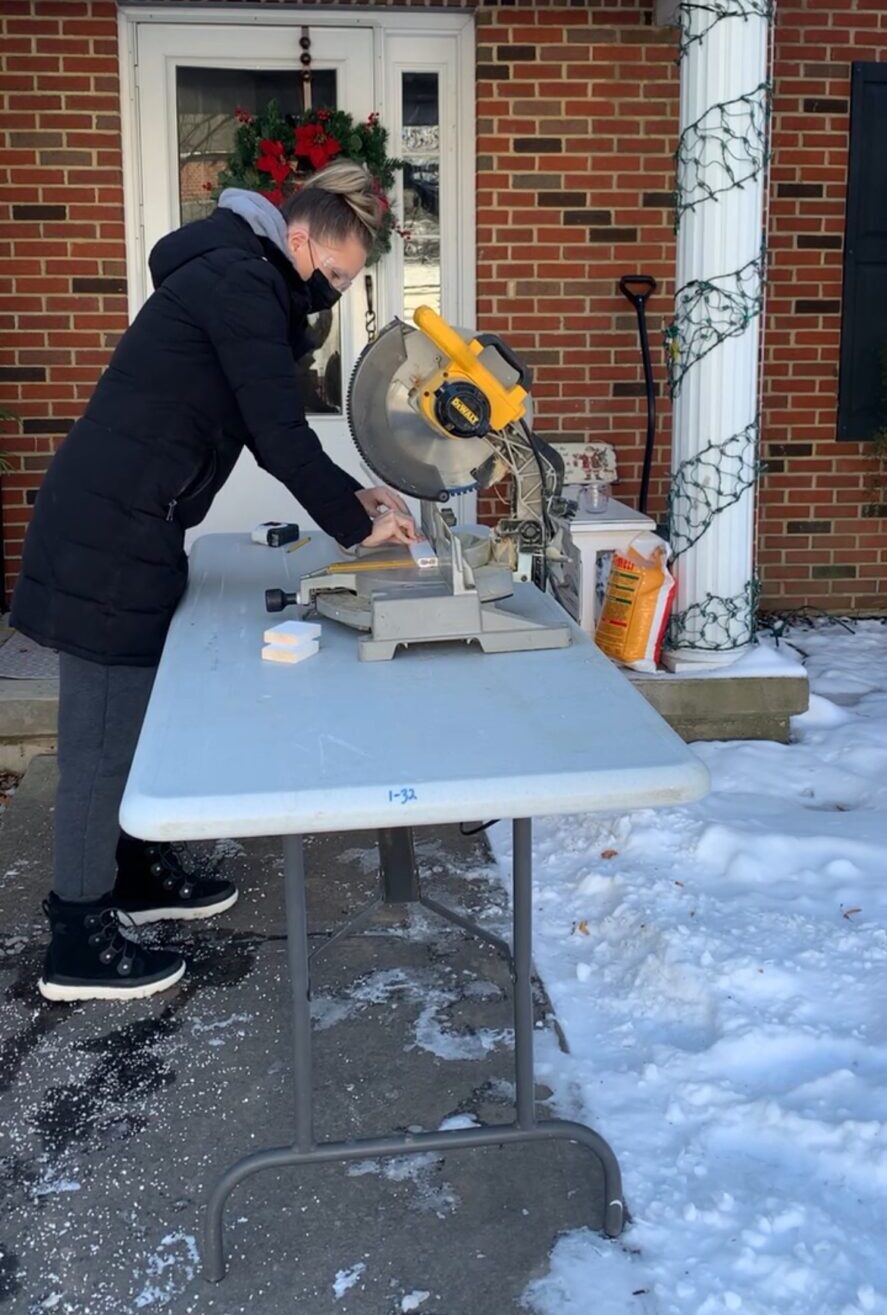
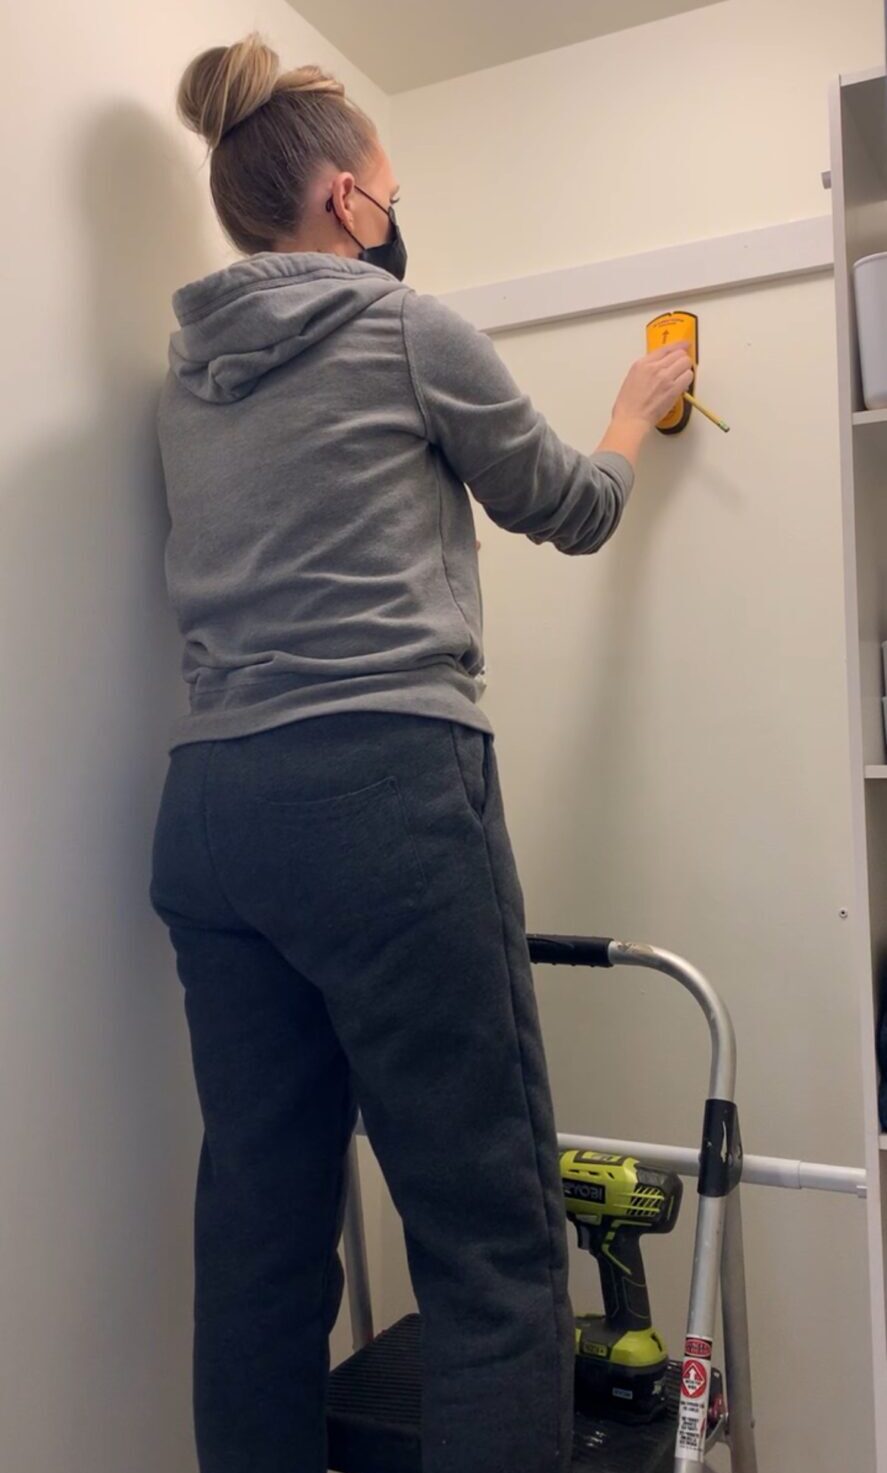
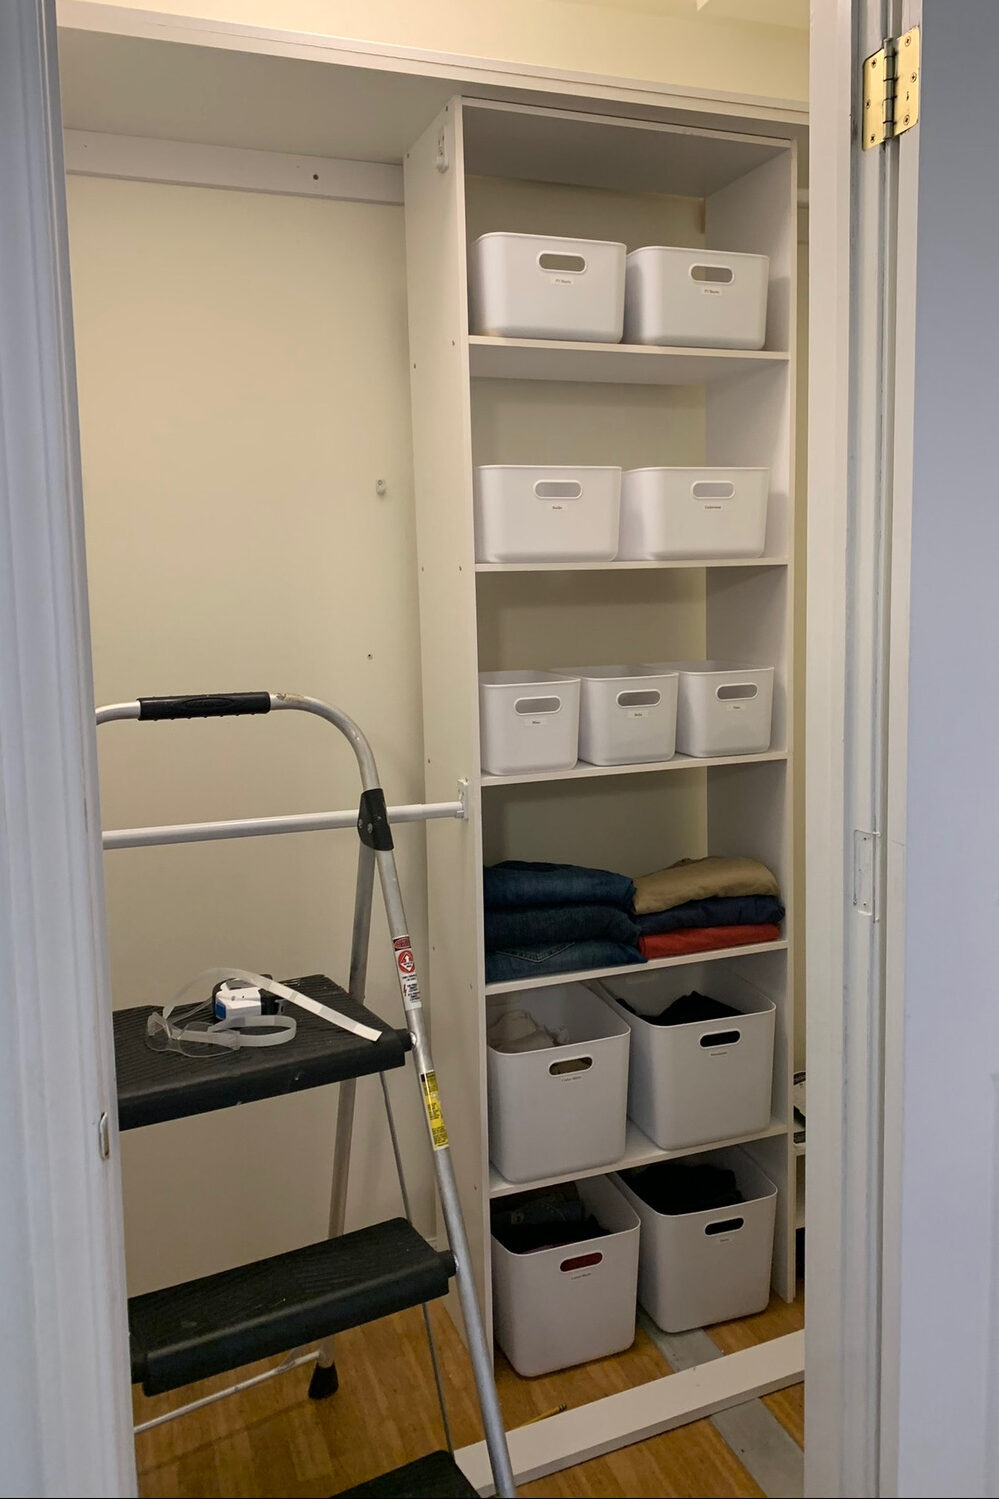
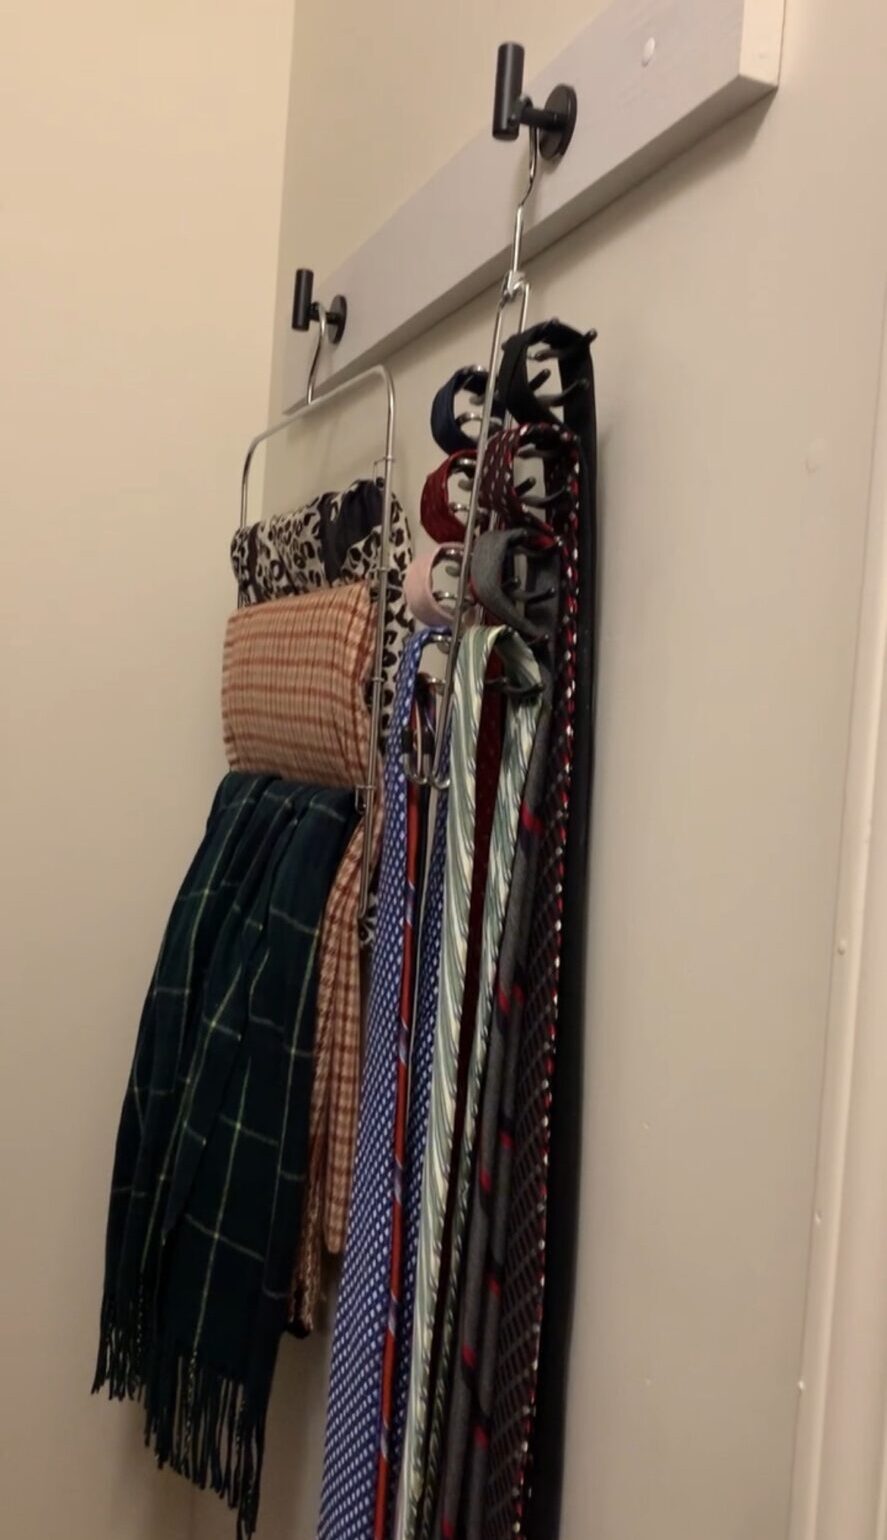
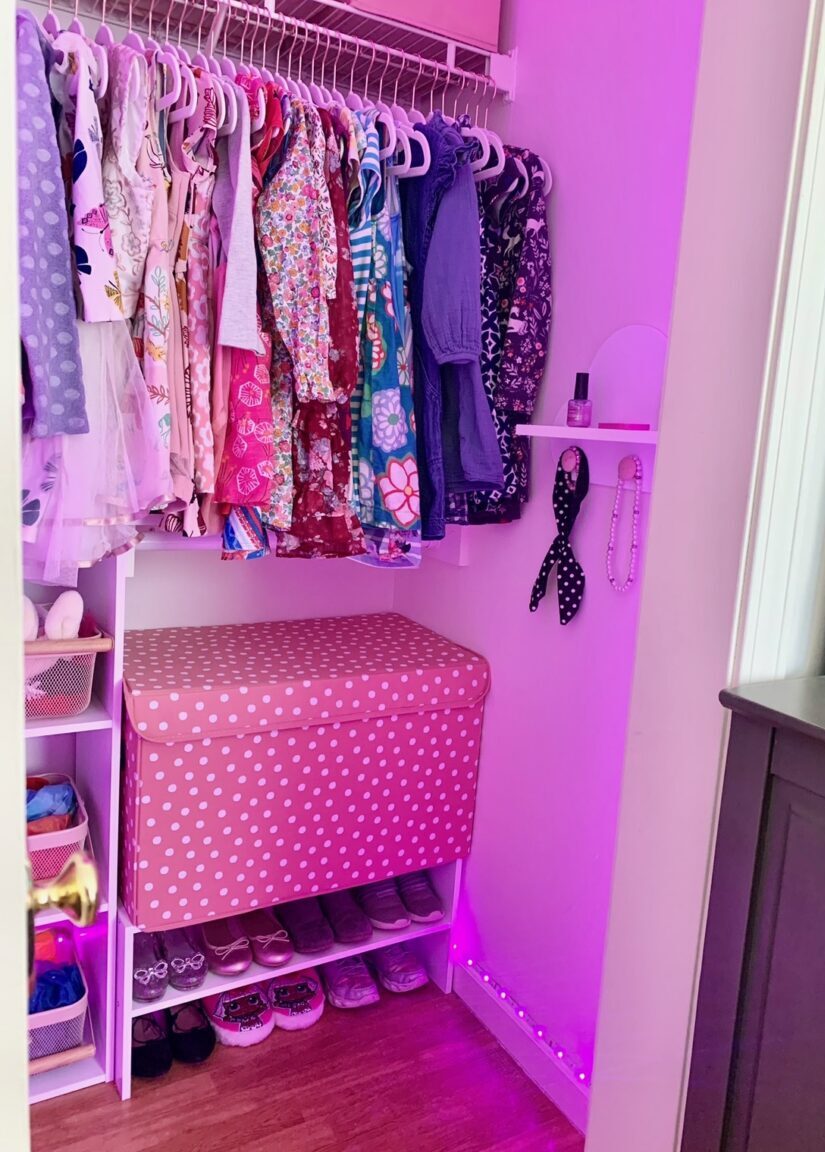
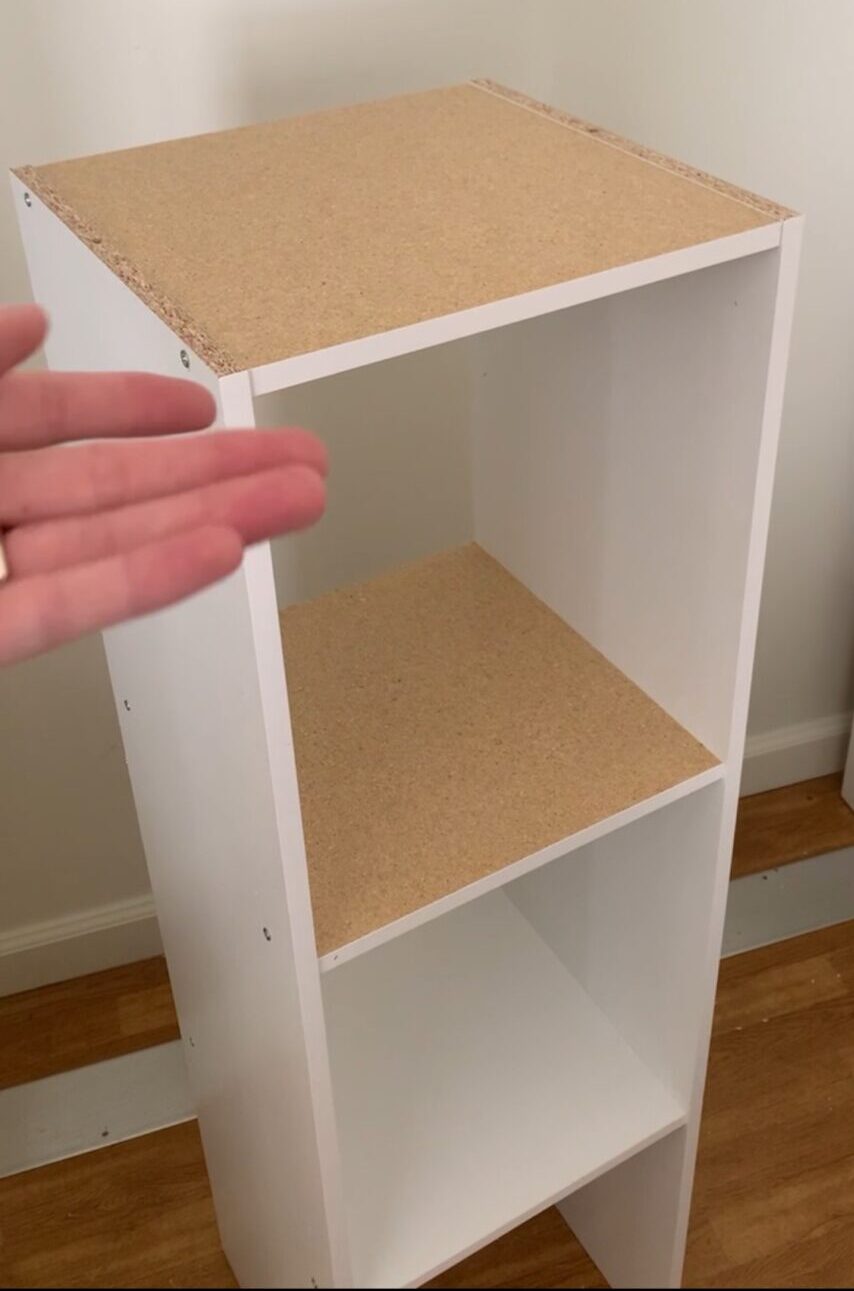
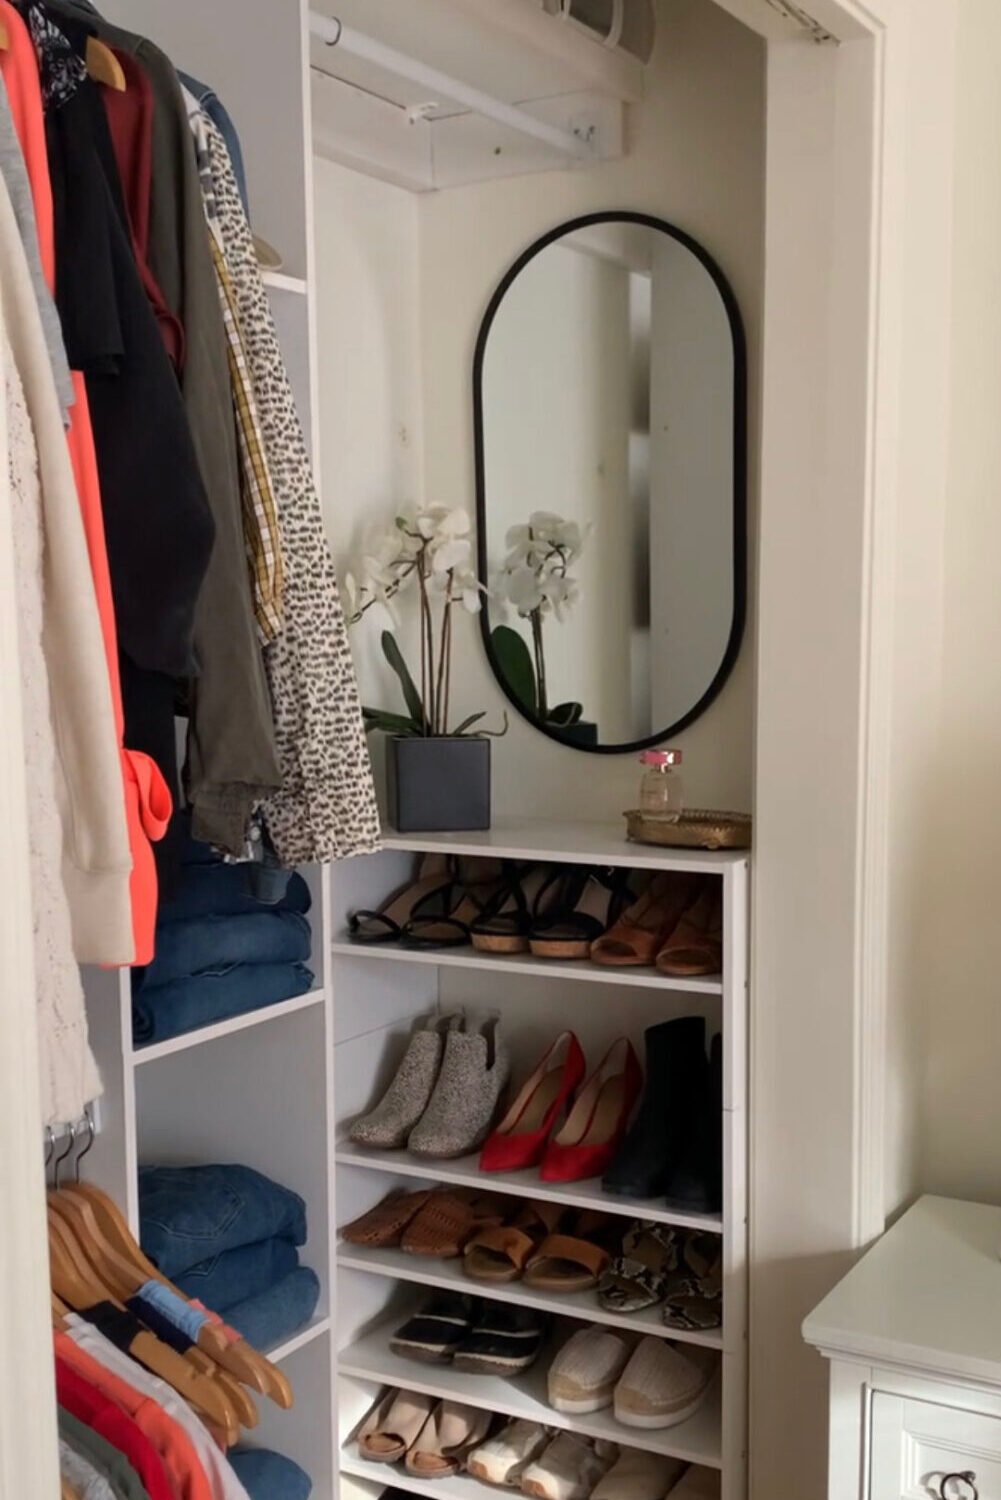
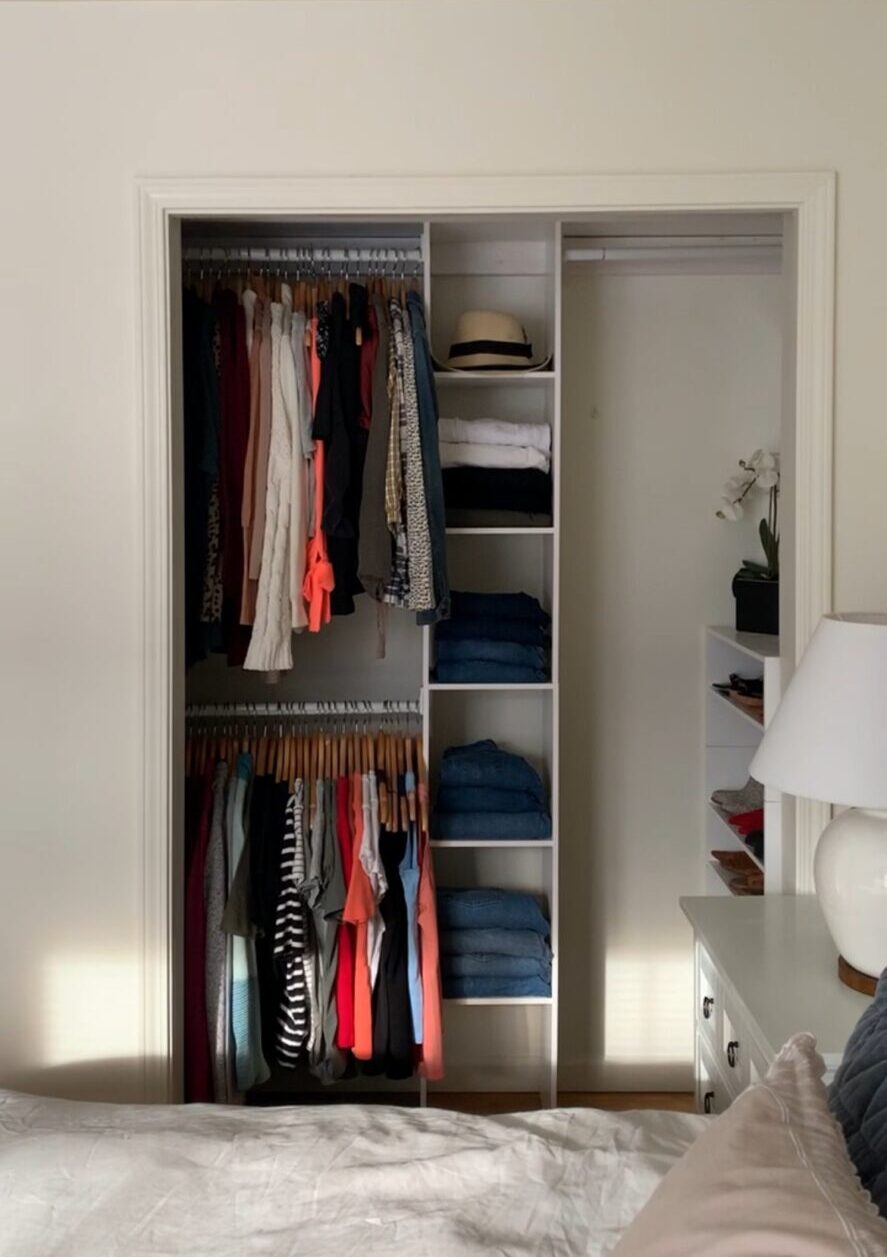
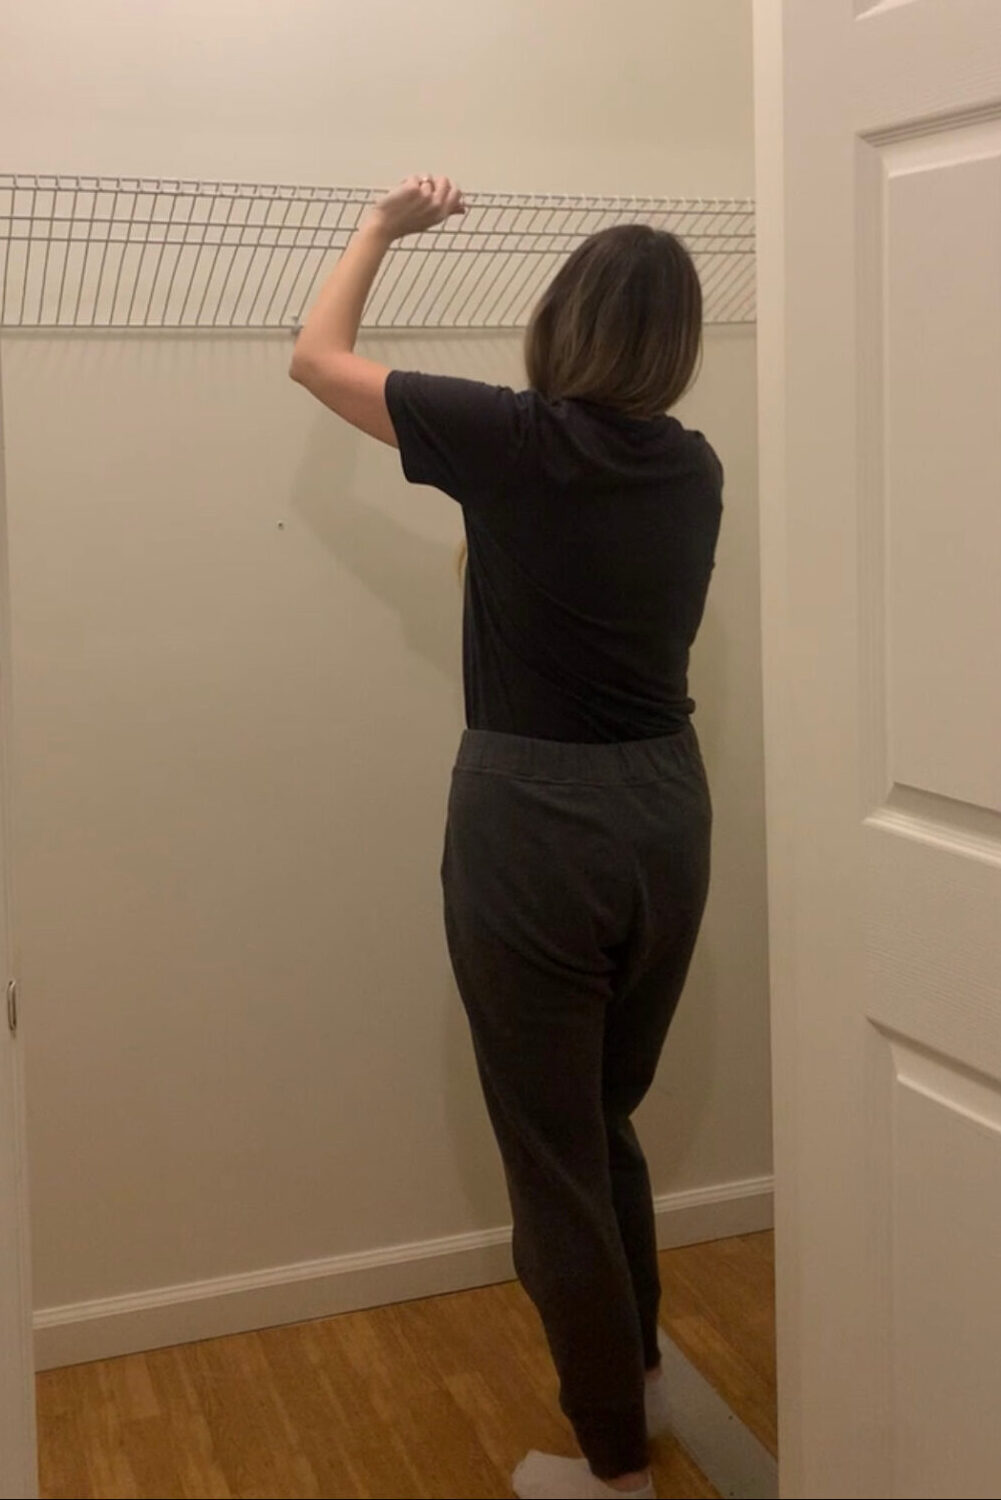
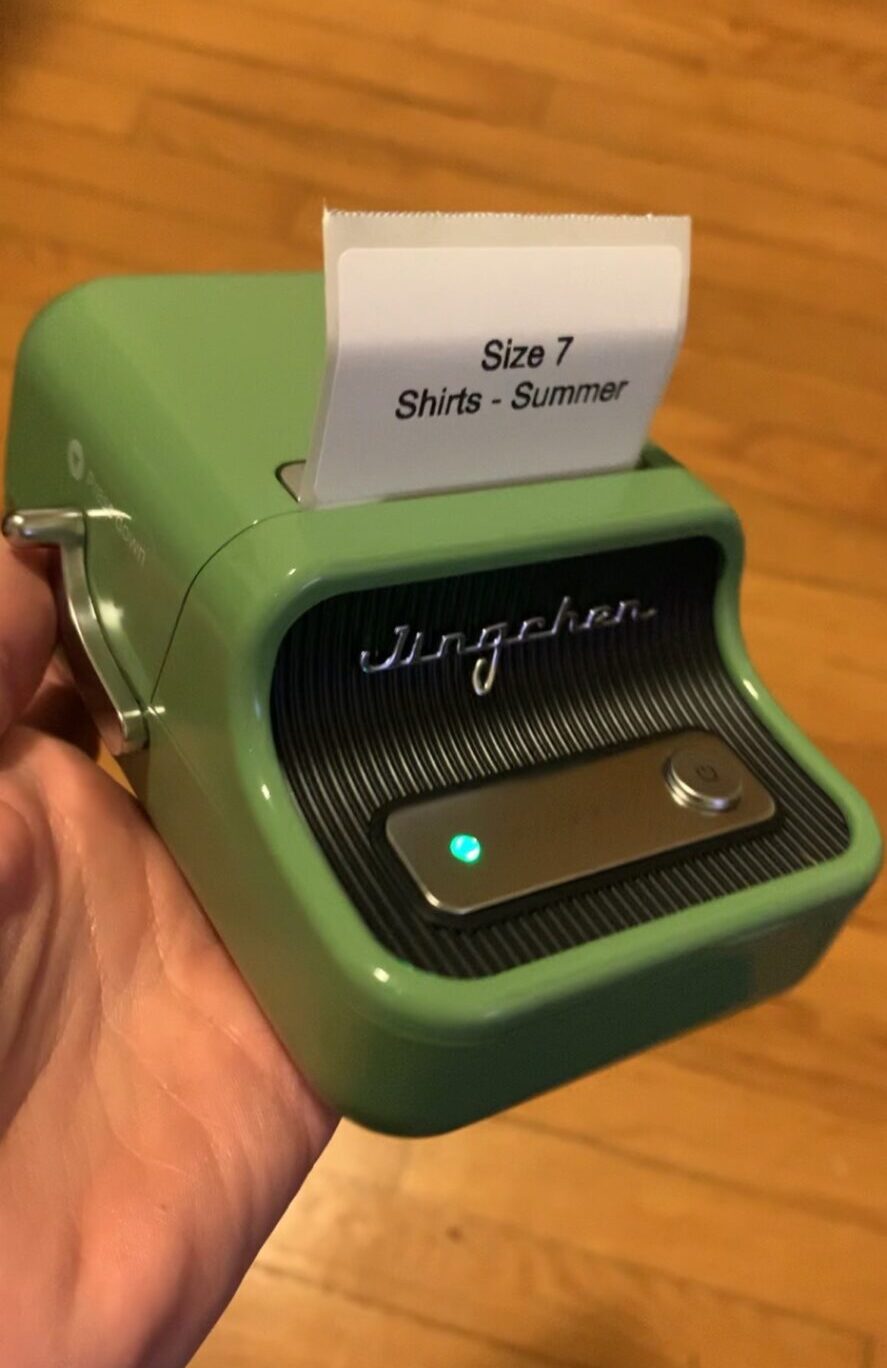 Step 4: Organize The Storage
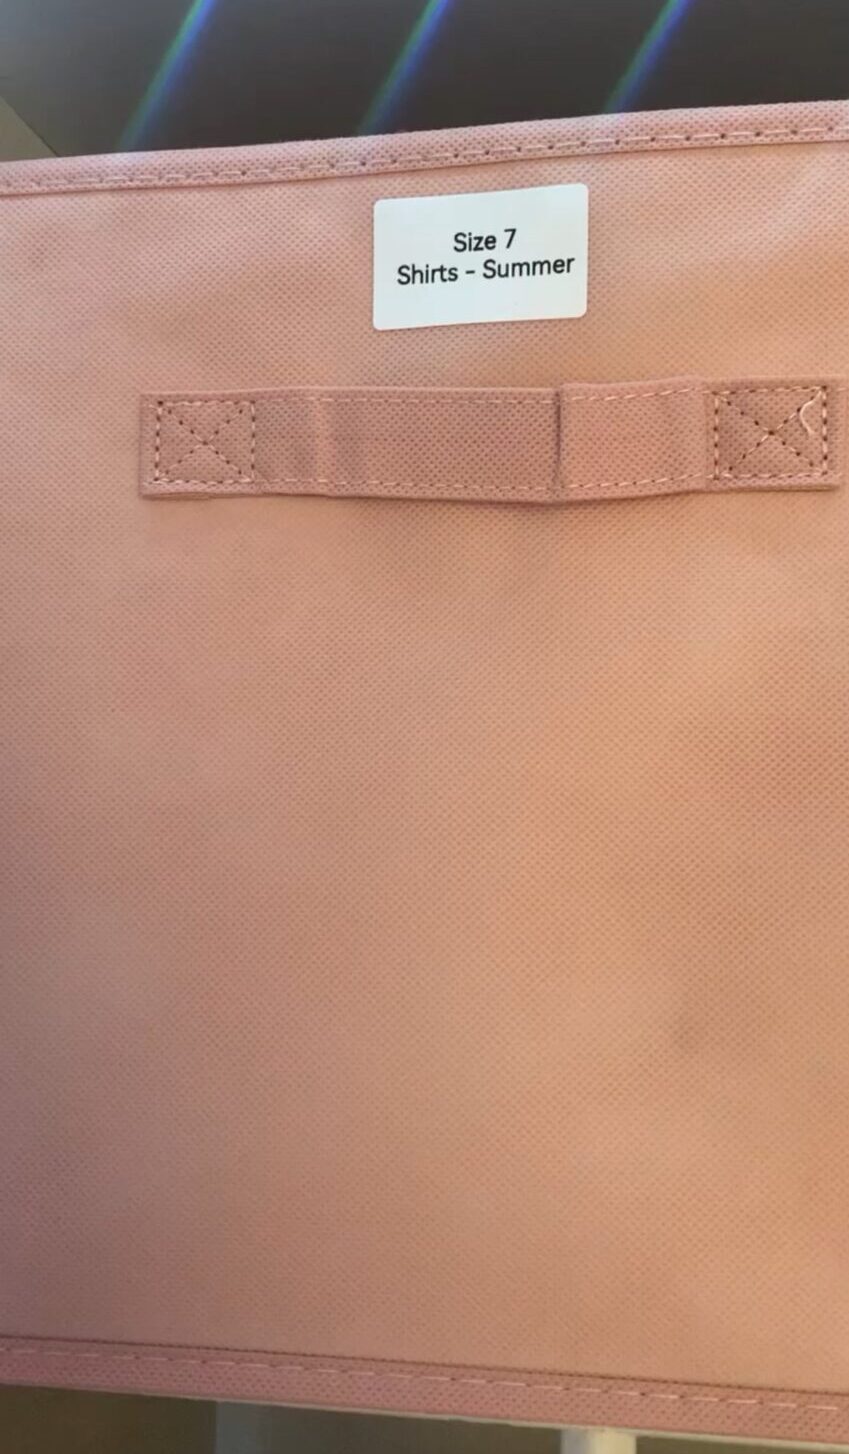

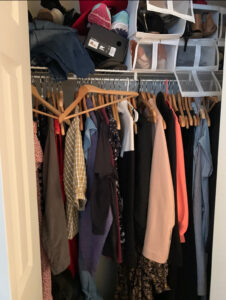
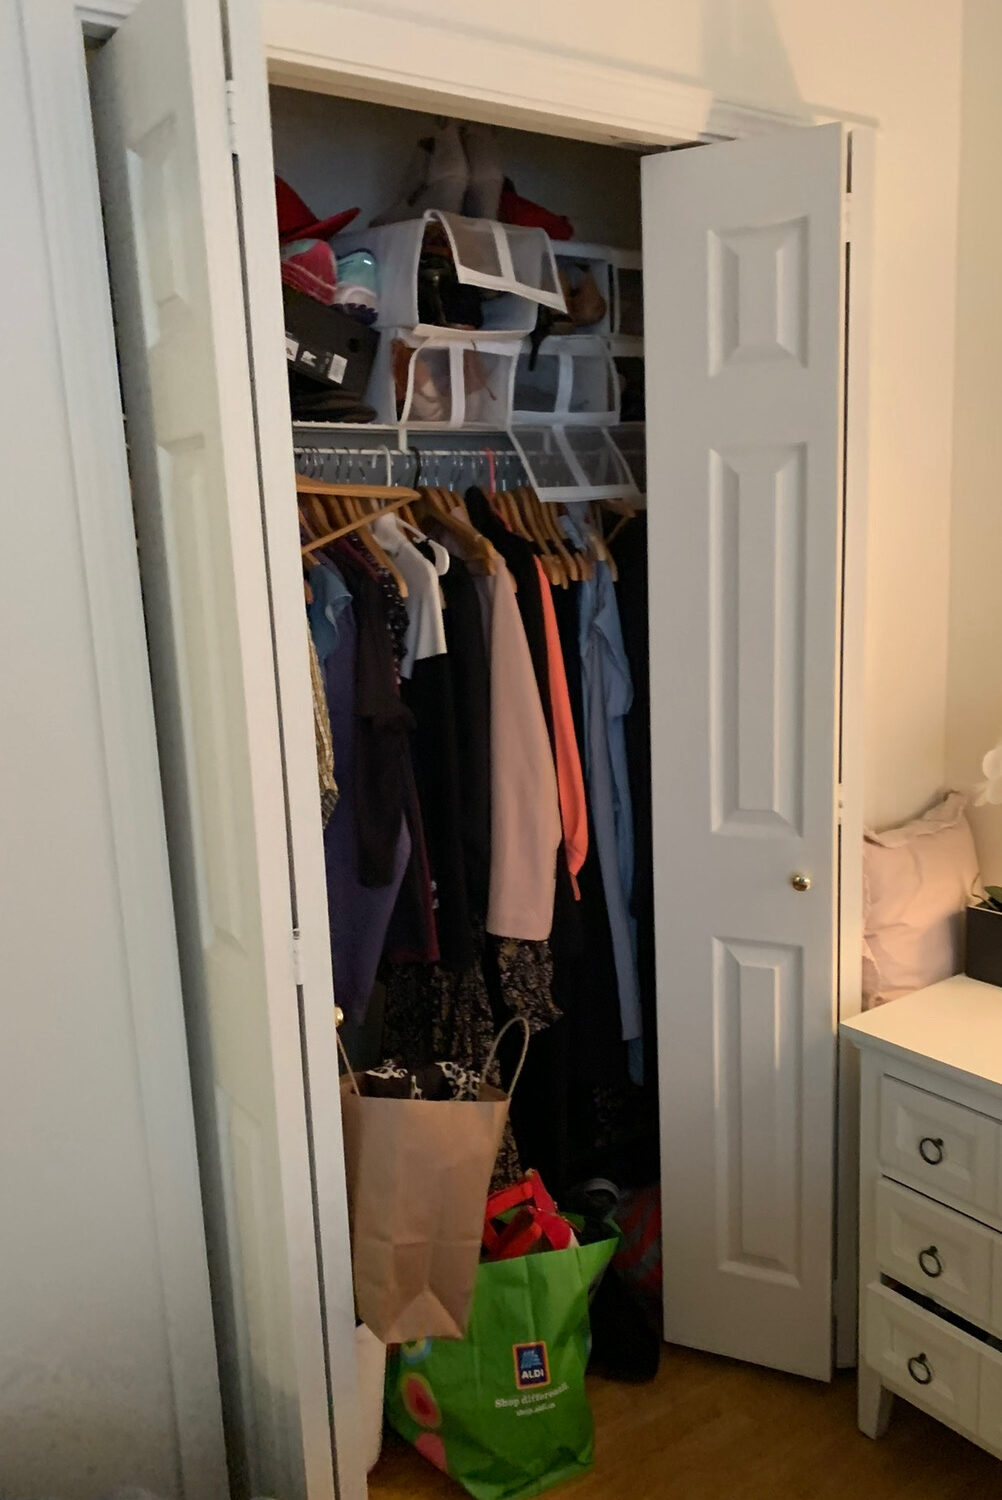
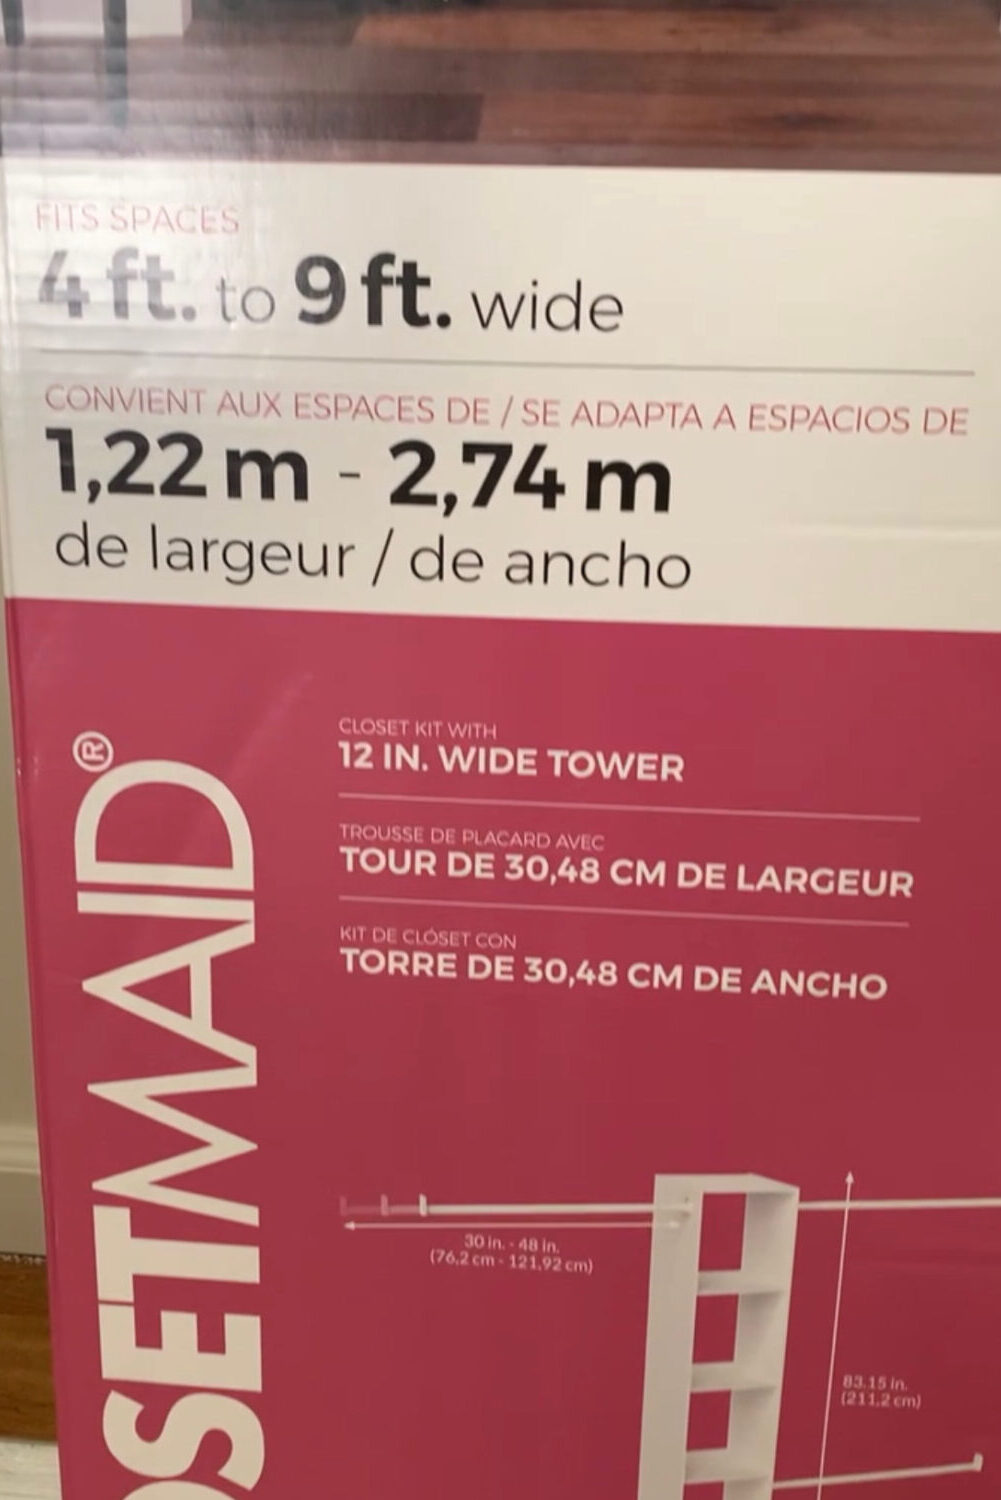
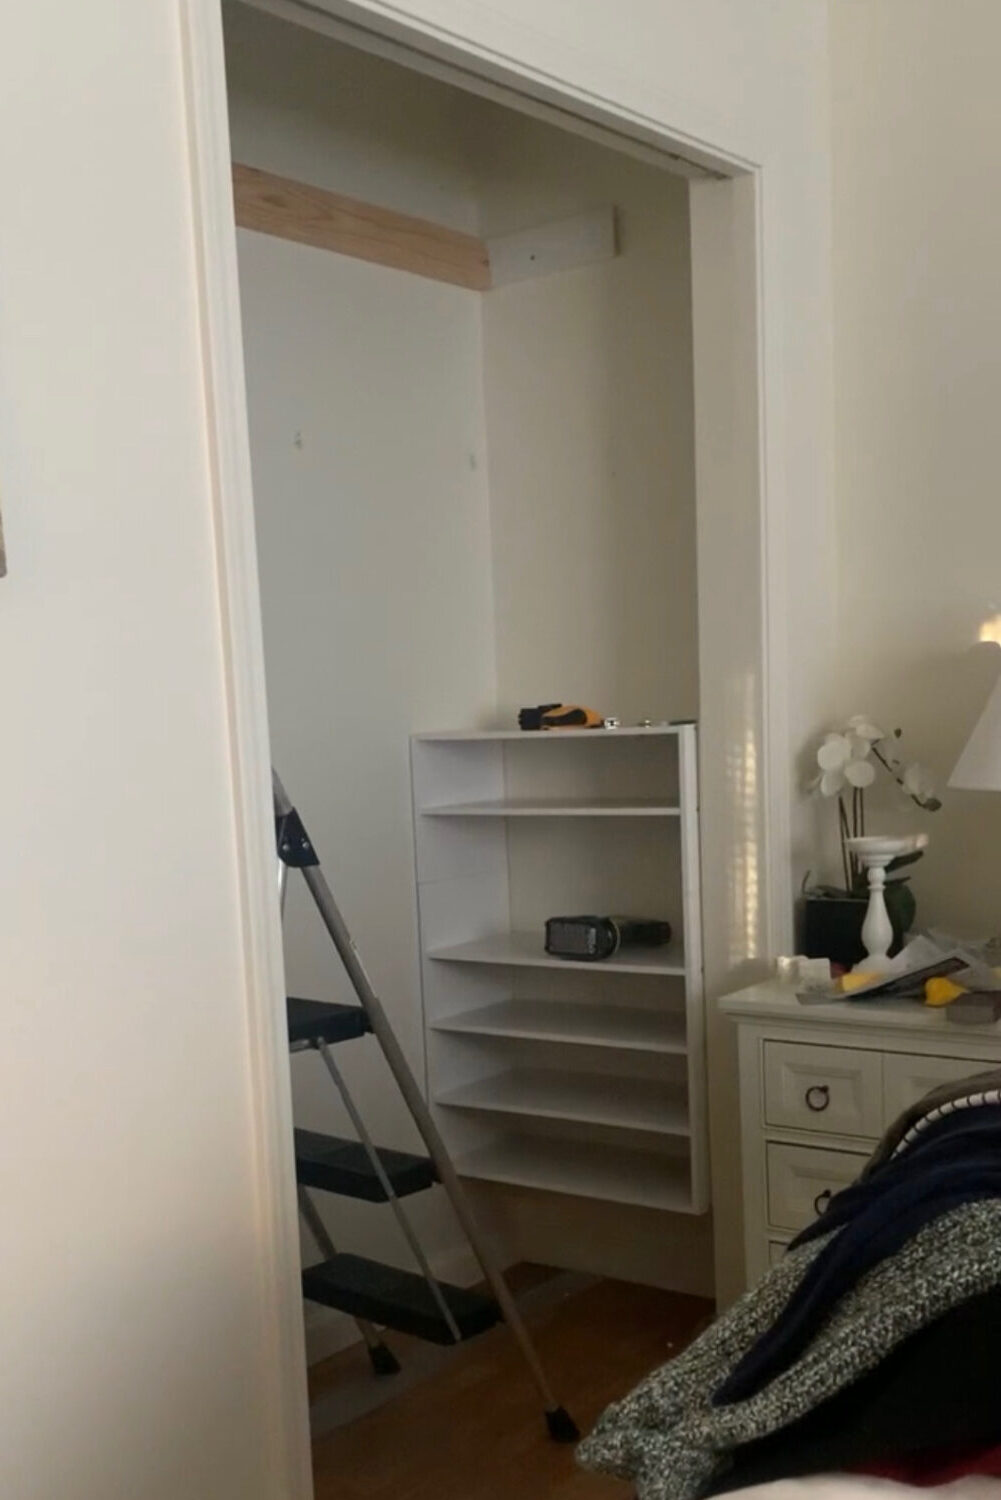
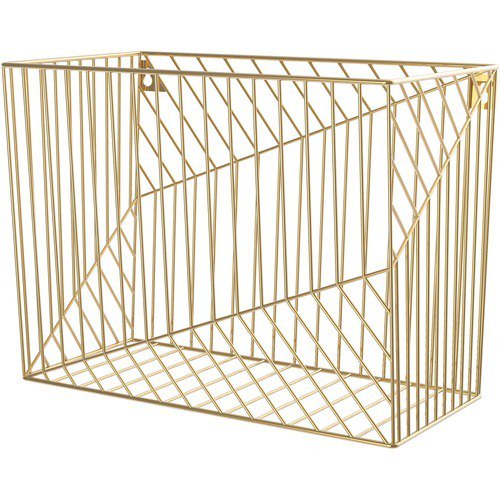
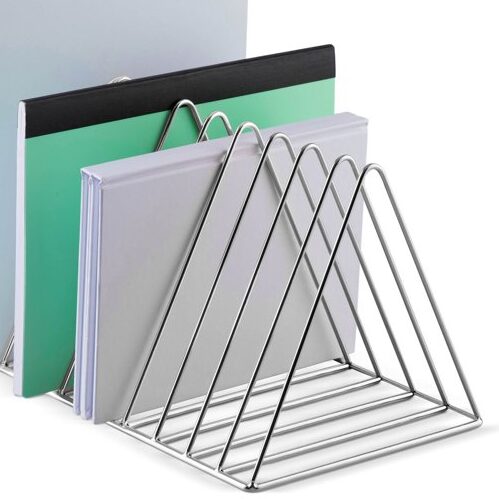
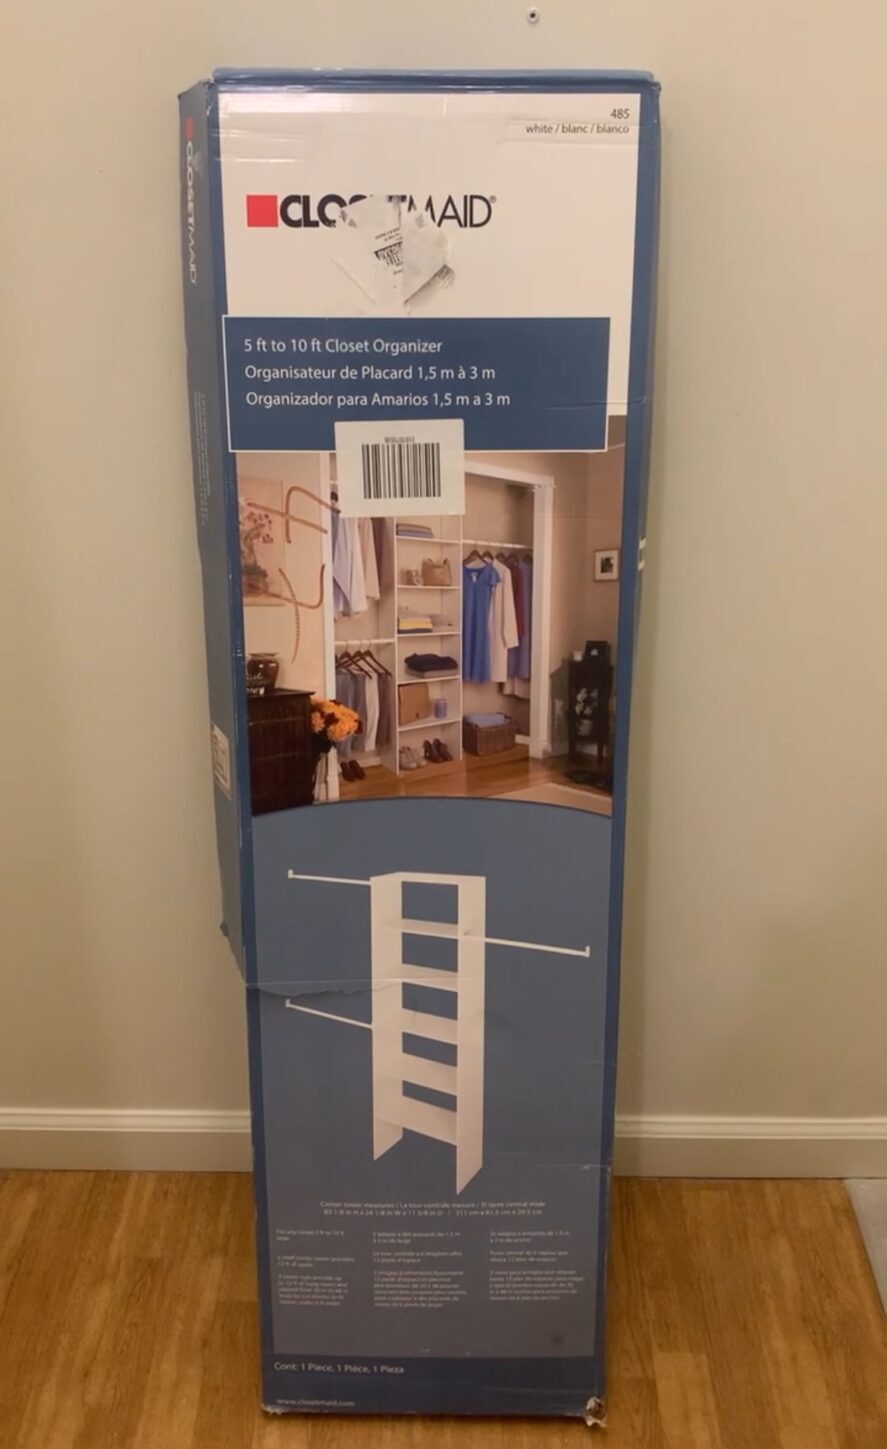 Reminder: This unit was bought on base. But here are some units that are available elsewhere and are similarly priced: